_create-bbacount-git-repo
Now, you get to use Bitbucket! On this page you'll create an account on Bitbucket. Once you have an account, you can create a repository. Here are some quick facts about accounts, repositories, and projects:
- both the username and email on an account must be unique
- each repository belongs to an account (sometimes called a username or user for short)
- the person who created the account is the repository owner
- the repository owner is the only person who can delete the repository
- a user (an account) can have an unlimited number of public and private repositories
- a code project can consist of multiple repositories across multiple accounts but can also be a single repository from a single account
Even if you only intend to work with other people's projects, knowing how to create a repository is useful. Creating a repository is free so there is no reason not to do it.
Who needs an account?
Depending on what you want to do with Bitbucket, you don't even need to create an account. You need an account if you are:
- a new Bitbucket user working through the Bitbucket 101
- a developer who is working on a project whose code happens to be in Bitbucket
- a project owner/leader who wants to share a Bitbucket project (repository) with others
- a developer who wants to contribute to a repository in Bitbucket
Step 1. Create a Bitbucket account
If you already have an account, skip this section and go to the next. You can create an account with the standard sign up or you can create one through OpenID (using an existing Google or Yahoo account for example). Regardless of which sign on method you use, you must supply the following fields:
| Field | About what you are supplying |
|---|---|
| Username | Up to a 30 character username. You can use letters, numbers, and underscores in your username. Your username must be unique across the entire Bitbucket site. Bitbucket appends this username to the URL for all the repositories you create. For example, the username |
| Email address | An email address that is unique across the entire Bitbucket site. The system sends you a confirmation email. |
| Password | A combination of up to 128 characters. If you are using OpenId the system uses that password. You are responsible for ensuring that your account password is sufficiently complex to meet your personal security standards. |
To use the standard Bitbucket sign up, open your browser and do the following:
- Open https://bitbucket.org/account/signup/ in your browser.
Complete the fields on the form.
- Press Sign up.
If you want to sign up using your login from a service, do the following:
- Open https://bitbucket.org/account/signup/ in your browser
- Click a service under the You can also sign up with heading.
- Select an account.
- Follow the provider's prompts to complete the sign up process.
- When prompted by Bitbucket to authenticate, choose Set a password.
SSH is more complex to set up. The tutorial explains setting this up later. - Press Go to dashboard.
When you are done signing in, Bitbucket places you in your Dashboard account. Take a second and look around at the user interface. Across the top of each Bitbucket page is a series of options that let you navigate around Bitbucket. Try displaying the Bitbucket Keyboard shortcuts by pressing ? (question mark) on your keyboard.
Step 2. Create a Git repository (repo)
The next step is to create a repository. Initially, the repository you create is going to be empty without any code in it. Do the following to create your repository:
- Log into Bitbucket (https://bitbucket.org/account/signin/).
The system displays your account Dashboard which should be empty if you just created an account.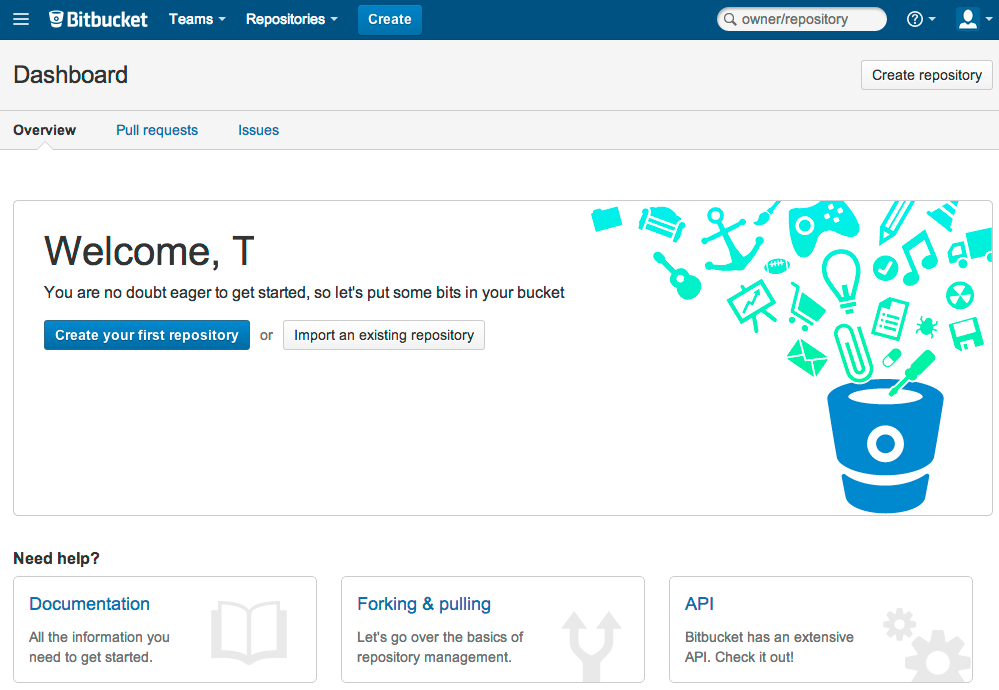
- Click the Create button at the top of the page.
The system displays the Create new repository page. Take some time to review the dialog's contents. With the exception of the Repository type, everything you enter on this page you can later change. - Enter
bb101repofor the Name field.
Bitbucket uses this Name in the URL for your repository. For example, the usernameatlassian_tutorialhas a repository namejira-applinks, the full URL for that repository ishttps://bitbucket.org/atlassian_tutorial/jira-applinks. You can use the URL to quickly navigate to a repository overview. - Enter a short Description.
- For Access level, leave the This is a private repository box checked.
A private repository is only visible to you and those you give access to (more about this later). If this box is unchecked, everyone can see your repository. - Check Git for the repository type.
You can't change the repository type once you pick one. For this tutorial, we create a Git repository first. Later we will work with a Mecurial repository. - For Project management, check both the Issue tracking and Wiki checkbox.
- Set the Language field to HTML/CSS.
- Click Create repository.
Bitbucket creates your repository and displays the repository Overview page.
Step 3. Explore your new repository
Take some time to explore the repository you have just created. You should be on the repository's Overview page:
Across the top of each repository is a menu bar that you use to navigate around to your repository's pages. Click items on the bar to see what is behind each one. You can also navigate using the repository shortcuts. To view the shortcuts available:
- Click somewhere in the Bitbucket browser window to gain focus.
- Press the ? (question mark) on your keyboard.
The shortcuts list displays.
Try clicking the Commits option on the menu bar. You find there are No commits recorded yet (during your repository exploration you probably saw this message as well). You have no commits because you have not created any content for your repository. Your repository is private and you have not invited anyone to the repository. So, the only person who can create or edit the repository's content right now is you, the repository owner.
Step 4. Confirm your email address
When you create an account, Bitbucket sends an email to you to confirm your email. Confirming your email allows Bitbucket to automatically match your user account to your future source code commits. Do the following:
- Open your email client (Gmail, Outlook etc).
- Find the email confirmation from Bitbucket.
- Open it.
- Confirm the address.
Next
Now that you've created your first repository and explored it a bit, you are ready to add content to it.