How to set up Microsoft IIS as a reverse proxy for Bitbucket Server
Platform notice: Server and Data Center only. This article only applies to Atlassian products on the Server and Data Center platforms.
Support for Server* products ended on February 15th 2024. If you are running a Server product, you can visit the Atlassian Server end of support announcement to review your migration options.
*Except Fisheye and Crucible
Purpose
In the event that an organization wants to set up a simple Microsoft IIS site for the purposes of acting as a reverse proxy for Bitbucket Server, these steps can serve as an example configuration.
Solution
- Download the following IIS modules if they haven't already been installed/enabled:
- Complete installation of the above IIS modules on your IIS server
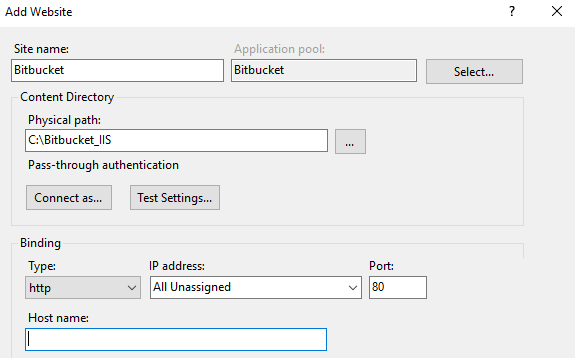
- Create a new site within IIS with the desired name, app pool, physical path and binding
-
The Physical Path shouldn't matter, as we will not be hosting any web content originating from IIS itself.
-
- Within this new site, select the URL Rewrite section
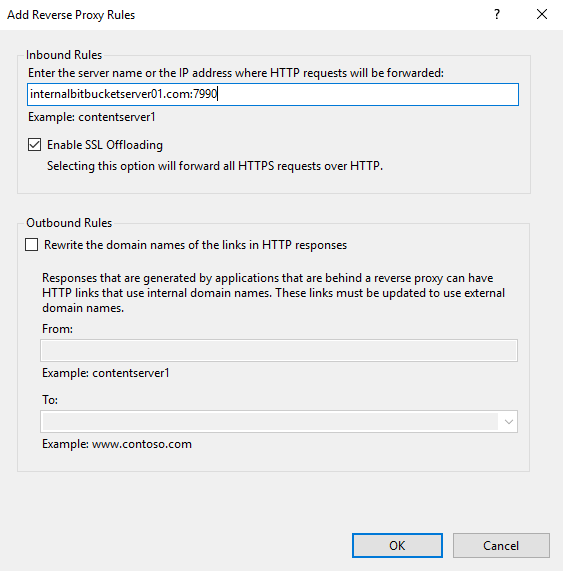
- Click Add Rule(s)... in the top right, and select Reverse Proxy
- On this new window, input the name/IP of the server that is hosting Bitbucket - along with the port that Bitbucket is listening on. If you are terminating SSL on IIS, be sure to select Enable SSL Offloading.
At this point, you should be able to access Bitbucket by navigating to your IIS server at the binding associated with the site created above.
If you have some issues with Bitbucket UI elements returning the error "400 Bad Request", please make sure that the Application pools related to this application have the "No Managed Code" setting to avoid requests being redirected to .NET framework.