How-to use OAuth2 tokens for administrative endpoints of Bitbucket Data Center
Platform Notice: Data Center Only - This article only applies to Atlassian products on the Data Center platform.
Note that this KB was created for the Data Center version of the product. Data Center KBs for non-Data-Center-specific features may also work for Server versions of the product, however they have not been tested. Support for Server* products ended on February 15th 2024. If you are running a Server product, you can visit the Atlassian Server end of support announcement to review your migration options.
*Except Fisheye and Crucible
Summary
Due to BSERV-10482 - Create admin personal tokens for admin endpoints in Bitbucket Server REST API Bitbucket Data Center doesn't support HTTP token authentication for administrative endpoints, user management, or any other REST endpoints that change the application settings. In order to use these endpoints you have to use other authentication approaches: Basic Authentication or OAuth.
Bitbucket (Data Center and Server) provides APIs to allow external services to access resources on a user’s behalf with the OAuth 2.0 protocol.
Environment
Bitbucket Data Center 7.21.x and newer
Solution
Prerequisites
In order to use OAuth2 authentication for automation, you need to have the accessible web application reachable from Bitbucket and the user side to accept and work with tokens.
Also, it is important that in production environments both Bitbucket DC and this automation web application are accessible with HTTPS. This is important, as OAuth 2.0 bases its security on the transport layer.
These how-to instructions relate to a standalone automation. If you are using Adaptavist ScriptRunner, the support of Application Links is already embedded, so the steps below are not required.
Establishing the Application Link between Bitbucket and automation
The first step after all the prerequisites are met is to Configure the Incoming Application Link
Provide the application details—for our purposes, we need only add the Redirect URL of the application we created earlier. The user authorizing the application link will be redirected to this URL with the authorization code.
Provide the application permissions - depends on the level of permissions required, but since the scope of this how-to is admin actions - make sure to give the highest level of permissions
Copy OAuth credentials to the application - After providing the Redirect URL and selecting the scopes, Bitbucket will generate the OAuth credentials that include these details. You need to note the credentials or save it to your external application to complete the link.
Obtaining the authorisation code from Bitbucket
Since the integration is internal it is possible to use Authorisation code (without PKCE)
The following parameters will be used in a flow:
Parameter | Description | Required |
|---|---|---|
| URL the user is redirected to after authorizing the request. | Yes |
| Client ID received from Bitbucket after registering your application. | Yes |
| Authorization code. | Yes |
| Scopes that define application’s permissions to the user account. For more info, see Scopes. | Yes |
| A value that can't be predicted. It will be used by the client to maintain state between the request and callback. It should also be used as a CSRF token. | No |
Make the request to /oauth/authorize endpoint via HTTP request library of your webapp or via curl in a script
1https://atlassian.example.com/rest/oauth2/latest/authorize?client_id=CLIENT_ID&redirect_uri=REDIRECT_URI&response_type=code&state=STATE&scope=SCOPEReplace the CLIENT_ID with the one you noted in previous chapter, REDIRECT_URI to the URL of your webapp, SCOPE to SYSTEM_ADMIN to perform the system admin actions with your integration. State can skipped because it is not mandatory parameter and don't have use for the simple integration use case.
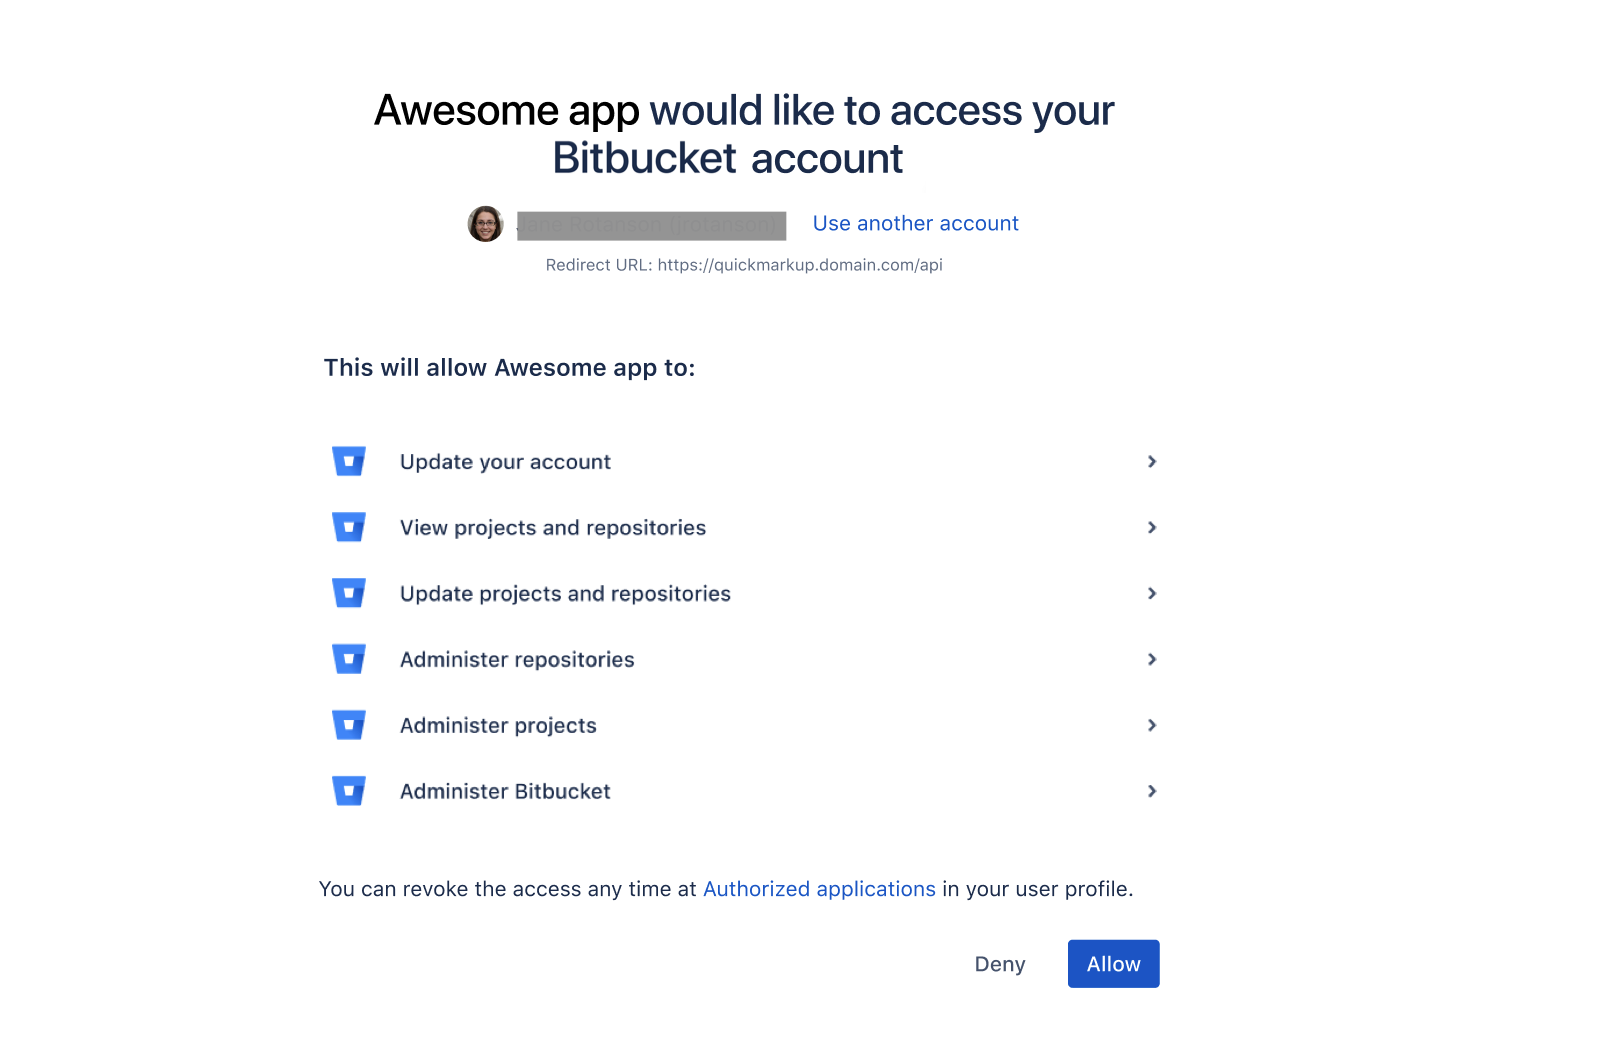
The user will be presented with the consent screen where the user is asked to consent to the request.
After clicking allow the user will be redirected to the URL set in REDIRECT_URI. The redirect includes the authorization code, like in the following example:
1https://myapphost:8080/BitbucketApp/?code=ee4e6a439ab3aa516206f3119ef4e31d&state=STATEIn the example above the code is ee4e6a439ab3aa516206f3119ef4e31d. The code is staring after "code=" and finishes with & or the end of URL. You can parse it from the response.
Obtaining the access token
Now using the authorisation code you can request the access token to for your automation by sending POST to Bitbucket URL (again curl or request library of your app)
1curl -X POST https://atlassian.example.com/rest/oauth2/latest/token?client_id=CLIENT_ID&client_secret=CLIENT_SECRET&code=CODE&grant_type=authorization_code&redirect_uri=REDIRECT_URIThe CLIENT_ID and the CLIENT_SECRET you have from the first paragraph, and REDIRECT_URI is your app URL
The response will be like on the example below:
1
2
3
4
5
6
7
{ "access_token": "eyJhbGciOiJIUzI1NiJ9.eyJpZCI6IjNmMTQ3NTUzYjg3OTQ2Y2FhMWJhYWJkZWQ0MzgwYTM4In0.EDnpBl0hd1BQzIRP--xEvyW1F6gDuiFranQCvi98b2c", "token_type": "bearer", "expires_in": 7200, "refresh_token": "eyJhbGciOiJIUzI1NiJ9.eyJpZCI6ImMwZTMxYmZjYTI2NWI0YTkwMzBiOGM2OTJjNWIyMTYwIn0.grHOsso3B3kaSxNd0QJfj1H3ayjRUuA75SiEt0usmiM", "created_at": 1607635748 }As you can see in the response in addition to the access token, some other fields are present, let go thought them:
token_type - type of the token, nothing special here
expires_in - the expiration time for the token in seconds
refresh_token - the token to request the regeneration of access token after its expiration without going through the flow.
created_at - the creation timestamp
To retrieve a new access_token, use the refresh_token parameter in the following POST request:
1curl -X POST https://atlassian.example.com/rest/oauth2/latest/token?client_id=CLIENT_ID&client_secret=CLIENT_SECRET&refresh_token=REFRESH_TOKEN&grant_type=refresh_token&redirect_uri=REDIRECT_URIThe CLIENT_ID and the CLIENT_SECRET you have from the first paragraph, REFRESH_TOKEN you have from the previous access token response.
It will invalidate current access and refresh tokens and send you response with the ones in the same format as initial request. And you can use the new refresh token to repeat the procedure as much as necessary.
Using the Access token to authenticate against Bitbucket REST API
Now with the Access token you can use bearer authentication for any admin REST Endpoints with "Authorization: Bearer" header. For example if you want to enforce the token expiration every 100 days:
1
2
3
4
5
6
7
8
curl -v -k --request PUT \
 -H "Authorization: Bearer eyJhbGciOiJIUzI1NiJ9.eyJpZCI6IjNmMTQ3NTUzYjg3OTQ2Y2FhMWJhYWJkZWQ0MzgwYTM4In0.EDnpBl0hd1BQzIRP--xEvyW1F6gDuiFranQCvi98b2c" \
  --url 'https://atlassian.example.com/rest/access-tokens/latest/admin' \
   --header 'Accept: application/json' \
   --header 'Content-Type: application/json' \
   --data '{
                "maxExpiryDays":100
}'Was this helpful?