Jira server throws Unable to create directory for deployment error on startup
Platform notice: Server and Data Center only. This article only applies to Atlassian products on the Server and Data Center platforms.
Support for Server* products ended on February 15th 2024. If you are running a Server product, you can visit the Atlassian Server end of support announcement to review your migration options.
*Except Fisheye and Crucible
Problem
JIRA may throw different errors due to this - the common cause is it is not operating as expected.
The following appears in the catalina.out:
Aug 07, 2013 2:02:36 AM org.apache.catalina.startup.HostConfig start
SEVERE: Unable to create directory for deployment: /opt/atlassian/jira/conf/Catalina/localhost
Cause
The Tomcat process is not able to access the scratchDir or deployment directory, most likely due to file permissions. The scratchDir is used by Tomcat when compiling JSPs which is the technology used to render the dynamically created web pages in JIRA applications. If Tomcat cannot access that directory it can result in failures to properly operate.
Resolution
Option 1 (preferred):
Fix the permissions on a case by case basis
Stop the Jira application (not required if Jira runs in docker in Docker)
Create the directory referenced in the error:
LINUX: 		mkdir -p $JIRA_INSTALL/conf/Catalina/localhost

WINDOWS: 	mkdir $JIRA_INSTALL\conf\Catalina\localhost
Fix the permissions for the newly created directory:
Remove the following directory:
$JIRA_INSTALL/work/* This will be rebuilt when your JIRA application is restarted.
- Start the Jira application (or restart the docker container)
- Check the Jira's logs ($JIRA_INST/logs/catalina*, $JIRA_HOME/logs/atlassian-jira.log) for 'permission denied' errors - if there are any, repeat the above steps for the folders in questions only
Option 2:
Disclaimer: The following steps suggest to fix the permissions on all Jira sub directories at once. While the below steps will be the quickest to fix the issue, modifying the permissions on all Jira directories is not recommended as it can potentially make the Jira server vulnerable to remote code execution attacks (see https://confluence.atlassian.com/jira/security-addendum-2010-04-16-preventing-security-attacks-216433277.html for details)
Stop your JIRA application (not required if Jira runs in Docker)
Fix the permissions for the below directories and all of their subdirectories:
$JIRA_HOME/ $JIRA_INSTALL/Remove the following directory:
$JIRA_INSTALL/work This will be rebuilt when your JIRA application is restarted.- Start the application (or restart the Jira's docker container if Jira runs in Docker)
Option 3:
If you are using mapped network drives for Jira's backup directory, attachments directory, index directory, or the %CATALINA_HOME%\* directory, you need to ensure that Jira can write to these drives. That is, these directories all need to be writeable by the user which the Jira service is running as. This may mean that you need to change the Windows user that the Jira server uses (see Changing the Windows user that the Jira service uses for more information).
![]() Note that you must also specify these network drives by UNC and not letter mappings, e.g. \\backupserver\jira not z:\jira
Note that you must also specify these network drives by UNC and not letter mappings, e.g. \\backupserver\jira not z:\jira
- To change the Windows user that the Jira service uses, navigate to the service in Windows, i.e. 'Control Panel' -> 'Administrative Tools' -> 'Services'. Locate the 'Atlassian Jira' service, right-click and view the 'Preferences'.
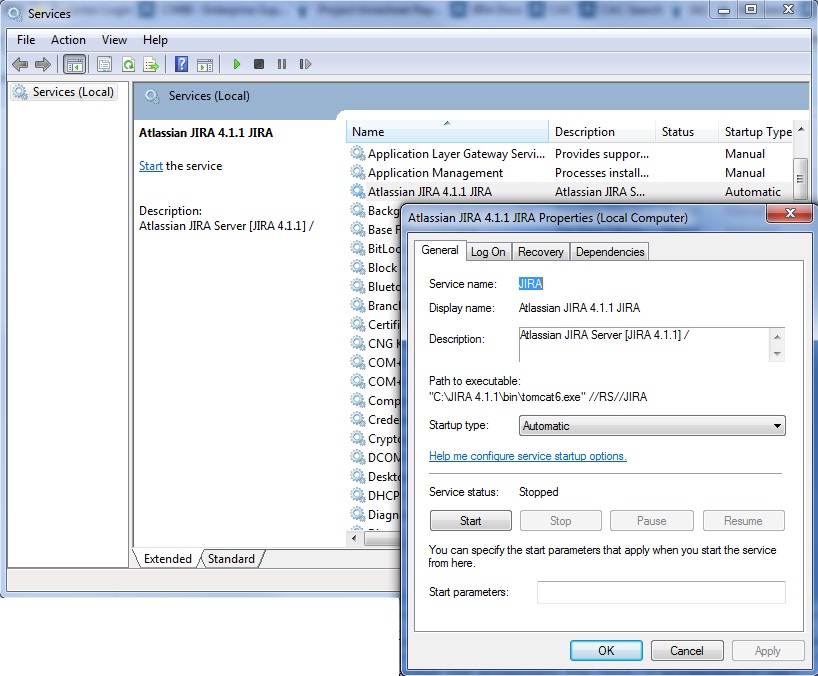
2. Go to the 'Log On' tab and change the user as desired.