Setting Column Order in Filter Results Gadget
Set Column Order in Filter Results Gadget
In JIRA 5.2 and beyond, you can set the order of columns in the Filter Results Gadget. This article only applies to JIRA releases before JIRA 5.2.
This article outlines the steps required to reorder the columns displayed in the Filter Results Gadget until JRA-19083 Allow ordering of fields in gadgets is implemented.
Requires some simple HTML editing using your browser. Instructions are shown for Chrome, but can also be accomplished using Firefox or Safari.
Steps
| # | ||
|---|---|---|
| 1 |
| Here is the default alphabetical ordering of the columns in the Filter Results gadget. |
| 2 |  | Click Edit - note the default alphabetical ordering of the columns from the Edit view. |
| 3 |  | Right-click within the select list for 'Columns to display' - in the pop-up menu, select 'Inspect Element. |
| 4 |  | The HTML select element will be highlighted in your HTML inspection panel. Click the triangle arrow to expand the element. |
| 5 |  | Right-click on the select element, and choose 'Edit as HTML' |
| 6 |  | The HTML will become editable. I'd recommend copying this content to your text editor. Click within the box, right-click and choose 'Select All' then copy to your clipboard. |
| 7 |  | Paste to your text editor. From here you can move tags around relative to each other to reorder them. |
| 8 |  | I manually put each <option>columnname</option> tag on its own line to make it easier to work with. Basically, each column is wrapped in tags, <option> at the beginning and </option> to close it. As you move the tags around, be sure to keep each <option>columnname</option> set intact. Here I will swap the Assignee and Affects Version/s tags: Becomes |
| 9 |  | Select All in your text editor (right-click or Cmd+A etc), copy to clipboard Paste back into your HTML editor, type Enter to exit editing mode. |
| 10 |  | See the column order update! |
| 11 | 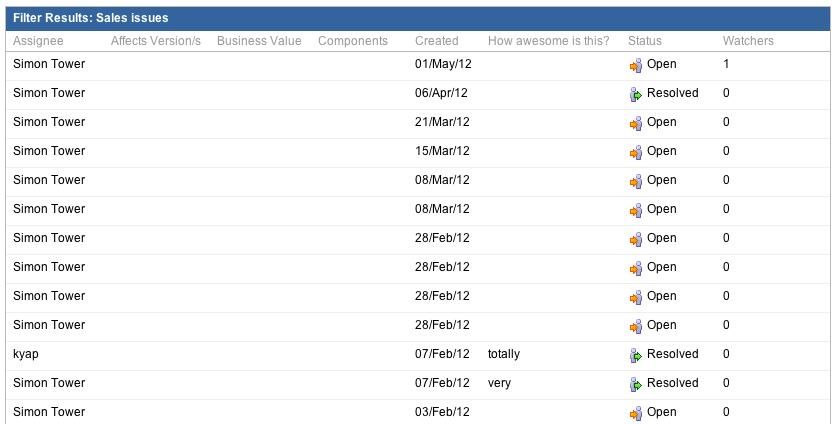 | Click Save. Your columns will now appear in the specified order for all viewers until you go to edit the gadget again. |
