Using custom mail handler aliases to route incoming requests
Platform Notice: Cloud Only - This article only applies to Atlassian products on the cloud platform.
Summary
With a custom mail handler configured in a Service project, it is possible to use aliases of that account to route/triage issues using Automation!
Solution
How does it work?
With a custom mail handler configured, Jira will periodically access the account's Inbox searching for new emails to process and create issues. For instance, let's assume that you have support@yourdomain.com as the project's mail handler:
Jira accesses the account's mailbox and sees unread emails;
For each unread email, Jira will process that email;
When applicable Jira will update existing issues;
Otherwise, Jira creates a new issue and:
Adds the Sender address as the Reporter;
Adds email addresses other than support@yourdomain.com it finds as Request Participants;
The Automation
The automation itself is quite simple:
WHEN: An issue is created
A different trigger can also be used: the "Issue Updated" trigger, checking specifically for changes in the Request Participant field.
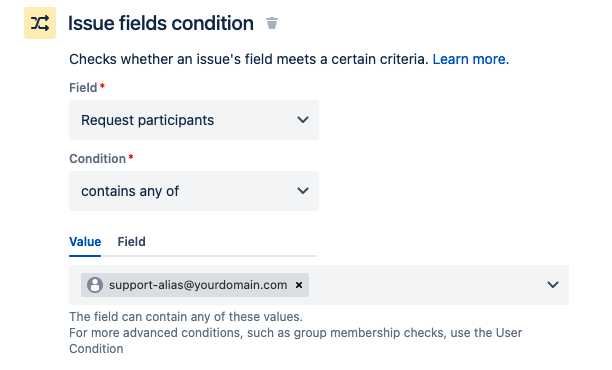
IF: support-alias@yourdomain.com is a Request Participant
THEN: route the issue to the appropriate team. In the example below, we've setup the automation to edit the Components, Labels, and Assignee fields.
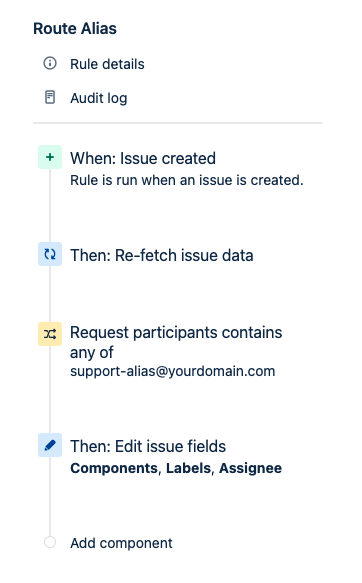
Why the Re-fetch?
Because of how Jira creates issues from emails: It will first create the issue (and trigger the automation) and then add the addresses it finds on the email as Request Participants. And because the automation caches the issue on the trigger, it may not contain the Request Participants yet. By adding the Re-fetch action we're refreshing the automation cache allowing it to properly see the Request Participants.
Unfortunately, a single Re-fetch may not be enough, so if you see cases were the automation is not finding the Request Participants properly, we'd advise you to add more Re-fetches (as they act as a small delay in the automation as well!).
Issues with Microsoft 365/Exchange
If the setup above is not adding the proper alias as a Request Participant, it may be due to the Exchange Mail Flow settings. Please access Exchange Admin Center > Settings > Mail flow and check the "Turn on sending from aliases" setting. WIth this setting enabled, Exchange should send emails as-is, which will allow Jira to properly identify the alias on new incoming emails.
Was this helpful?