Creating and excluding issues
You can create new Jira Software issues, such as epics, stories, and subtasks, from the scope table and push them into Jira later.
When you exclude an issue from Portfolio, it's excluded from your plan but isn't deleted in Jira.
In the following sections, you'll learn how to crete and exclude issues from your plan.
On this page:
How to create issues in your plan
There are multiple ways to create an issue in your plan depending on the hierarchy level you're currently viewing.
How to create an issue at the same level of hierarchy
Option 1
The + Create button creates issues at the same level that you're viewing the schedule and scope table. For example, If you're viewing the schedule and scope table at the story level, the + Create button will create a new story.
- Go to your plan > Scope.
Select + Create at the top right of the scope table. You can also use the + Create button at the bottom left.
A new issue entry will show up with an empty field.

Type the name of the new issue and click Enter to create the new issue.
Option 2
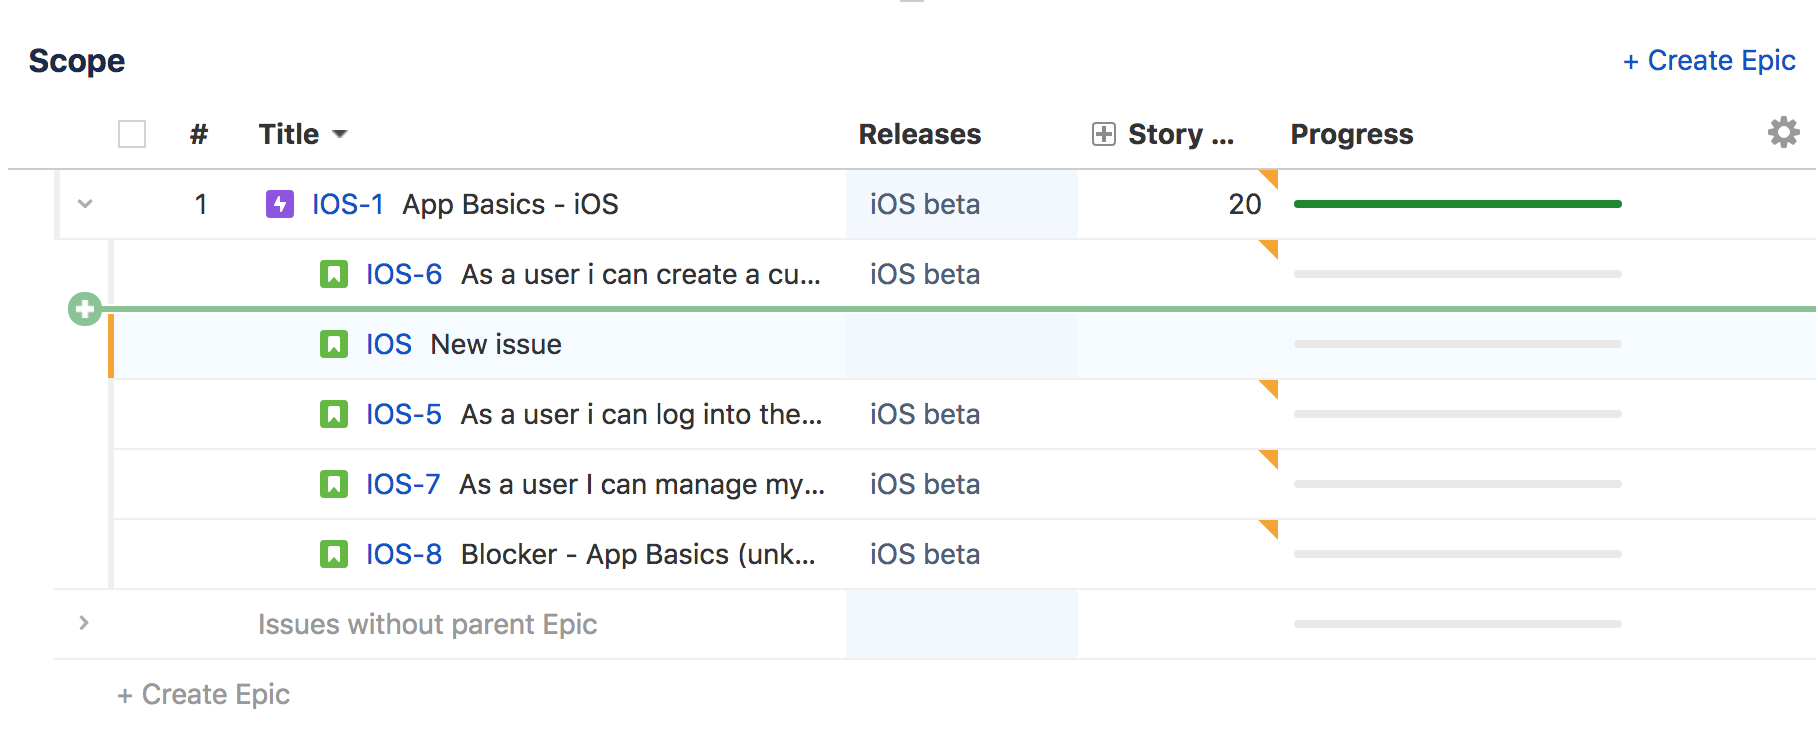
You can also create an inline issue within the list of issues.
- Hover the mouse between two issues that are at the same hierarchy level until a green bar appears.
- Click + and add the new issue name.
How to create an issue at a different level of hierarchy
Option 1 - If the issue has no child issues
For example, an epic that currently has no stories below it.
Go to your plan > scope table.
- Hover over the issue row and click the "+" button to the left of the issue.
Note that this button will only appear for childless issues.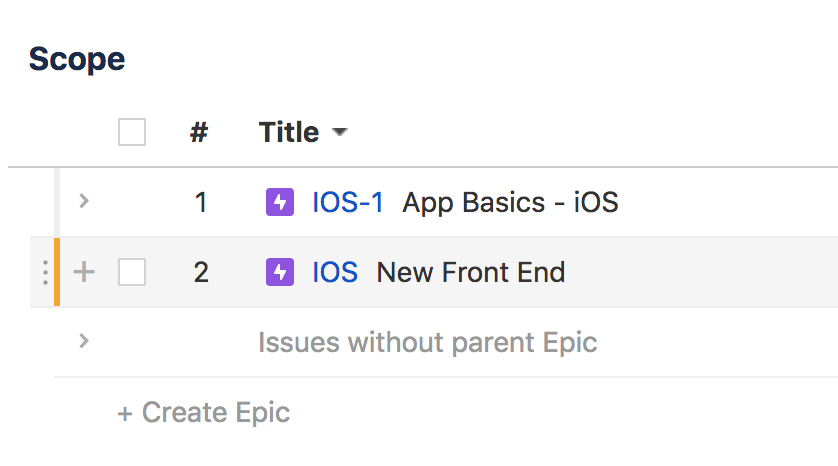
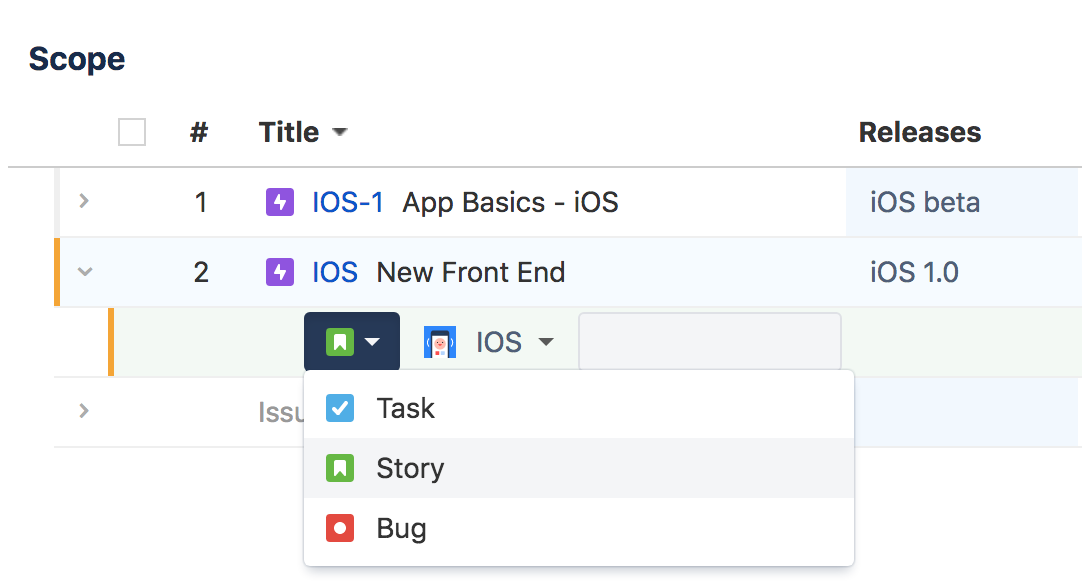
- Choose the issue type from the dropdown and add a name and any relevant details below the table columns (for example, releases and story points).
Option 2 - If the issue already has child issues
For example, an epic that has been broken down into stories.
Go to your plan > scope table.
View the child issues list by clicking the arrow to the left of the issue title.
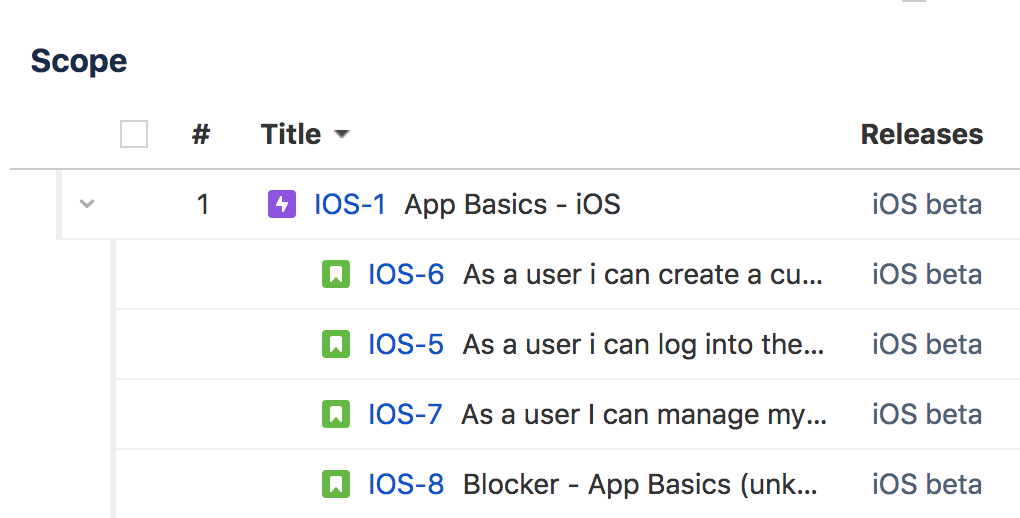
Hover the mouse at the bottom of a child issue until a green bar appears, click + and add the new issue name.
- Choose the issue type and add the name, release, story points, and team.
- Click Calculate to refresh the scheduling, as the changes aren't automatically recalculated and added to the schedule.
Once you've created a new issue in Portfolio for Jira, you can commit the changes back to your Jira application.
How to exclude individual issues from your plan
When you exclude an issue from your plan, the schedule doesn't take it into account. Remember that when you exclude an issue from your plan, it doesn't get deleted in Jira. You can always revert the exclusion by going to the commit section and reverting the change.
- Go to your plan > Scope.
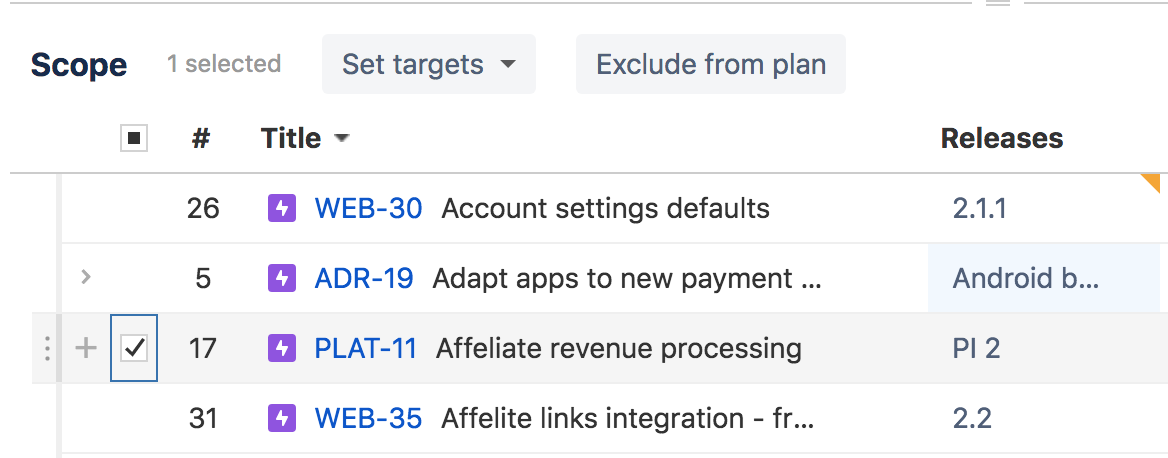
- Hover over the row of the issue you want to exlcude until a checkbox appears at the far left.
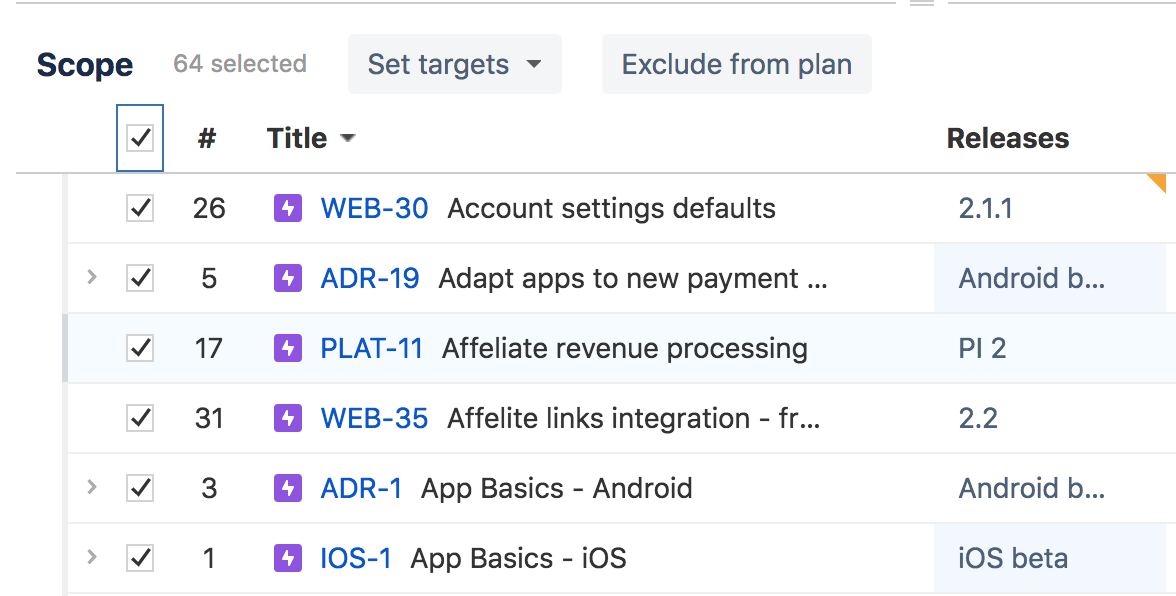
- Select the checkbox and click the Exclude from plan button that appears at the top of the scope table.
How to exclude issues from your plan in bulk
Portfolio lets you exclude issues in bulk from your plan. Remember that issues excluded from your plan aren't deleted in Jira. You can always reverse the exclusion by going to the commit section and reverting the change.
- Go to your plan > Scope.
- Check the box that appears next to Title in the scope table.

- Select the checkbox and click the Exclude from plan button that appears at the top of the scope table.