How to: Rename a branch using local git commands
Platform Notice: Cloud Only - This article only applies to Atlassian products on the cloud platform.
Summary
By default, the main branch on Bitbucket Cloud is named "main". Users must rename the branch locally because there is no option to do so on the UI.
Environment
- Bitbucket Cloud
Solution
Example steps to rename a branch from “main” to “master”:
Begin by cloning the repository locally
Create a new branch with the name you want to set as the default branch (e.g. "master") - the command below will copy the contents of the main branch into the new branch (in this example - master):
git checkout main

git branch -m <master>

git push origin -u <master>
Switching the branch under the "Repository Details" section in the repository settings is important.
On the UI, navigate to "Repository Settings"
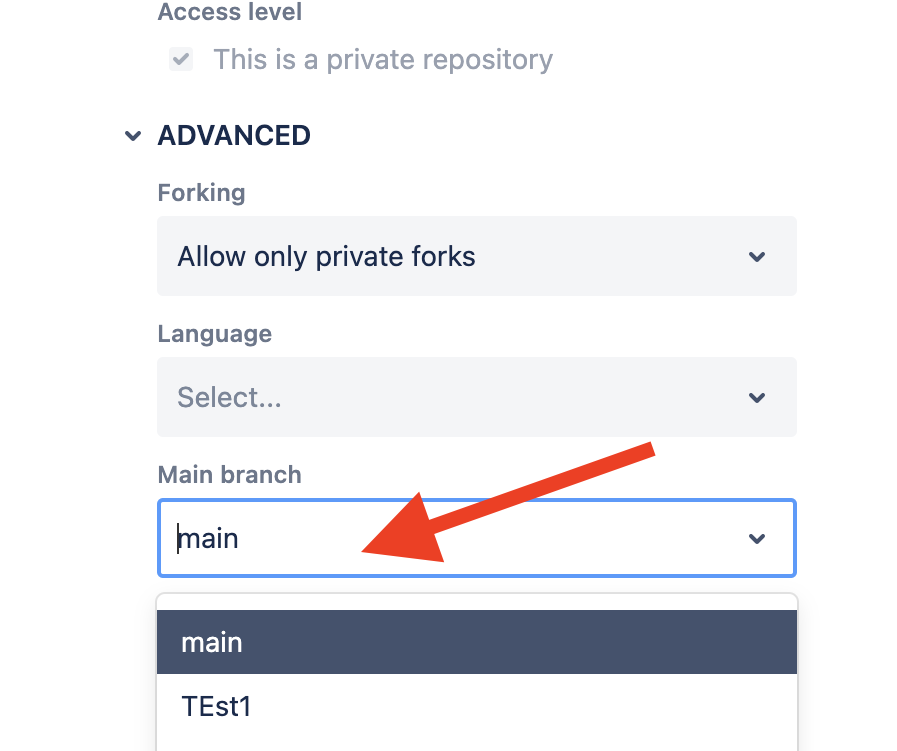
Navigate to "Main branch" under Repository Details
Switch the main branch to one you created (ex:“master“)
Click Save
On the terminal, run the following to remove the old branch named "main" from the repository:
git push origin --delete mainAlternatively, you may also follow the steps below to create the initial commit with a different branch name:
Clone the repository locally
Run the following command to create a new branch with the name you want
git checkout -b <name>Create a new commit on the branch
Push it to the remote
git push --set-upstream origin <name>