Creating a project
- Setting up your instance
- Creating a project
- Adding new users
- Managing permissions
A Jira project is a container that holds issues. Issues can be viewed as the packets of work required within a project. To create issues, you must have an available project to contain them. Jira comes with several default project types with preconfigured workflows and issue types, so you can quickly get your project up and running. In this step of the tutorial, you will use the project management template to help your team plan, organize, and collaborate on their work.
Note that creating and configuring a project is done by an administrator. A project administrator controls user access to the project, and can only configure certain aspects of the look and feel of the project. You should still be logged in to Jira as an administrator from the previous step. If not, log into your administrator account.
Customize your project
In this step, you will be customizing your project avatar and project details to help your team identify the project more easily. These customizations are helpful if you have several projects in your Jira instance. If you have navigated away from your project, simply go to Projects > Dragon Design Tees.
- In the upper-right corner of the screen, select Administration
 > Projects.
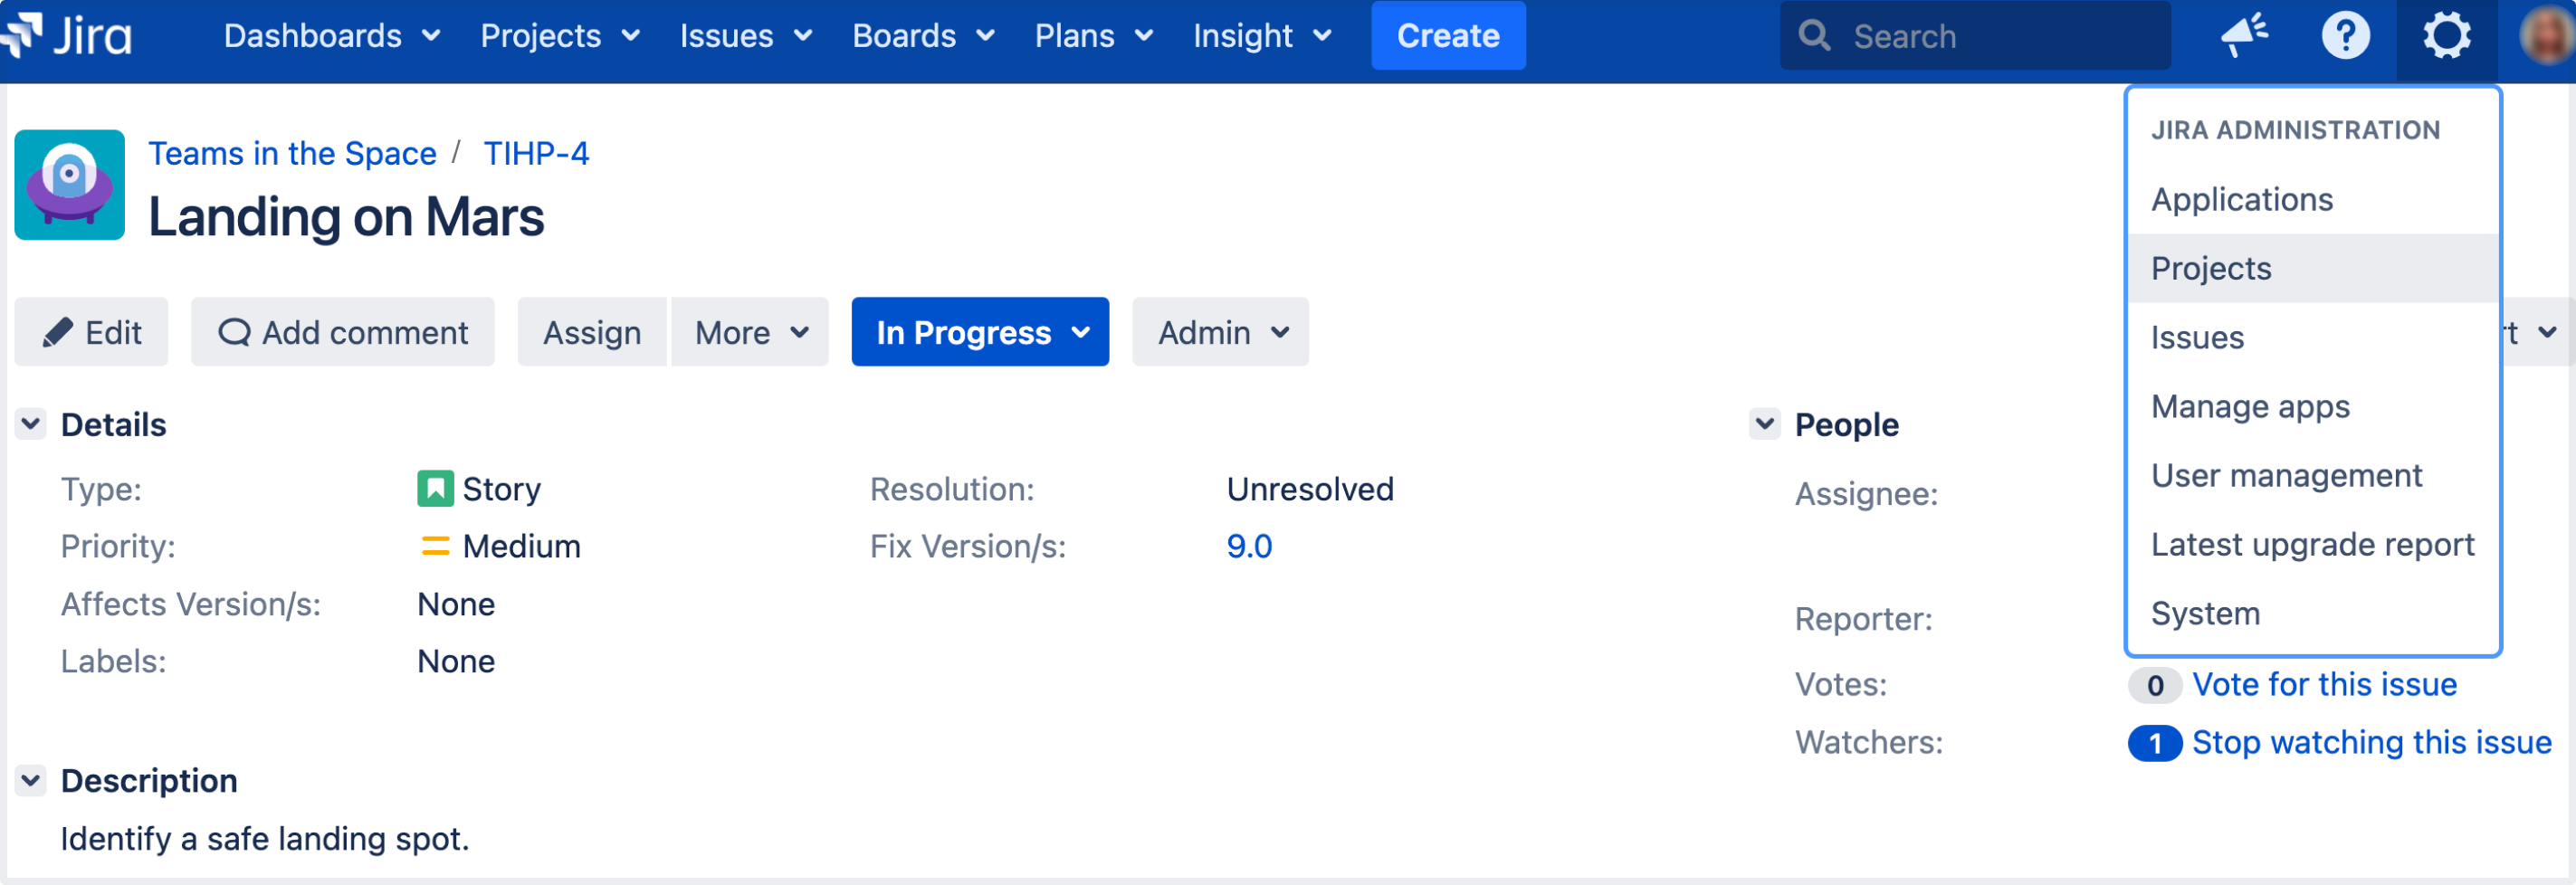
- Select Edit next to your project.
- Click the Avatar image.
- Select an available icon or upload an image.
- Enter a URL and Description for your project to make it easier for your team to identify. Note that these fields are optional and only for display.
- Select Save details to save your changes.
Congratulations! You've now created and customized your first project. Next, we'll add users to your project and look at how you can set up and restrict access to projects.