Archiving a project
By archiving a project, you can remove it from Jira and preserve the data it contains in case you need it later. It’s good practice to archive inactive or completed projects so they don’t clutter your Jira instance. Fewer projects may also mean better performance.
Project archiving is only available for Jira Software Data Center and Jira Service Management Data Center. To archive projects in Jira Server, see this knowledge base article.
Before you begin
- You must have the Jira Administrator or Jira System Administrator global permission to archive or restore projects. For more information about different types of permissions that can be set up in Jira, see Permissions overview.
- You don't have to prepare a project in any way before archiving it. You can archive any project, and restore it later, if needed.
Archiving a project
To archive a project:
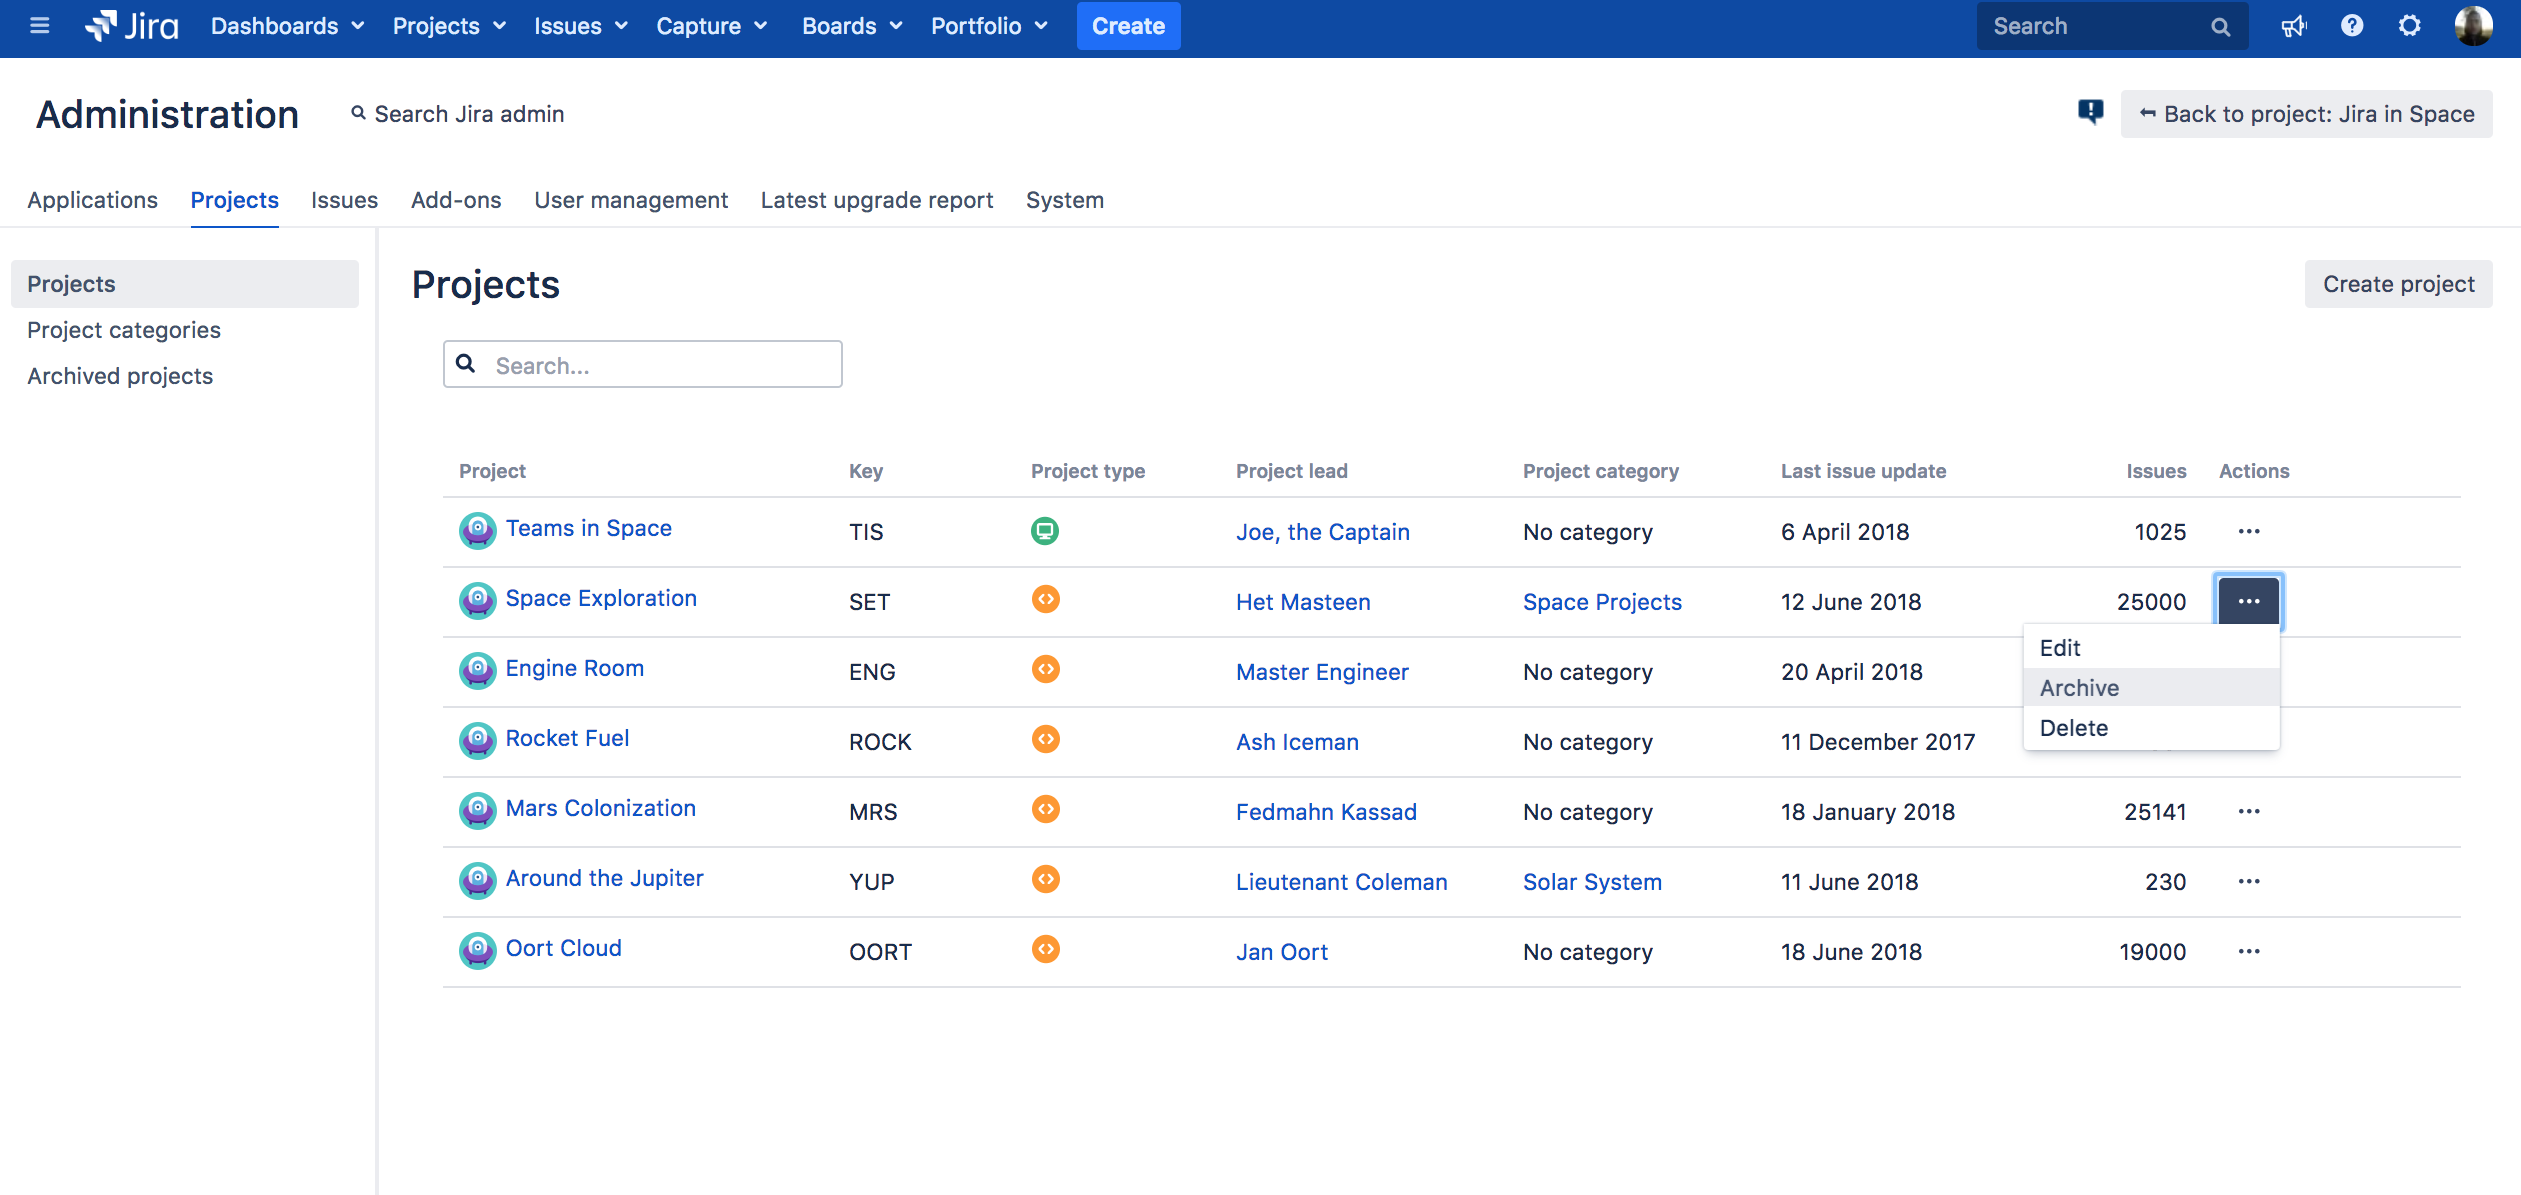
- In the upper-right corner of the screen, select Administration > Projects.
Find the project that you want to archive and select Actions () > Archive.
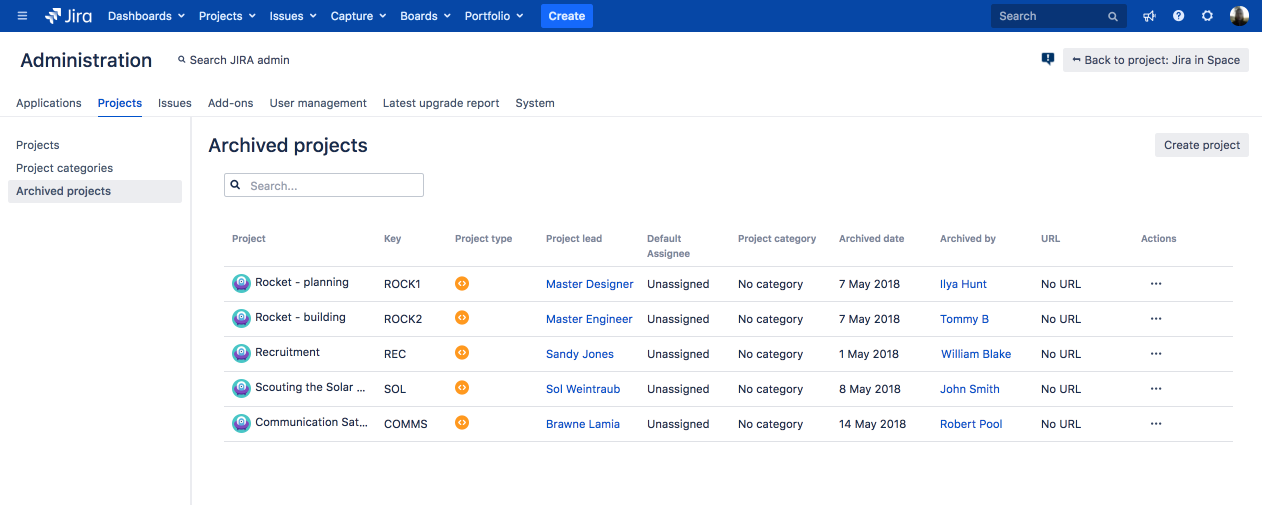
The project will be immediately hidden from view and moved to the Archived projects page.
Jira will be reindexed automatically to remove the project data from the index and keep the performance healthy.
What happens to a project after you archive it?
Here's a few things you should know about:
| Project |
|
|---|---|
| Issues |
|
| Customer portal | Only applicable if Jira Service Management is installed and licensed.
|
| Configuration |
|
| Index |
|
Restoring and re-indexing a project
All the project data remains in the database, so you can restore it whenever it's needed again.
To restore a project:
- In the upper-right corner of the screen, select Administration > Projects.
- Select Archived projects. This page shows all projects that have been archived.
- Find the project you want to restore, and select Actions () > Restore.
The project will be restored to its original state, and brought back to the list of projects and project pickers. - Re-index the project, so its issues appear again in search results.
- Open the project you just restored.
- In the bottom-right corner of the screen, select Project settings ().
- Under the Project settings (the left-side panel), select Re-index project.
- Select Start project re-index.


