Associating a screen with an issue operation
Managing screen schemes
For all of the following procedures, you must be logged in as a user with the Jira administrators global permission.
Add a screen scheme
Depending on your requirements, you may want to create multiple screen schemes, and associate them with different projects and issue types.
- In the upper-right corner of the screen, select Administration
 > Issues.
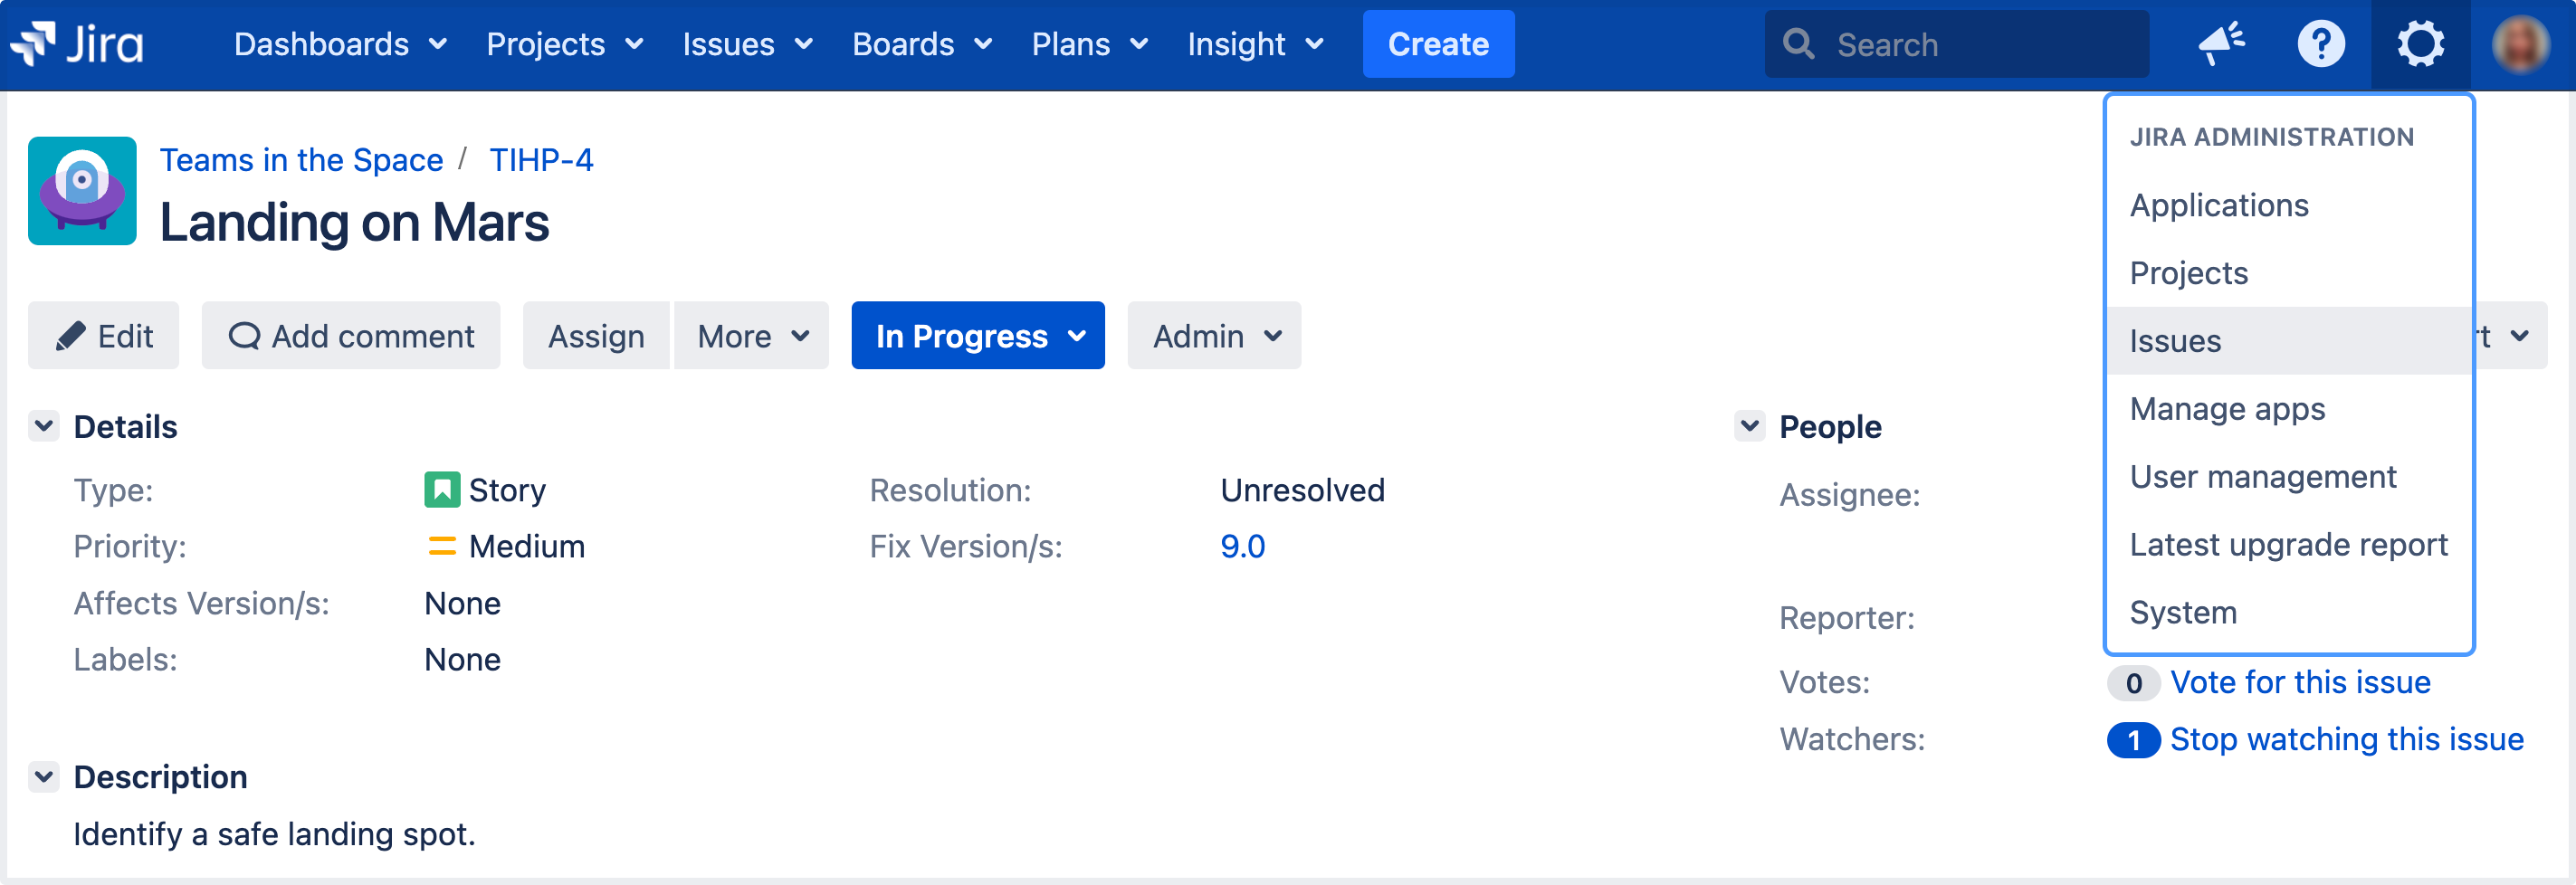
- In the sidebar, select Screens and go to Screen schemes to open the View screen schemes page.
- Select the Add new screen scheme button.
- Fill out the details for the new screen scheme on the form that is displayed.
Note: The default screen is used for issue operations that do not have a screen associated with them.
Edit a screen scheme's details
- In the upper-right corner of the screen, select Administration > Issues.
- In the sidebar, select Screens and go to Screen schemes to open the View screen schemes page.
- Select Edit next to the desired screen scheme.
- You will now be directed to the Edit screen scheme page, where you can edit the screen scheme's name and description and the Screen that is associated with the Default Entry of the scheme.
Delete a screen scheme
Note that screen schemes that are associated with an issue type screen scheme cannot be deleted. You will first need to edit the issue type screen scheme and remove the screen scheme.
- In the upper-right corner of the screen, select Administration > Issues.
- In the sidebar, select Screens and go to Screen schemes to open the View screen schemes page.
- Select the Delete link next to the desired screen scheme. You will be prompted to confirm your deletion.
Copy a screen scheme
- In the upper-right corner of the screen, select Administration > Issues.
- In the sidebar, select Screens and go to Screen schemes to open the View screen schemes page.
- Select Copy next to the screen scheme you wish to copy.
- You will now be directed to the Copy Screen Scheme page. Enter the name and description of the new screen scheme and click the Copy button.
Configure a screen scheme
Associate a screen with an issue operation
- In the upper-right corner of the screen, select Administration > Issues.
- In the sidebar, select Screens and go to Screen schemes to open the View screen schemes page:

- Locate the screen scheme in which you are interested, and select the Configure link next to it.
- Select Associate an issue operation with a screen, and select the following options:
Select the Issue Operation with which you wish to associate a screen.
Select the desired screen.
Important notes
There can only be one association for an issue operation per screen scheme. If all operations have been associated with a screen, use the Edit link next to each operation to change the screen it is associated with.
If an issue operation does not have a specific mapping to a screen, the screen that is associated with the Default entry will be used for that operation. The Default entry cannot be deleted from a screen scheme. Click Edit next to the Default entry to change the screen that is associated with it.
The View Issue operation only allows you to control the layout of custom fields in the middle of the View Issue page. It ignores all the non-custom fields on the screen.
Edit an association
- In the upper-right corner of the screen, select Administration > Issues.
- In the sidebar, select Screens and go to Screen schemes to open the View screen schemes page.
- Locate the screen scheme in which you are interested, and select the Configure link next to it. The Configure screen scheme page is displayed.
- Select Edit next to the issue operation you wish to edit. The Edit screen scheme Item page is displayed.
- Select the desired screen and select Update.
Deleting an association
- In the upper-right corner of the screen, select Administration > Issues.
- In the sidebar, select Screens and go to Screen schemes to open the View screen schemes page.
- Locate the screen scheme in which you are interested, and click the Configure link next to it. The Configure Screen Scheme page is displayed.
- Select the Delete link next to the issue operation you wish to remove.
Activate a screen scheme
To activate a screen scheme, you need to associate it with one or more projects and issue types, using issue type screen schemes.
- Configure an issue type screen scheme to use the screen scheme.
- Associate the issue type screen scheme with a project.
For details of both procedures, see Associating screen and issue operation mappings with an issue type.