Setting up queues for your team
Make sure that your team is working on the right requests at the right time with easily configurable service project queues. A queue is a filtered set of issues that are displayed to your team.
Use the default queues created by Jira Service Management in your project or create custom queues to save time triaging requests. This way, your agents will have more visibility on the number, priority, and type of incoming customer requests they need to work on.
Who can do this?
Project admins
To set up queues:
- Navigate to your service project.
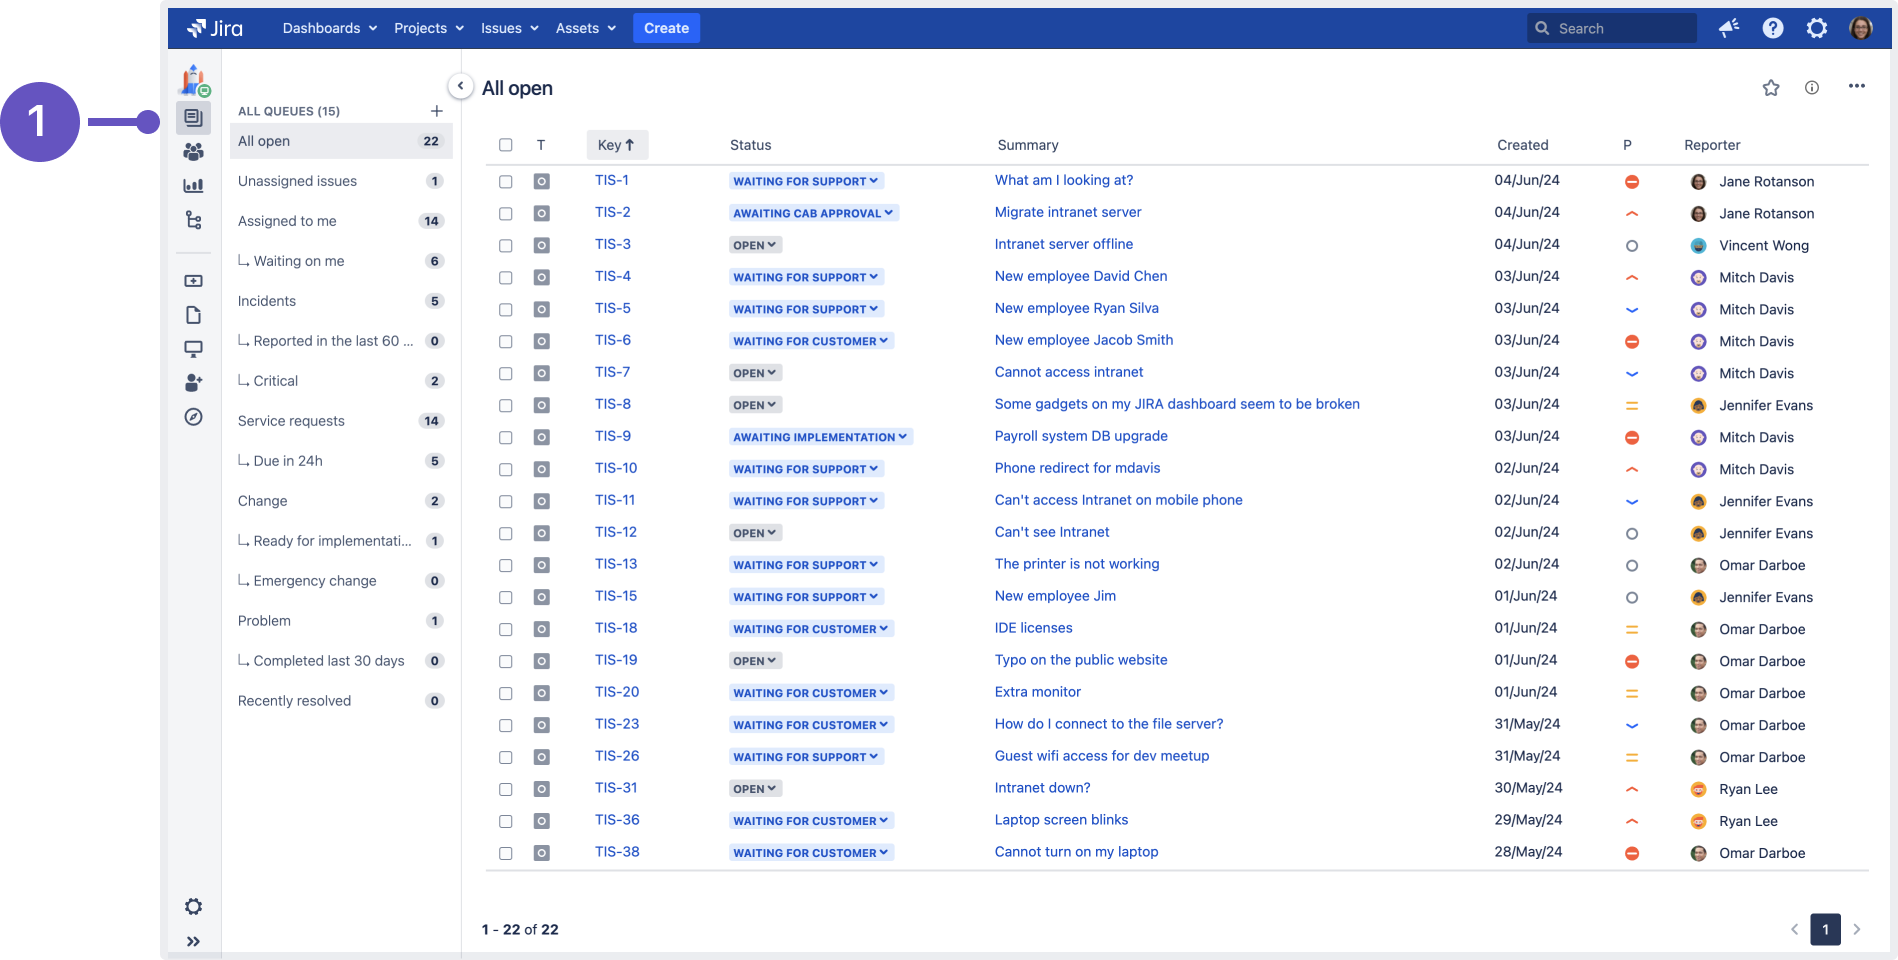
- From the sidebar, select Queues.
1: Queues icon in the project sidebar
Creating new queues
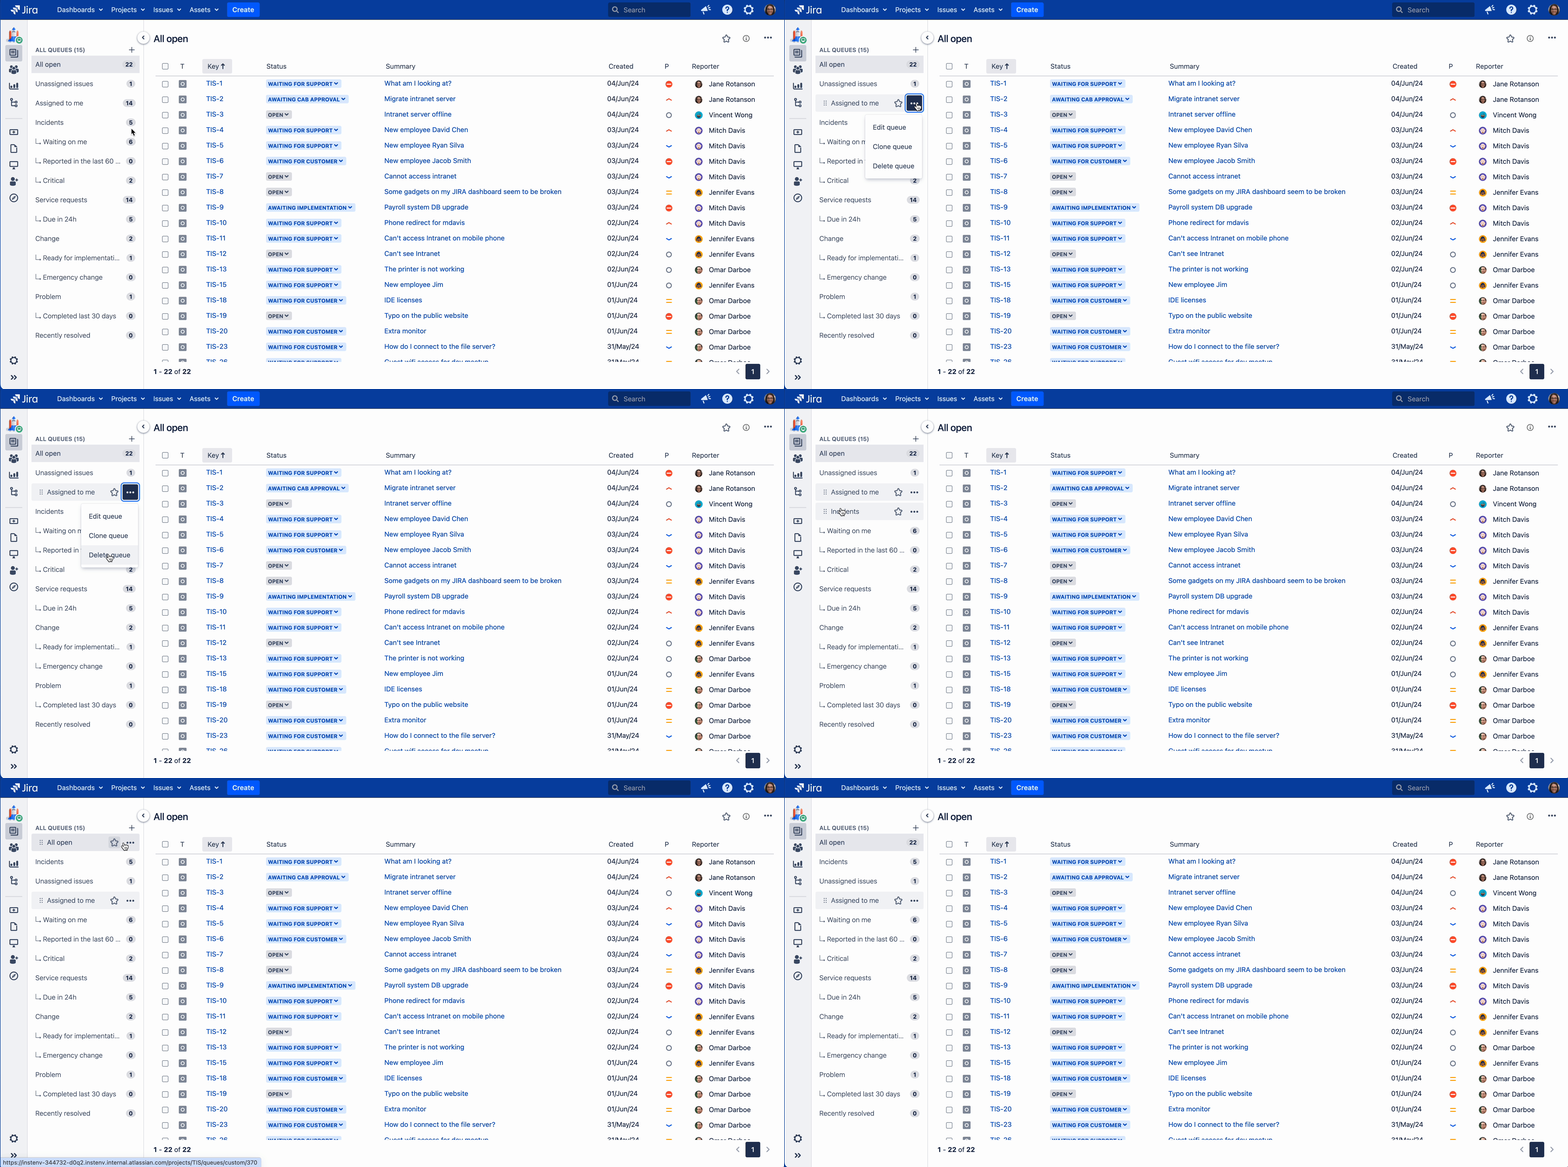
If you want to create a queue that closely resembles an existing one, navigate to the queue, select More actions (…) then Clone queue to copy the queue. Customize the copied queue to suit your needs. Issue filter (including JQL for advanced filters) and column settings are copied to the cloned queue.
When creating a new queue, you can select the queue name, the issues that will be filtered into this queue, and the columns that appear in the queue to make life easier for your service team. Here's how you create a new queue:
- From your service project sidebar, select Queues then Create queue (+) icon.
- Name your queue using language your team will understand (for example, "Due this week").
Select which issues will show up in this queue using the dropdown options in the Basic search view.
You can also select the advanced search view to enter a Jira Query Language (JQL) statement. For example, using JQL, you can direct specific request types (using the Customer request type field) to a certain queue.
- Add or remove columns to control what issue information, such as the issue key and issue creation date, is displayed in your queue.
- Select Create. If you have existing issues in your project that fit the criteria selected in "Issues to show", these issues will now appear in your new queue.
Managing queues
- If you're using filters in your queues, make sure these filters include all the priorities defined in the associated priority scheme.
- The change you make will be available to all your agents immediately. For example, if you change the order of a queue, agents will see the new order in their queue view.
You can see the number of issues in each queue from the sidebar, and drag and drop queues to reorder them.
To delete a queue, hover over the queue or navigate to it, select More actions (…) then Delete queue.
You can edit existing queues by selecting the queue you wish to configure and selecting Edit queue from the More actions (...) menu in the top right corner. You can edit the queue name, the issues shown, the columns, and column order. Note that you will see a live preview of the updated issues that appear in this queue as you configure it.
How your team uses queues
Queues give your agents a single view of the work that needs to be done across their team. Agents can view all of the queues in your service project; however, they cannot create or edit queues.
For quick access, your agents can star their favorite queues, which will be displayed in the Starred section at the top of their queue list. How agents use service project queues


