Integrate Jira Service Desk Cloud with Zapier
The Zapier integration with Jira Service Desk Cloud lets you automate tasks you would otherwise have to do manually. By using these Zaps, you’ll save time as Zapier moves information between your apps. A Zap consists of a trigger and an action where the trigger indicates when the action is performed.
Supported triggers and actions
Triggers:
New Request - Triggers when a request is created.
Request Updated - Triggers when a request is updated.
Actions:
Create Request - Create a new request.
Example Zaps
You can set up Zaps with the thousands of app integrations available on Zapier. Some example zaps are:
Receive notifications when new Jira Service Desk requests are created.
Send the contents of a Jira Service Desk request when it’s created to create a task.
Create regularly scheduled Jira Service Desk requests.
Set up a Zap
Before you begin, make sure you create a Zapier account if you don’t already have one and log in.
To set up a Zap:
Go to https://zapier.com/apps/jira-service-desk/integrations.
Choose from one of the Zap templates for Jira Service Desk with Use This Zap or select Make a Zap! to make your own Zap.
Zapier will prompt you to connect your Atlassian account to access Jira Service Desk:
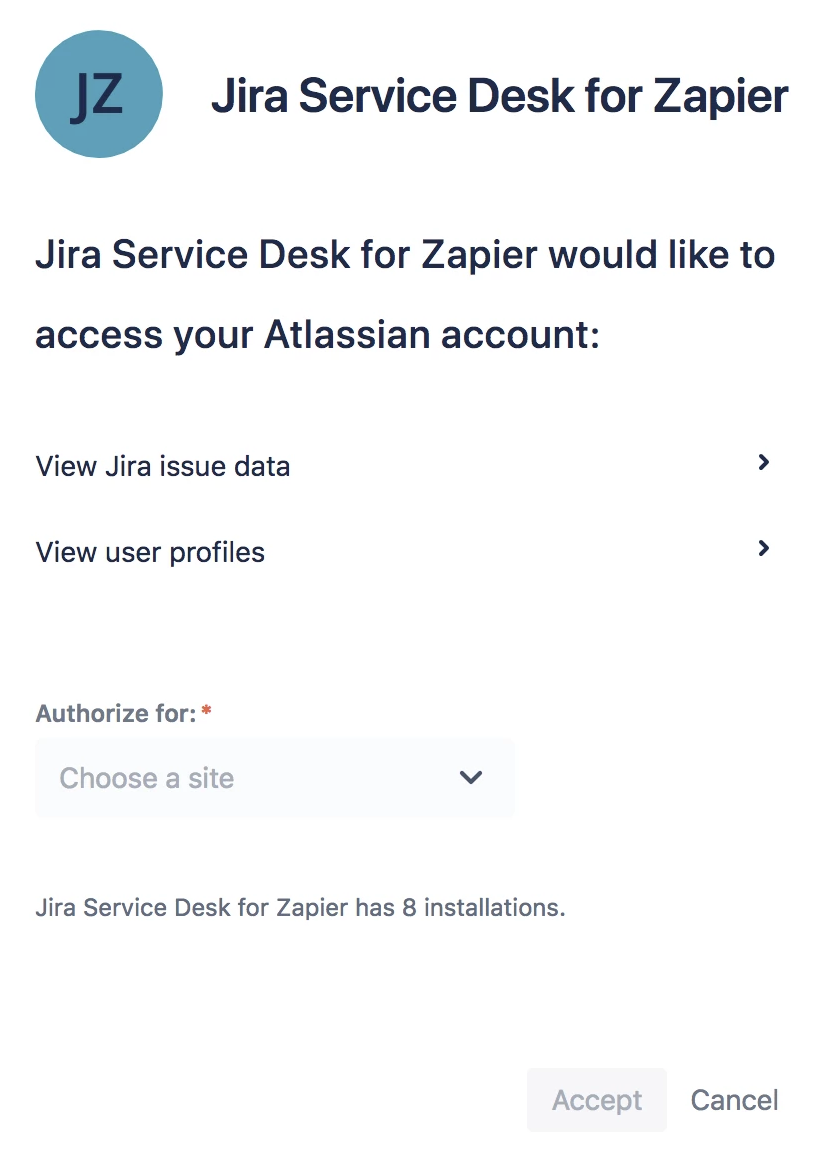
Choose the Jira Service Desk site you want to use for the Zap in the Choose a site drop-down and click Accept to allow Zapier access to create the Zap. Click View Jira Issue data or View user profiles to see more details about what you’re allowing Zapier access to.
You will also be prompted to choose a site and project to use for the Zap. Choose a Site, then Project using the drop-downs.
Complete the rest of the setup instructions.