Installing Jira Data Center

These instructions are applicable for installing Jira Software Data Center or Jira Service Management Data Center on your own hardware. 

Other ways to install Jira Data Center

  • Kubernetes — Installation on a Kubernetes cluster using our Helm charts
  • AWS — Deployment in AWS
  • Azure — Microsoft Azure deployment

Before you begin

Things you should know about when setting up your Data Center:

Supported platforms

See our Supported platforms page for information on the database, Java, and operating systems you'll be able to use. These requirements are the same for Server and Data Center deployments.

Requirements

To use Jira Data Center, you must:

To run Jira in a cluster, you must also:

  • Use a load balancer with session affinity and WebSockets support in front of the Jira cluster. Load balancer examples

  • Have a shared directory accessible to all cluster nodes in the same path (this will be your shared home directory). This must be a separate directory, and not located within the local home or install directory.

Terminology

In this guide we'll use the following terminology:

  • Installation directory: The directory where you installed Jira.

  • Local home directory: The home or data directory stored locally on each cluster node (if Jira is not running in a cluster, this is simply known as the home directory).

  • Shared home directory: The directory you created that is accessible to all nodes in the cluster via the same path.

Install Jira Data Center on a single node

If your organization doesn't need high availability or disaster recovery capabilities right now, you can install Jira Data Center without setting up a cluster.

To install Jira Data Center, without setting up a cluster, follow the instructions for Jira Server: 

The process is almost identical to an ordinary Jira Server installation, just be sure to enter your Data Center license.

Install Jira Data Center in a cluster

1. Install or upgrade your Jira instance

Jira Data Center is available for Jira 7.0, or later. If you're not on this version yet, install or upgrade your Jira instance. 

Jira installation and upgrade guide

2. Set up the shared directory

You'll need to create a remote directory that is readable and writable by all nodes in the cluster. There are multiple ways to do this, but the simplest is to use an NFS share.

  1. Create a remote directory, accessible by all nodes in the cluster, and name it e.g. sharedhome
  2. Stop your Jira instance.
  3. Copy the following directories from the Jira local home directory to the new sharedhome directory (some of them may be empty).

    • data
    • plugins
    • logos
    • import
    • export
    • caches
    • keys
Recommended mount options

When you provision your application cluster nodes laterwe recommend using the following NFS mount options used for deploying Jira Data Center on AWS:

rw,nfsvers=4.1,lookupcache=pos,noatime,intr,rsize=32768,wsize=32768,_netdev

For more details, check Getting started with Jira Data Center on AWS

Learn more about the recommended mount options and consider some others available in Jira DC AWS CloudFormation templates:

  • rw (read-write) specifies that the file share should be mounted as read-write. This is useful if you need to modify the contents of the file share.
  • hard or soft specify the behavior of the mount if the NFS server becomes unavailable. hard means that the mount will keep retrying until the server becomes available again, while soft means that the mount will eventually give up and return an error.
  • intr or nointr specify whether or not the mount should allow processes to be interrupted if the NFS server becomes unavailable. intr allows processes to be interrupted, while nointr does not.
  • noatime specifies that the access time of files on the file share shouldn't be updated every time a file is accessed. This can improve performance.
  • async or sync specify whether the file system should be mounted in asynchronous or synchronous mode.
    • In asynchronous mode (async), data is written to the file system in the background, which can improve performance but may result in data loss if the system crashes.
    • In synchronous mode (sync), data is written to the file system immediately, which is safer but may result in slower performance.

3. Configure your Jira instance to work in a cluster

  1. In the Jira local home directory, create a cluster.properties file, with contents as follows: 

    Example cluster.properties file:

    # This ID must be unique across the cluster
    jira.node.id = node1
    # The location of the shared home directory for all Jira nodes
    jira.shared.home = /data/jira/sharedhome

    For more information and some additional parameters, see Cluster.properties file parameters.

  2. For Linux installations: We recommend that you increase the maximum number of open files. To do that, add the following line to <jira-install>/bin/setenv.sh:

    ulimit -n 16384


  3. Start your instance, and apply the Data Center license.


4. Add the first node to the load balancer

The load balancer distributes the traffic between the nodes. If a node stops working, the remaining nodes will take over its workload, and your users won't even notice it.

  1. Add the first node to the load balancer. 
  2. Restart the node, and then try opening different pages in Jira. If the load balancer is working properly, you should have no problems with accessing Jira. 

5. Add the remaining nodes to the cluster

The approach to adding the remaining nodes to the cluster varies with the method that was used to install Jira on the first node (either manually from a .zip  or .tar.gz archive or using a .bin or .exe installer). Follow the steps that correspond to the original installation method.

If Jira was installed manually from a .zip or .tar.gz archive on the first node...
  1. Copy the Jira installation and home directories from an existing node to the new node.

  2. Ensure the new node can read and write to the shared home directory.

  3. Edit <home-directory>/cluster.properties on the new node by providing a unique node ID and an IP address if one was specified.

  4. Start Jira. It will read the configuration from the shared home directory and start without any extra setup.

  5. Take a look around the new Jira instance. Ensure that issue creation, search, attachments, and customizations work as expected.

  6. If everything looks fine, you can configure your load balancer to start routing traffic to the new node. Once you do this, you can make a couple of changes in one Jira instance to see if they're visible in other instances as well.Use the same method to install the same version of Jira on another node in your cluster. During the installation, take note of the locations of the Jira installation and home directory paths.

If Jira was installed using a .bin or .exe installer on the first node...
  1. Ensure the new node can read and write to the shared home directory.

  2. Start Jira to allow the application to populate the home directory.

  3. Open Jira in the browser and make sure that you can see the setup page. If the page appears, the installation was successful and you can close the browser.

  4. Stop Jira.

  5. Copy dbconfig.xml and cluster.properties from the Jira home directory on an existing node to the Jira home directory on the new node.

  6. Copy server.xml from <installation-directory>/conf on an existing node to <installation-directory>/conf on the new node.

  7. Edit <home-directory>/cluster.properties on the new node by providing a unique node ID and an IP address if one was specified.

  8. If you modified any important directories and files (for example, <installation-directory>/bin/setenv.sh or <installation-directory>/conf/web.xml) on an existing node, copy the modified files to the same locations on the new node.

  9. If Jira runs over SSL, import the SSL certificates to the local Java truststore on the new node to allow Jira to communicate with itself over its base URL.

  10. Start Jira. It will read the configuration from the shared home directory and start without any extra setup.

  11. Take a look around the new Jira instance. Ensure that issue creation, search, attachments, and customizations work as expected.

  12. If everything looks fine, you can configure your load balancer to start routing traffic to the new node. Once you do this, you can make a couple of changes in one Jira instance to see if they're visible in other instances as well.

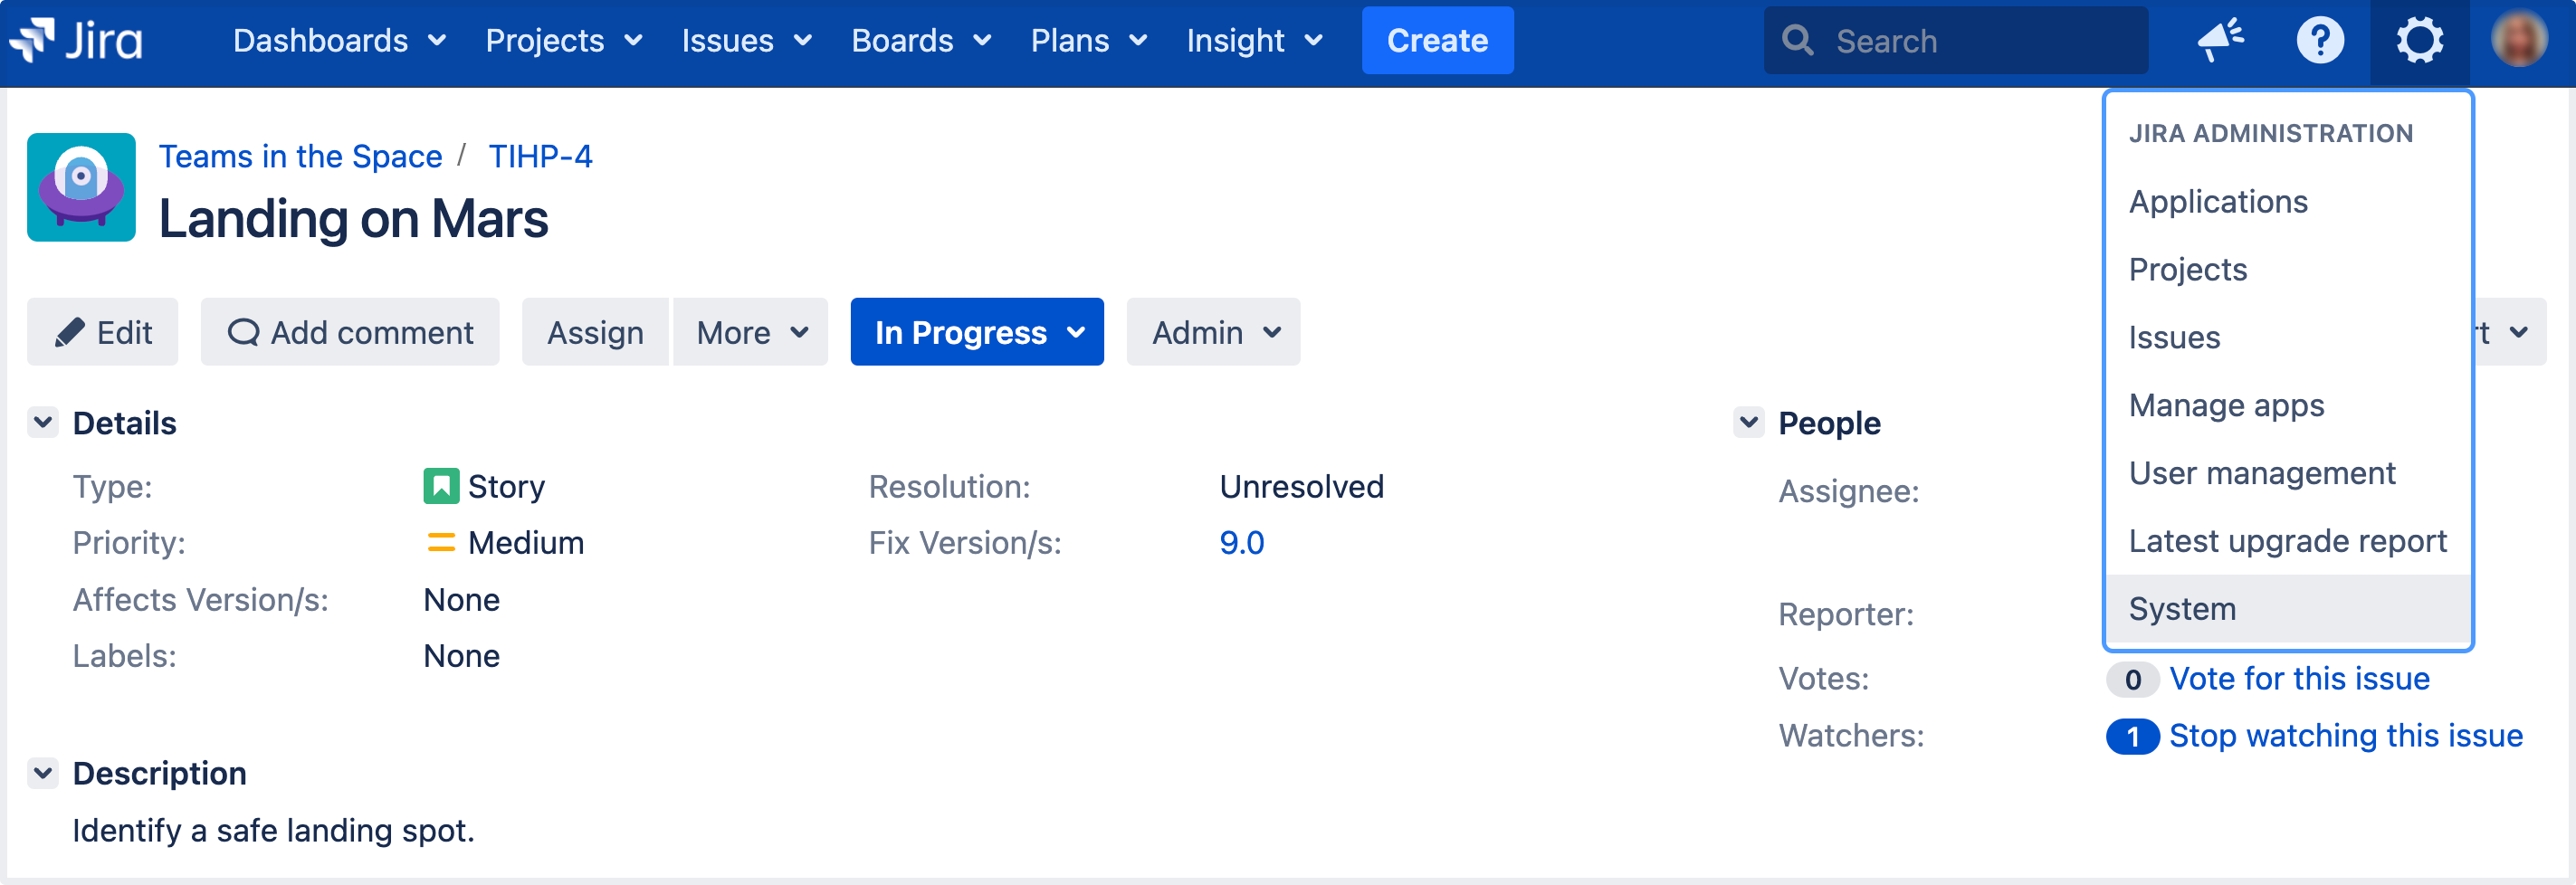
While adding your nodes to the cluster, you can check their status as follows:

  1. In the upper-right corner of the screen, select Administration  > System.
  2. Under System support, select System info. Your nodes will be listed in the Cluster nodes section.

Cluster.properties file parameters

In addition to the required parameters, the cluster.properties file allows you to configure some additional options, mostly related to EhCache.

Tell me more...
ParameterRequiredDescription/value
jira.node.id YesThis unique ID must match the username and the BalancerMember entry in the Apache configuration.
jira.shared.homeYesThe location of the shared home directory for all Jira nodes.
ehcache.peer.discoveryNo

Describes how nodes find each other:

defaultJira will automatically discover nodes (recommended)
automaticJira will use the EhCache's multicast discovery. This is the historical method used by EhCache, but it can be difficult to configure, and is not recommended by Atlassian.

If you choose automatic...

If you set ehcache.peer.discovery = automatic then you need to set the following parameters:

  • ehcache.multicast.address

  • ehcache.multicast.port

  • ehcache.multicast.timeToLive

  • ehcache.multicast.hostName

For more info on these parameters, see Ehcache documentation.

ehcache.listener.hostNameNo

The hostname of the current node for cache communication. Jira Data Center will resolve this internally if the parameter isn't set.
If you have problems resolving the hostname of the network you can set this parameter. If you’re facing name resolve issues, you can also use the IP Address of the node.

ehcache.listener.portNo

The port that the node is going to be listening to (default is 40001).

If multiple nodes are on the same host, or if this port is unavailable, you might need to set this parameter manually.

ehcache.object.portNo

The port on which the remote objects bound in the registry receive calls (default is 40011). Make sure you also open this port on your firewall.

If multiple nodes are on the same host, or if this port is unavailable, you might need to set this parameter manually.

ehcache.listener.socketTimeoutMillisNoBy default, this is set to the EhCache default.

Security

To secure your application, use a firewall or network segregation (or both) to ensure that only permitted nodes connect to Jira Data Center's Ehcache RMI ports. If you use a firewall, you must open ports in the firewall between nodes and the cache, or else you may see cache replication issues. The two default Ehcache RMI ports are 40001 and 40011. 

Not restricting access to the Ehcache RMI ports might compromise your Jira Data Center instance.

Monitoring the health of your Data Center

Now that you got your Data Center up and running, we recommend that you keep monitoring its health right from the start. This will help you keep any problems from getting bigger and messing with your work, and you'll always know what's going on in the cluster. 

JIRA Data Center is equipped with a set of health checks tools that let you monitor the whole cluster and each node individually, including all important settings.

To access the health check tools:

  1. In the upper-right corner of the screen, select Administration  > System.

  2. Under System support, select Troubleshooting and support tools. All health checks are listed on the Instance health tab. 

Additionally, you can monitor the health of your remote caches. See Monitoring the cache replication. For more on remote caches, see Jira Data Center cache replication

In Jira Data Center version 8.6 and later, you can monitor your Data Center cluster:

  1. In the upper-right corner of the screen, select Administration  > System.
  2. Under System support, select Clustering and see how your cluster is doing. For more on cluster monitoring, see Jira cluster monitoring.
Last modified on May 30, 2023

Was this helpful?

Yes
No
Provide feedback about this article
Powered by Confluence and Scroll Viewport.