Managing components

Managing a project's components
- In the upper-right corner of the screen, select Administration
 > Projects.
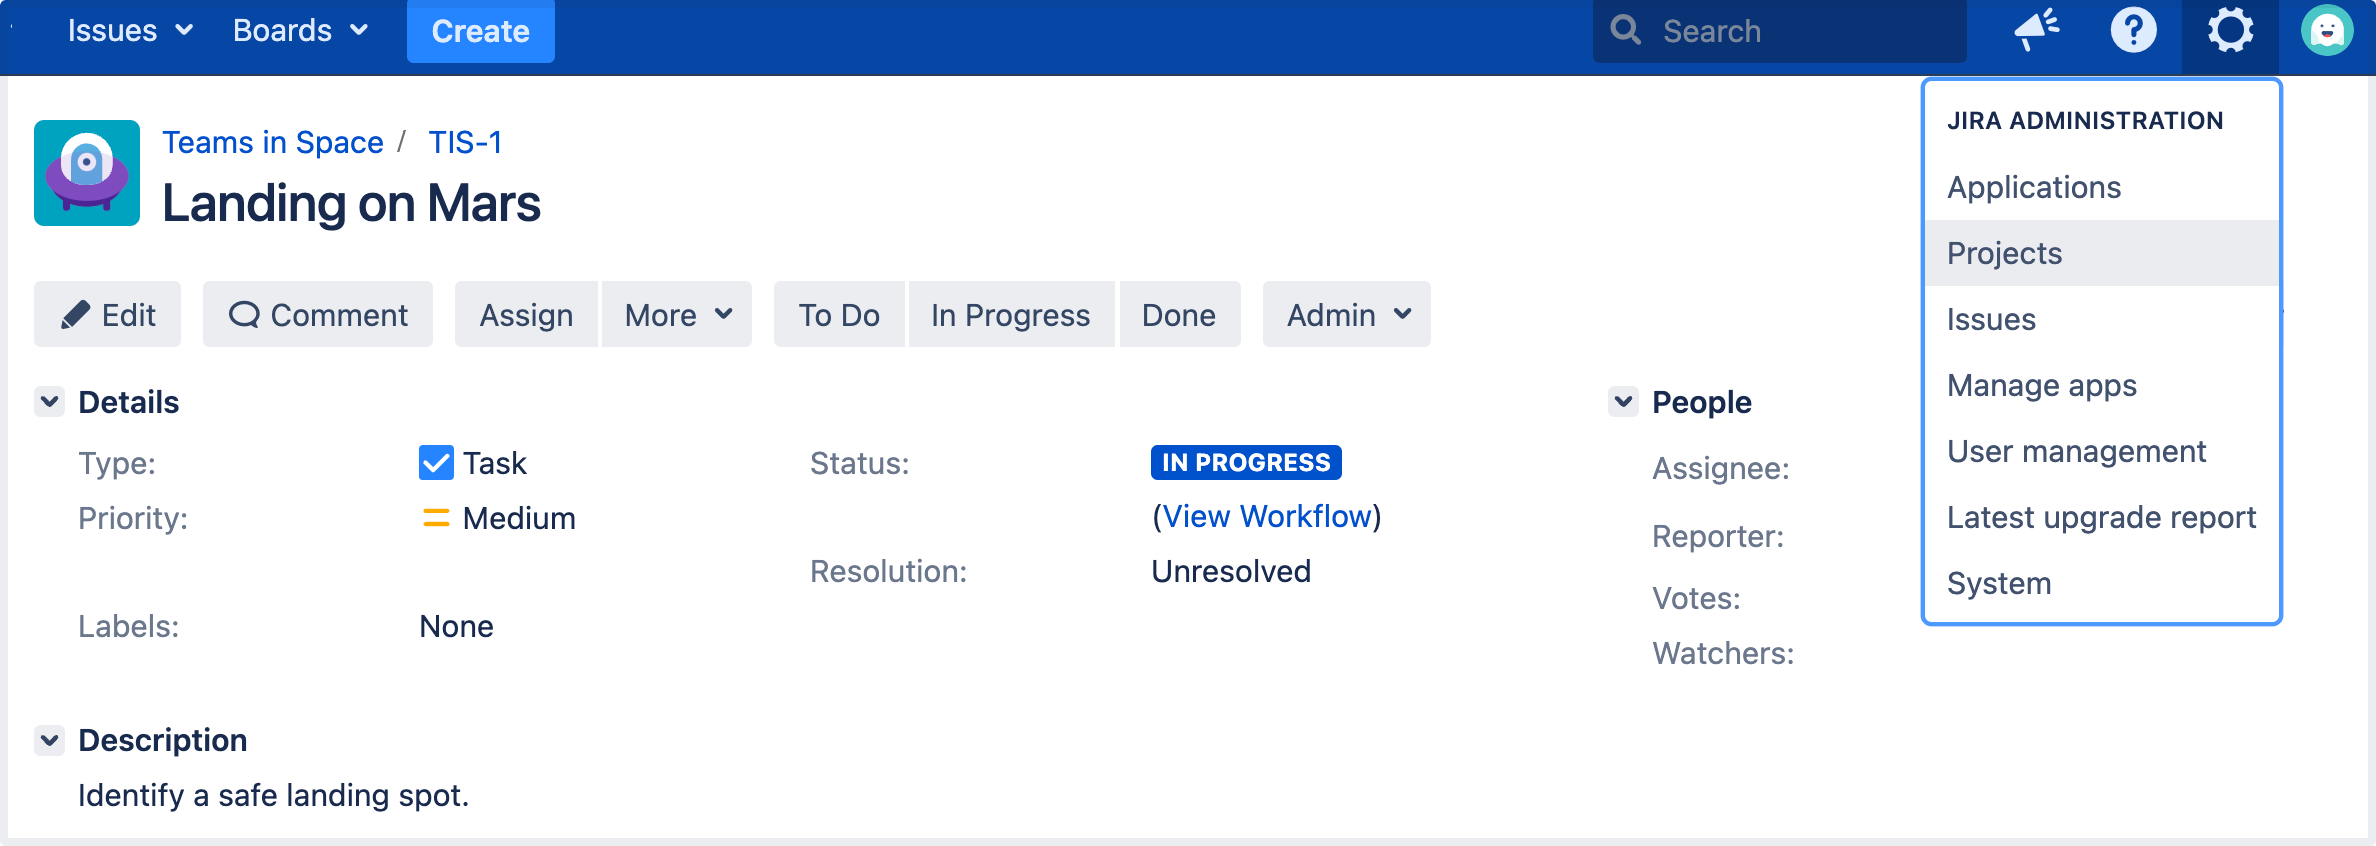
On the Projects page, select a project name.
In the left-side Project settings panel, select Components. You’ll be redirected to the Components page with a list of components and their details.
On the Components page, you can create, edit, delete, archive, and restore the project components.

Also, you can always find the Components tab in the project settings sidebar on the left side of the screen.
Look for the puzzle icon in the collapsed sidebar.

Or find the Components tab in the expanded sidebar.

Adding a new component
You can create a new component on the Components page or right in a Jira issue view.
Adding a component from the Components page
To create a new component on the Components page:
2. On the Projects page, select a project name.
3. In the left-side Project settings panel, select Components. You’ll be redirected to the Components page with a list of components and their details.
4. In the Component name field, enter the name of a new project component.
5. Optionally, in the Lead field, select a leading person for the component. The component lead is a Jira user who owns the component and can be selected as a default assignee for all new issues created with this component.
6. Optionally, in the Description field, enter the description for the component.
7. In the Default assignee field, select one of the following options to define whether or not new Jira issues with this component will be automatically assigned to a particular user by default:
Component lead
Project default
Project lead
Unassigned
Learn more about the default assignee options and their precedence
8. Select Add.
The new component has been successfully created.
You can add the new component to an existing and open Jira issue as soon as you create it. But in this case, the current assignee of the issue won’t change even if the added component has a different user as a default assignee.
You’ll need to create a new issue and add the new component to it so that this issue immediately gets assigned to the user selected as the component’s default assignee.
Adding a component from the Jira issue view
When your project already has some components and the issue view has the Component field, you can create new components right in this field. To do this:
Open a Jira issue where you want to add a new component.
In the Component field, enter the name of the new component.
When you finish, select the Tick button. In the upper-right corner, there will appear the notification that the new component has been created and added to the other components in the current project.
Go to the Components page of the current project to find and edit the new component.
When you add a component through a Jira issue, the Project default option will be set as the default assignee for this component.
Selecting a default assignee
When you set a default assignee for a component, this component assignee will override the project's default assignee for new issues with this component.
So, when creating issues with this component, you’ll be able to leave the option Automatic in the Assignee field and won’t need to select an assignee from the list of users. Jira will determine the component assignee and set this user in the new issue.
To find the project’s default assignee:
Go to the project’s settings.
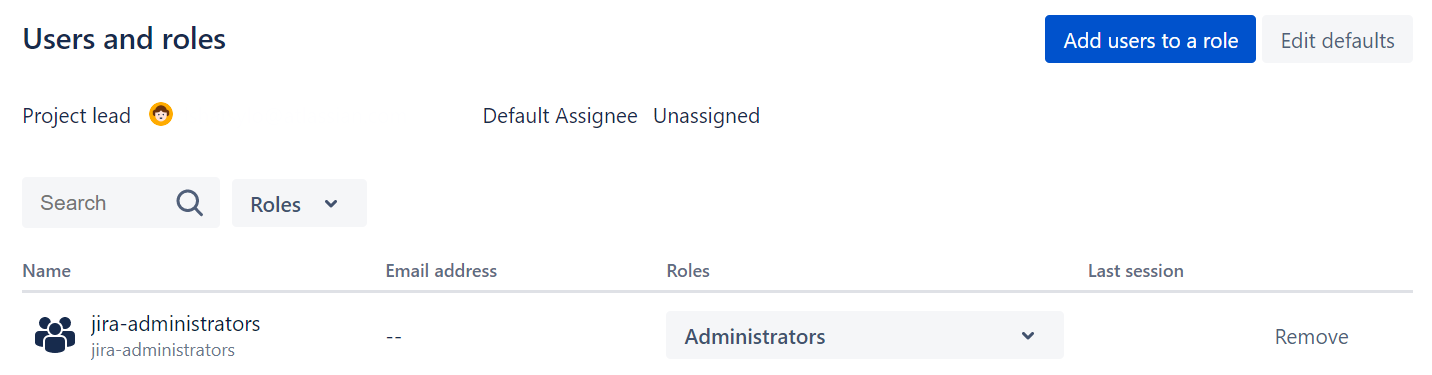
In the left-side panel, select Users and roles.
On the Users and roles page, you’ll find the project lead’s name and the project’s default assignee.
The project’s default assignee can be either the project lead or no user (the Unassigned option).
To change the project’s default assignee, select Edit defaults and change the option.
| Default assignee option | Description |
|---|---|
| Component lead | The user you add in the Lead field. The component lead is a Jira user who owns the component and will be set as the default assignee for all new issues created with this component. If the component lead doesn’t have the Assignable user project permission, they won’t be assigned to an issue where their component is set. So, the issue will remain unassigned until you set an assignee manually. |
| Project default | The user set as the default assignee for any new issue created in a current project. You can make this user the default assignee for all new issues created with a particular component. When a component set in an issue doesn’t have any default assignee, the issue will always be assigned to the Project default user. |
| Project lead | The user running or owning a current project If the project lead doesn’t have the Assignable user project permission, they won’t be assigned to an issue where their component is set. So, the issue will remain unassigned until you set an assignee manually. |
| Unassigned | This option means that no user is assigned to a component. An issue with this component won’t have any assignee unless you select another user manually. The Unassigned option is be available when the Allow unassigned issues setting is enabled in the Jira general configuration. |
Default assignees precedence
When you create a new issue with multiple components, Jira checks the precedence of their default assignees to assign the right user to this issue.
Component lead always has the highest precedence, so an issue with a few components will always be assigned to the component lead automatically.
If several components in this issue have component leads as their default assignees, Jira will apply alphabetical order to check the component names and assign the issue to the lead of the component which starts with the top letters of the alphabet.
If along with the Latin alphabet you’re using any other alphabet or, for example, Chinese or Japanese characters in component names, the Latin alphabet always has priority over them.
The following table shows to which user a new issue with multiple components will be assigned, depending on users' roles and component names.
| Issue components | Issue assignee | |
|---|---|---|
| 1 | An issue has three components with the following default assignees:
| Mary will be set as the assignee. Mary is a lead for the Module component. This role takes precedence over the project lead role and the unassigned option. |
| 2 | An issue has three components with the following default assignees who are all set as the component leads:
| Zara will be set as the assignee. Zara is a lead of the Design component. The name of the component starts with the letter D, which goes before P (Platform) and M (Module) in the Latin alphabet. To determine an assignee of an issue with multiple components that have leads, Jira considers the name of the component, not the name of the lead. |
| 3 | An issue has two components with the following default assignees:
| John will be set as the assignee. John is running or owning the current project, and John is assigned to the Platform component. By default, new issues in this project should remain unassigned. But when an issue includes the Platform component, John will be set as the issue assignee. This is because any real user always takes precedence over the Unassigned option. |
| 4 | An issue has two components with the following default assignees:
| John will be set as the assignee, even though the project lead role has lower precedence than the component lead. Although Mary is a component lead, she doesn’t have the required Assignable user permission. So, Jira can’t assign the new issue with the Module component to Mary. |
| 5 | An issue has two components with the following default assignees:
| The issue will remain unassigned. Although Mary is a component lead, she doesn’t have the required Assignable user permission. So, Jira can’t assign the new issue with the Module component to Mary. |
Editing a component's details
To edit a component:
2. On the Projects page, select a project name.
3. In the left-side Project settings panel, select Components. You’ll be redirected to the Components page with a list of components and their details.
4. Select Actions > Edit.
5. You can change the component's name, lead, description, and default assignee.
6. Select Save.
Searching for a component
To find a component, use the search field on the Components page in your project.
You can also use the quick filters:
Active to find all currently active components
Archived to find all archived components
Deleting a component
To delete a component:
2. On the Projects page, select a project name.
3. In the left-side Project settings panel, select Components. You’ll be redirected to the Components page with a list of components and their details.
4. Select Actions > Delete.
5. If the component you’re deleting is used in existing Jira issues, you’ll be offered the following options:
- Swap current issues to component – select any other active component to substitute the one you’re deleting in the issues. The deleted component will be substituted with the one you select in the affected issues. The other components in these issues won’t be affected.
- Remove component from all issues – select to remove the component you’re deleting from all issues that have it.
6. Select Delete.
Removing a component from the issue view
You can remove components from particular issues through the Component field in the issue view. To do this:
Open a Jira issue where you want to remove a component.
Beside the Component field, select the pencil icon to edit the field.
Select the
Xicon for the component you want to remove.When you finish, select the Tick button.
The component will disappear from the field in the issue view but it’ll remain active and will display in the Components page of the project.
Archiving a component
You can archive the components that are no longer relevant so that they don't clutter your Jira instance.
By archiving a component, you make it unavailable for selecting and adding to issues. But you still keep it as a reference for reporting purposes. The archived component still appears on the components list but is marked as ARCHIVED.
To archive a component:
Go to the Components page in your project.
Select Actions > Archive.
The component will immediately get the status ARCHIVED.
The archived component will display on the Components page. But you won’t be able to select this component when creating a new issue.
The archived component will also display in issues where it has been added. But when editing the Component field in these issues, you won’t be able to remove the archived component from them. Instead, you’ll find an additional text note showing you the archived component.
If you clone an issue with an archived component, this component will display in the clone but you won't be able to remove it either.

If you use Jira Service Management, the archived components will show as read-only in tickets. You won't be able to set an archived component in a ticket.
Restoring a component
You can restore an archived component at any time.
To restore a component:
Go to the Components page in your project.
For an archived component, select Actions > Restore.
The component will be restored immediately and marked as ACTIVE.