Forks
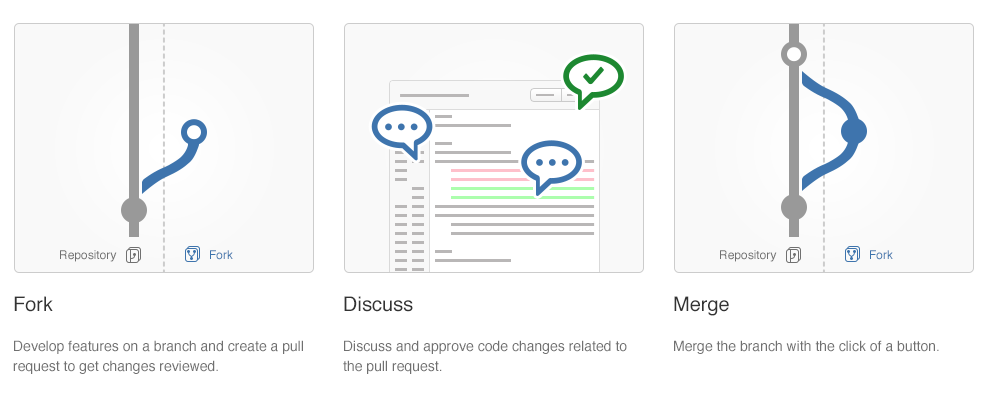
Forks provide an alternative workflow to using branches, for where particular developers have restricted (read-only) access to a repository. See Workflow strategies for more information.
You can fork a repository into any other project in Bitbucket Data Center and Server for which you have admin access. You can also create personal forks and give other developers access to that using repository permissions.
Create a fork
You can create a fork for any repository that you can see in Bitbucket (that is, for which you have 'read' permission).
Simply click Fork in the sidebar. You can choose the location for the newly forked repository. Note that when a repository is forked into another project it will get that project's permissions, which may be less restrictive.
When creating the fork you can enable fork syncing to have Bitbucket automatically keep your fork up-to-date with changes in the upstream repository.
On this page:
Related pages:
Delete forks to clear disk space
In order to clear any disk space on your Bitbucket Data Center instance, you should delete all related repositories, including any forks and upstreams. Head over to Advanced repository management to learn more about related repositories, and to find out how to delete them all at once. (Data Center only)
Issue a pull request for a fork
Pull requests for forks in Bitbucket work just the way you'd expect. See Pull requests.
When creating the pull request, you can choose the fork and the branch that contains the source to be pulled, as well as the destination fork and branch.
Merge a fork
Once a pull request has been approved by reviewers, it can be merged as usual. See Pull requests.
Synchronize with upstream
Once you fork a repository, your fork can be kept up-to-date with changes in the upstream repo either automatically by Bitbucket or you can synchronize manually. You will still need to keep your remote working repository synced with your fork in Bitbucket yourself. See Keeping forks synchronized for more details.
Disable forking
The forking of repositories is available by default. However, you can turn off forking, on a per-repository basis, if this helps you to control your development process. You can do this on the Repository details tab of the repository settings.
Note that disabling forking on the parent repo doesn't delete any existing forks, and doesn't prevent those existing forks from being forked. Pull requests will still work from the existing forks. Furthermore, commits in the parent are viewable via the fork if the SHA1 hash is known to the user.
Pre-receive hooks and forks
Pre-receive hooks aren't copied with the fork and so are not run when code is merged in a pull request. This means that custom hooks are unable to prevent certain changes from being merged by pull requests from forks. Instead, the hook would have to also implement a merge check.

