Bitbucket Mesh availability zones
What are Bitbucket Mesh Availability Zones
The concept of an availability zone is a common cloud term used to describe a data center where all resources share a physical location and often cooling, power, and other core subsystems. Deployments often span multiple availability zones to offer resiliency. The system is then more resilient in the face of power, cooling, and other hardware failures, as well as to events such as fires and floods. If you’re hosting with a cloud provider like AWS or Azure, make sure to check respective documentation from hosting providers.
Mesh offers High Availability by replicating your Git repositories across registered Mesh nodes. The number of replicas for a repository is called the replication factor, and is set to 3 by default.
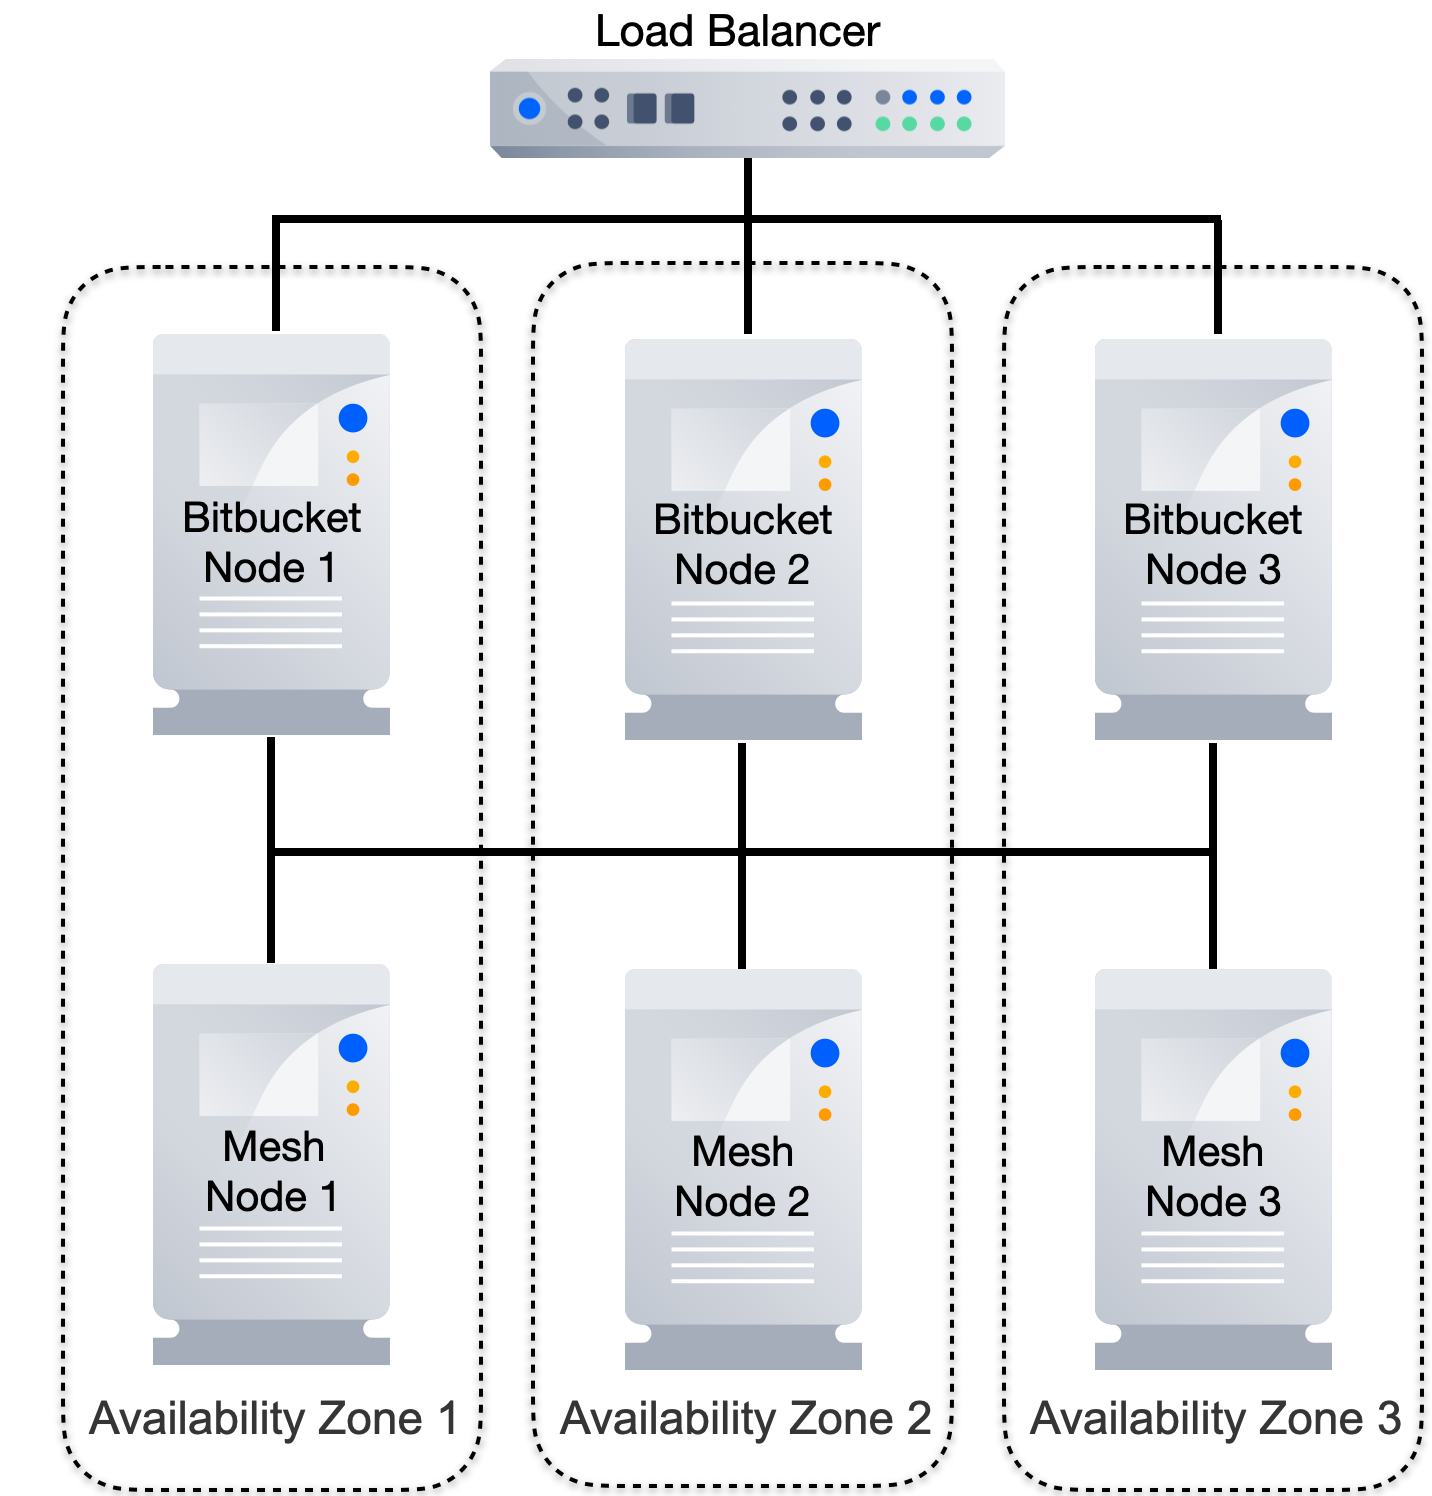
Availability Zones unlock a new level high availability through the distribution of your Bitbucket Mesh nodes housing your Git repository data across nodes hosted in multiple availability zones. When Bitbucket Mesh nodes are all assigned to multiple availability zones, you can be confident that your Git data is spread across them in a way that ensures high availability - you will be able to access them if nodes in a single availability zone experience failure.Bitbucket Mesh supports multi-availability zones deployed through cloud providers like AWS, Azure and also availability zones hosted on your own on-premises network. The following diagram shows a Multi-AZ deployment of Mesh nodes and Bitbucket Instances
Deploying application nodes to various availability zones is supported once all repositories have been migrated to Mesh. The additional latency experienced between the app and Mesh, as well as between the app and database, may have a marginal impact on Bitbucket performance.
We recommend you to consider the trade-offs involved when opting for a high availability deployment.
When Bitbucket Mesh Availability Zone(s) can/should be used
You can choose to assign your Bitbucket Mesh node to an availability zone if:
The infrastructure for your Bitbucket Mesh node has it provisioned in a supported cloud provider’s availability zone or your own on-premises availability zone. The definition of an availability zone might vary across cloud providers, but as a rough guideline, we expect if the round trip latency (e.g. measured by ping) between the Mesh nodes and the nodes running the core Bitbucket application is under 5ms then this would be a viable configuration.
You have more than the minimum number (3) Bitbucket Mesh nodes registered to your Bitbucket Data Center instance.
How to use Bitbucket Mesh with Availability Zones
Configuring Bitbucket Mesh Node’s Availability Zone
Configuration of your Bitbucket Mesh node’s availability zone is done when you register it with your Bitbucket Data Center instance.
Here are some important things to consider when configuring your Bitbucket Mesh node’s availability zone:
If you do not specify an availability zone for your Bitbucket Mesh node Bitbucket will treat it as though it were in its own availability zone. For example, if you have two Bitbucket Mesh nodes registered with your Bitbucket Data Center instance and there is no value specified for either of them, they will be treated as if they were in two different availability zones.
When you register a new Bitbucket Mesh node and enter a value for the availability zone, then there will be some background processing to rebalance the Git repository data correctly across availability zones. This background process will take some time to complete and during this process you will not be able to add a new or delete an existing registered Bitbucket Mesh node.
Once you have registered a Bitbucket Mesh node, its availability zone cannot be changed. You must delete the node from the Bitbucket Data Center instance, and then register it again with its new availability zone.
Bitbucket does not automatically detect where your Bitbucket Mesh node is hosted and neither does it validate the same, so you are free to use any name you like. However, for optimal performance and lower costs it is recommended that the availability zone you use for your Bitbucket Mesh nodes be the same as the cloud provided region or the same region that’s they’re hosted on-premises.
The first Bitbucket Mesh node that you add to a specific availability zone will be getting all of your Git repository data to ensure High Availability. To ensure that you do not run out of disk space, it is recommended that you temporarily allocate at a minimum as much disk space that is needed to store all your repository Git data. Subsequent Bitbucket Mesh nodes will not need as much disk space that are added to that specific availability zone.
Registering new Bitbucket Mesh nodes with an Availability Zone
Ensure that you have adequate disk space to store all your Git repository data if this is the first Bitbucket Mesh node that will be assigned to the specific availability zone.
This applies to registering new Bitbucket Mesh nodes to your Bitbucket Data Center instance.
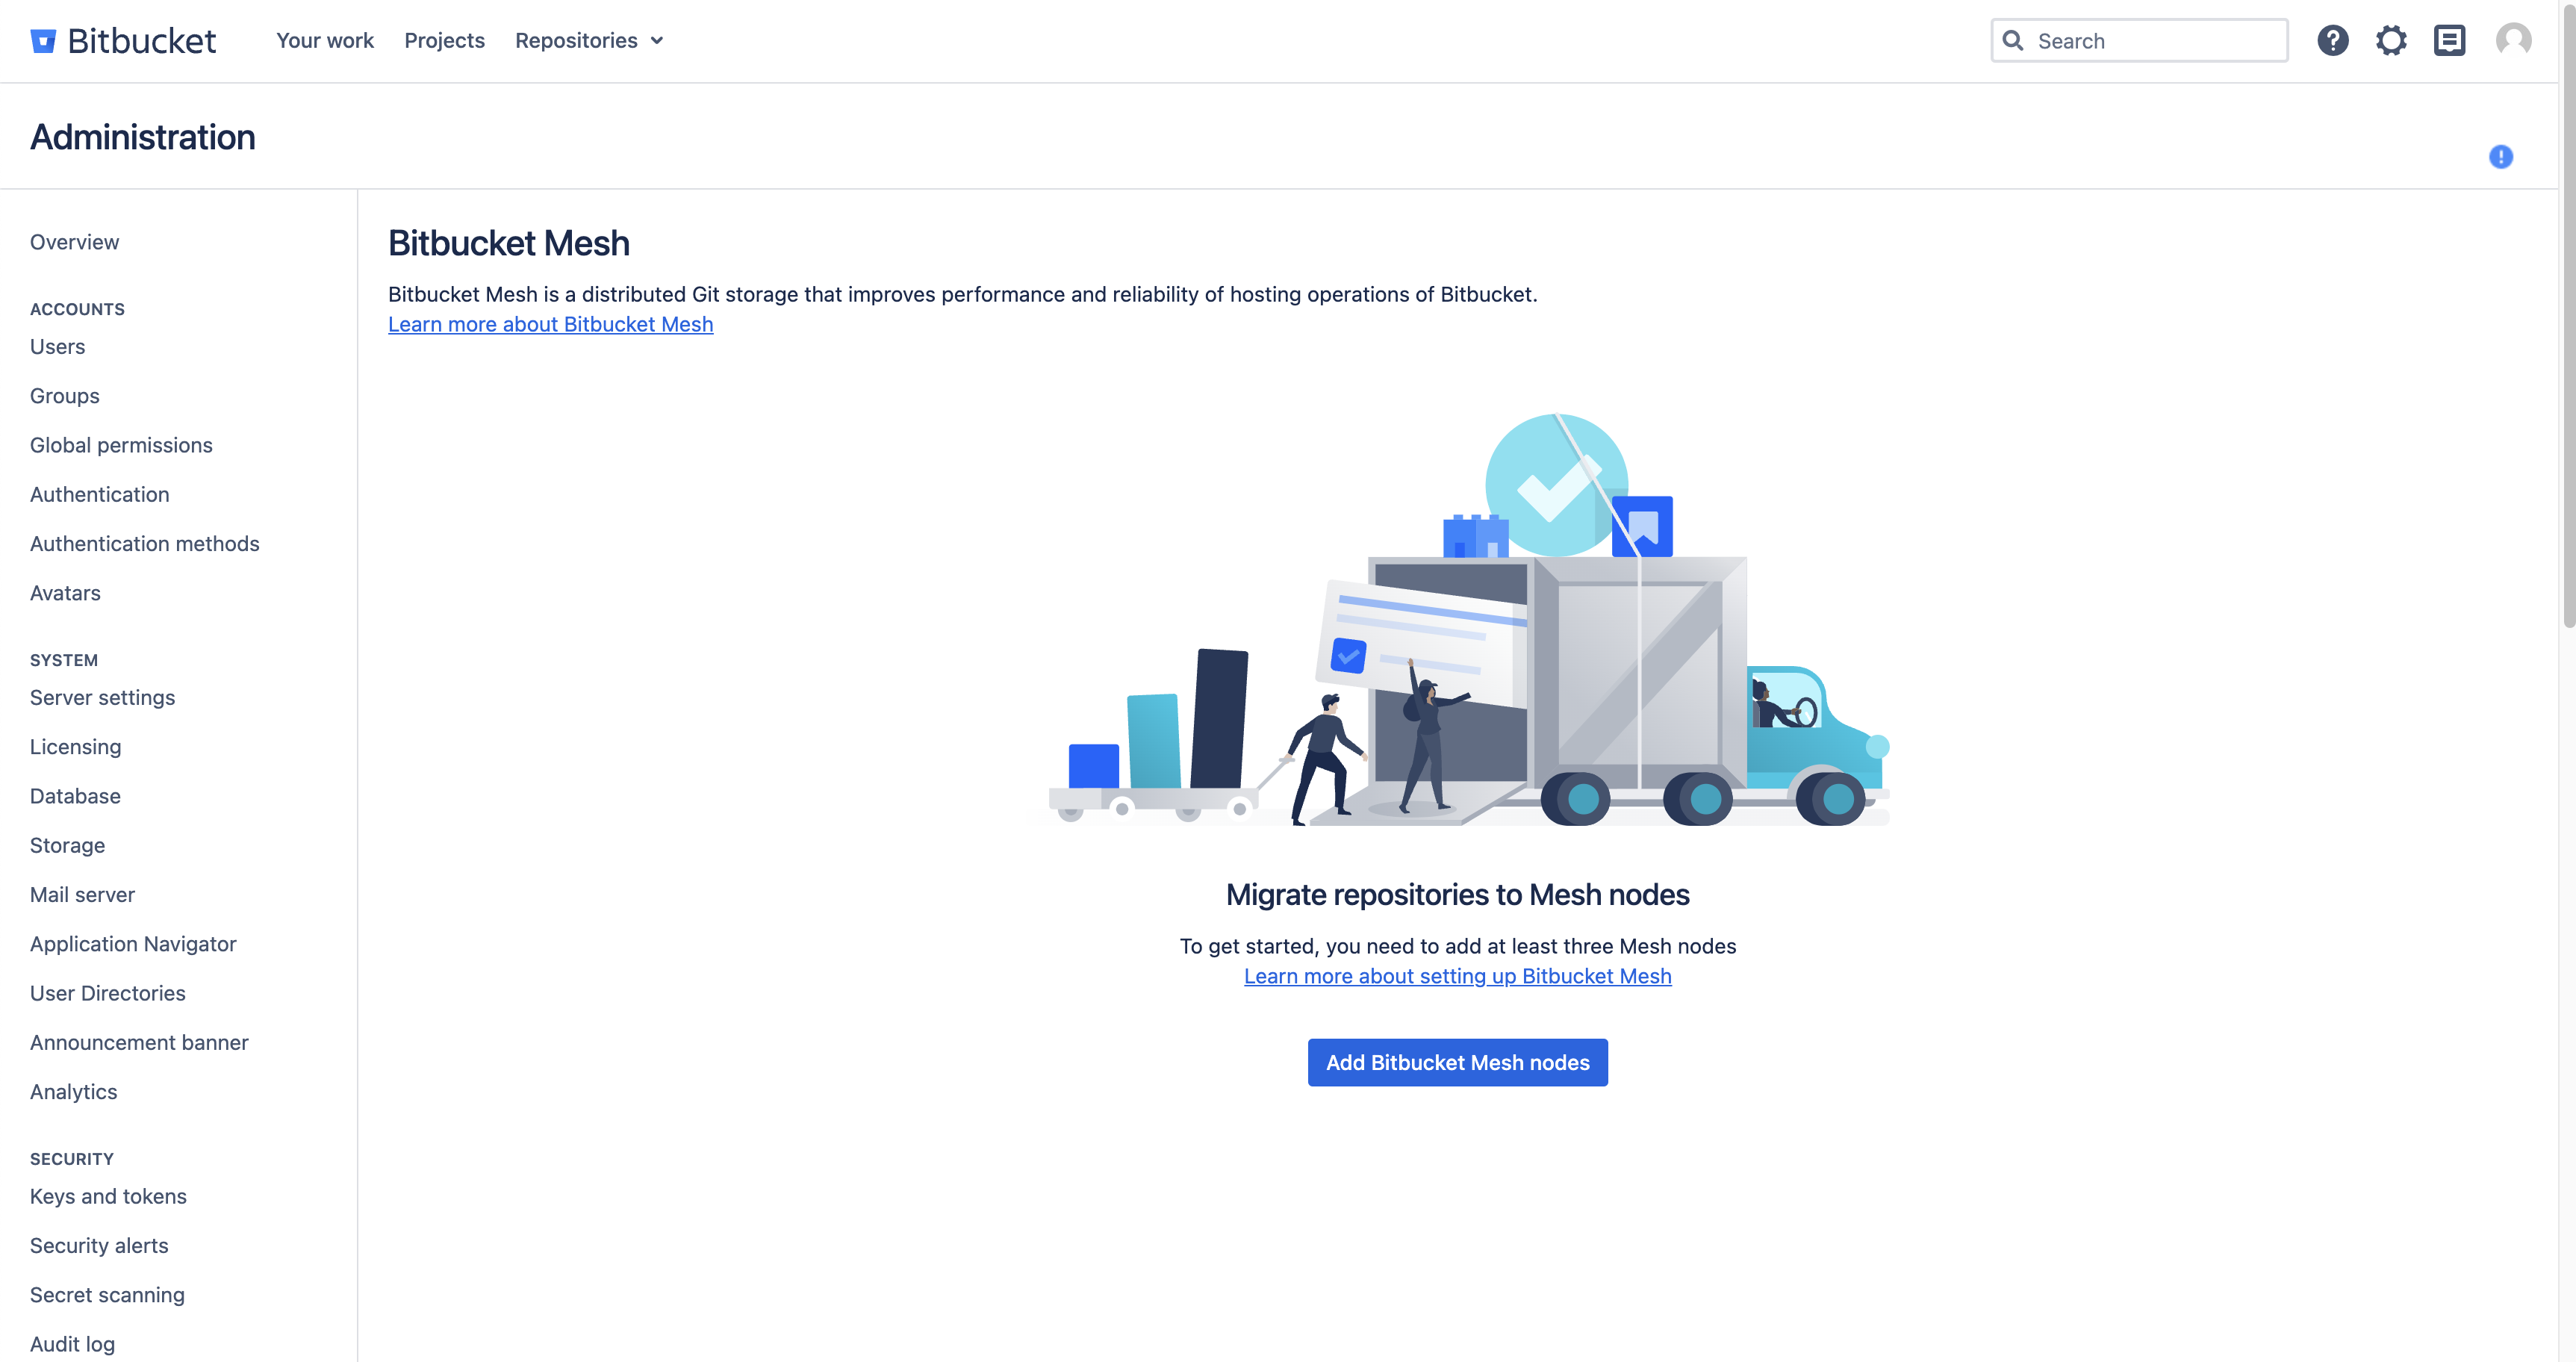
Navigate to the Bitbucket Mesh administration page.
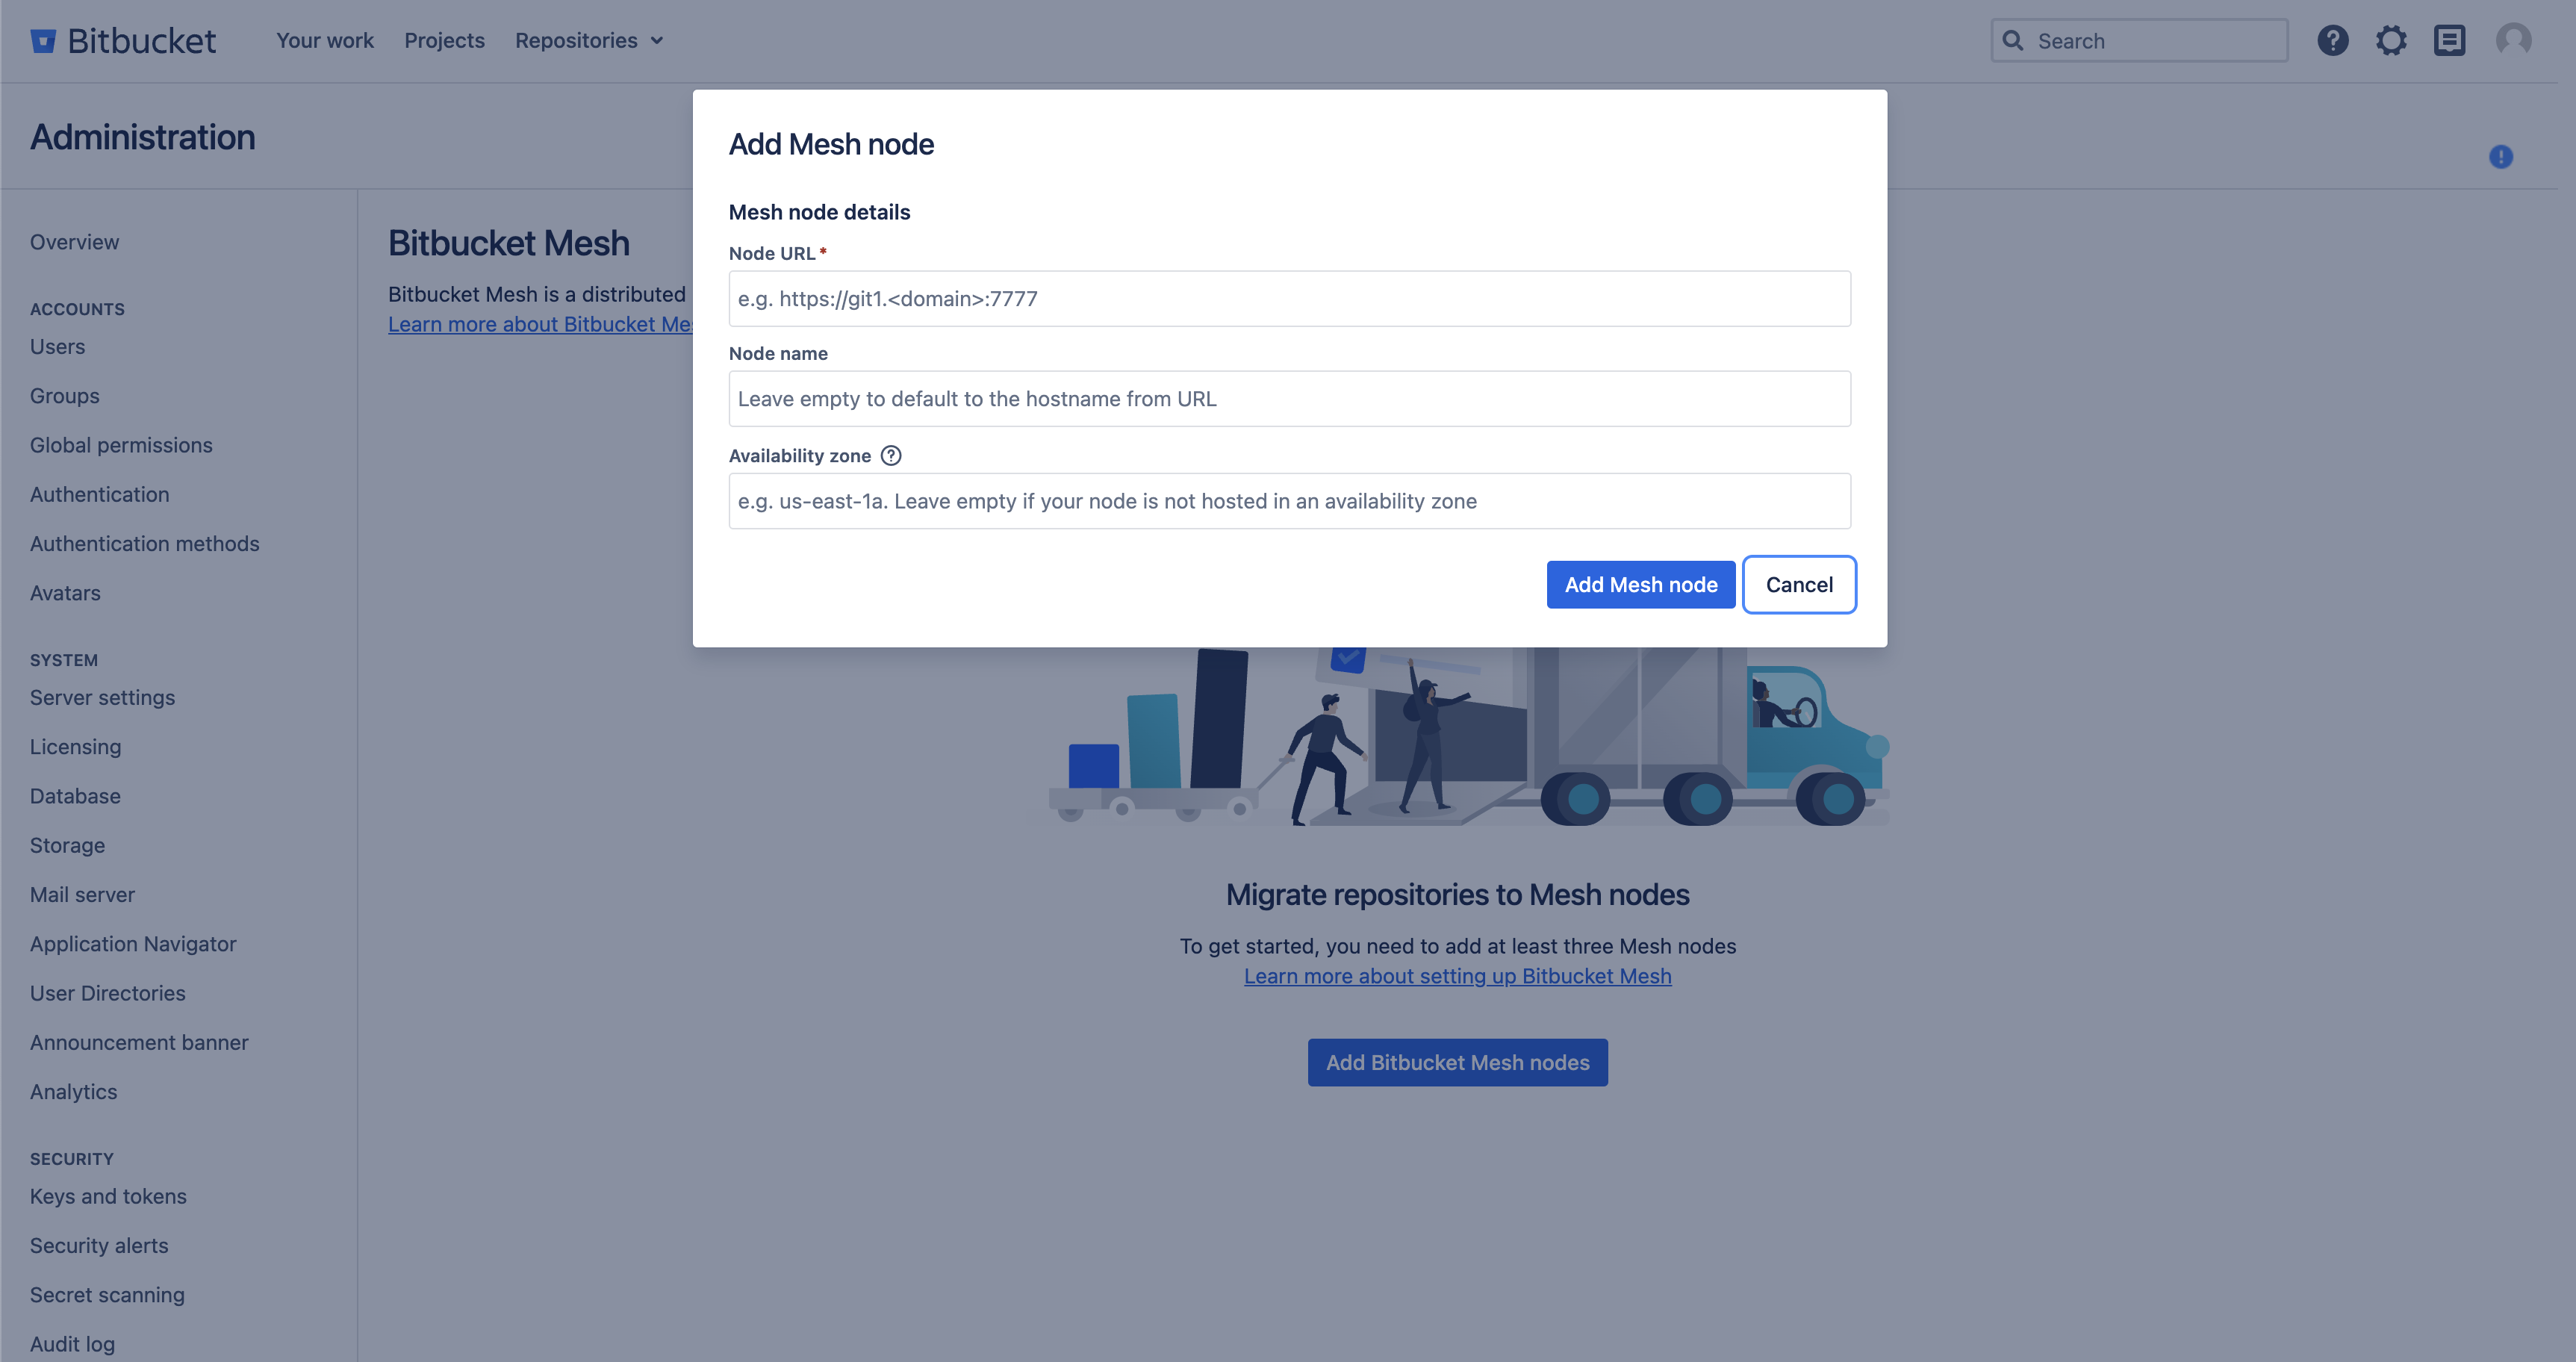
Select Add Bitbucket Mesh node
Once you register your Bitbucket Mesh node, its availability zone can’t be changed without deleting it from your Bitbucket Mesh cluster and Bitbucket Data Center instance.
If you already have registered Bitbucket Mesh nodes then you will need to follow the following section, Adding an Availability Zone to a Registered Mesh node
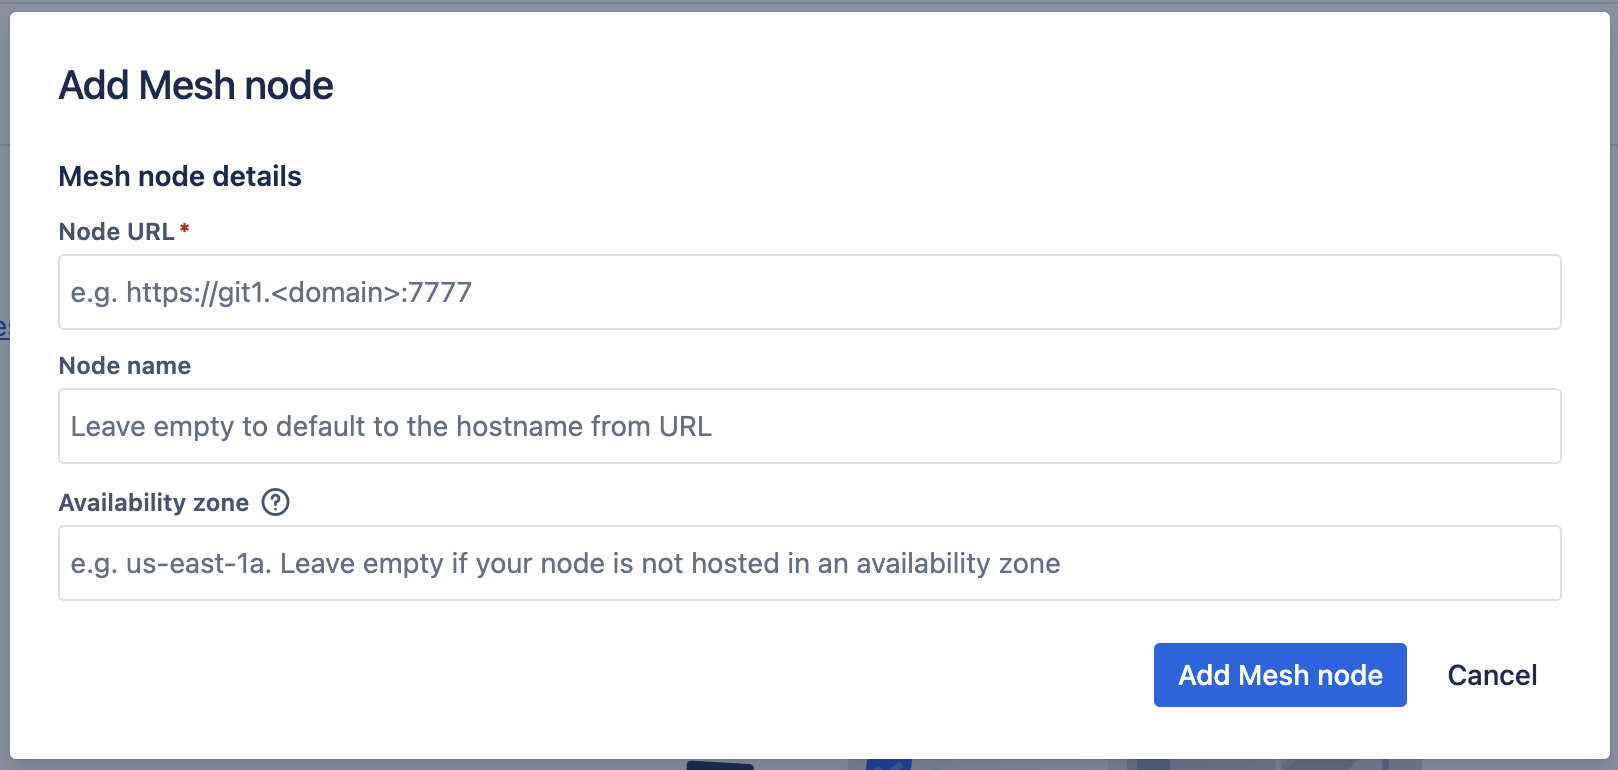
Enter the Node URL, Node name and Availability Zone information
- If you have successfully registered your Bitbucket Mesh node then you will be presented with the Bitbucket Mesh node dashboard, showing your Bitbucket Mesh node information.
Adding an Availability Zone to a Registered Mesh Node
This applies to already registered Bitbucket Mesh nodes to your Bitbucket Data Center instance and not registering new Bitbucket Mesh nodes.
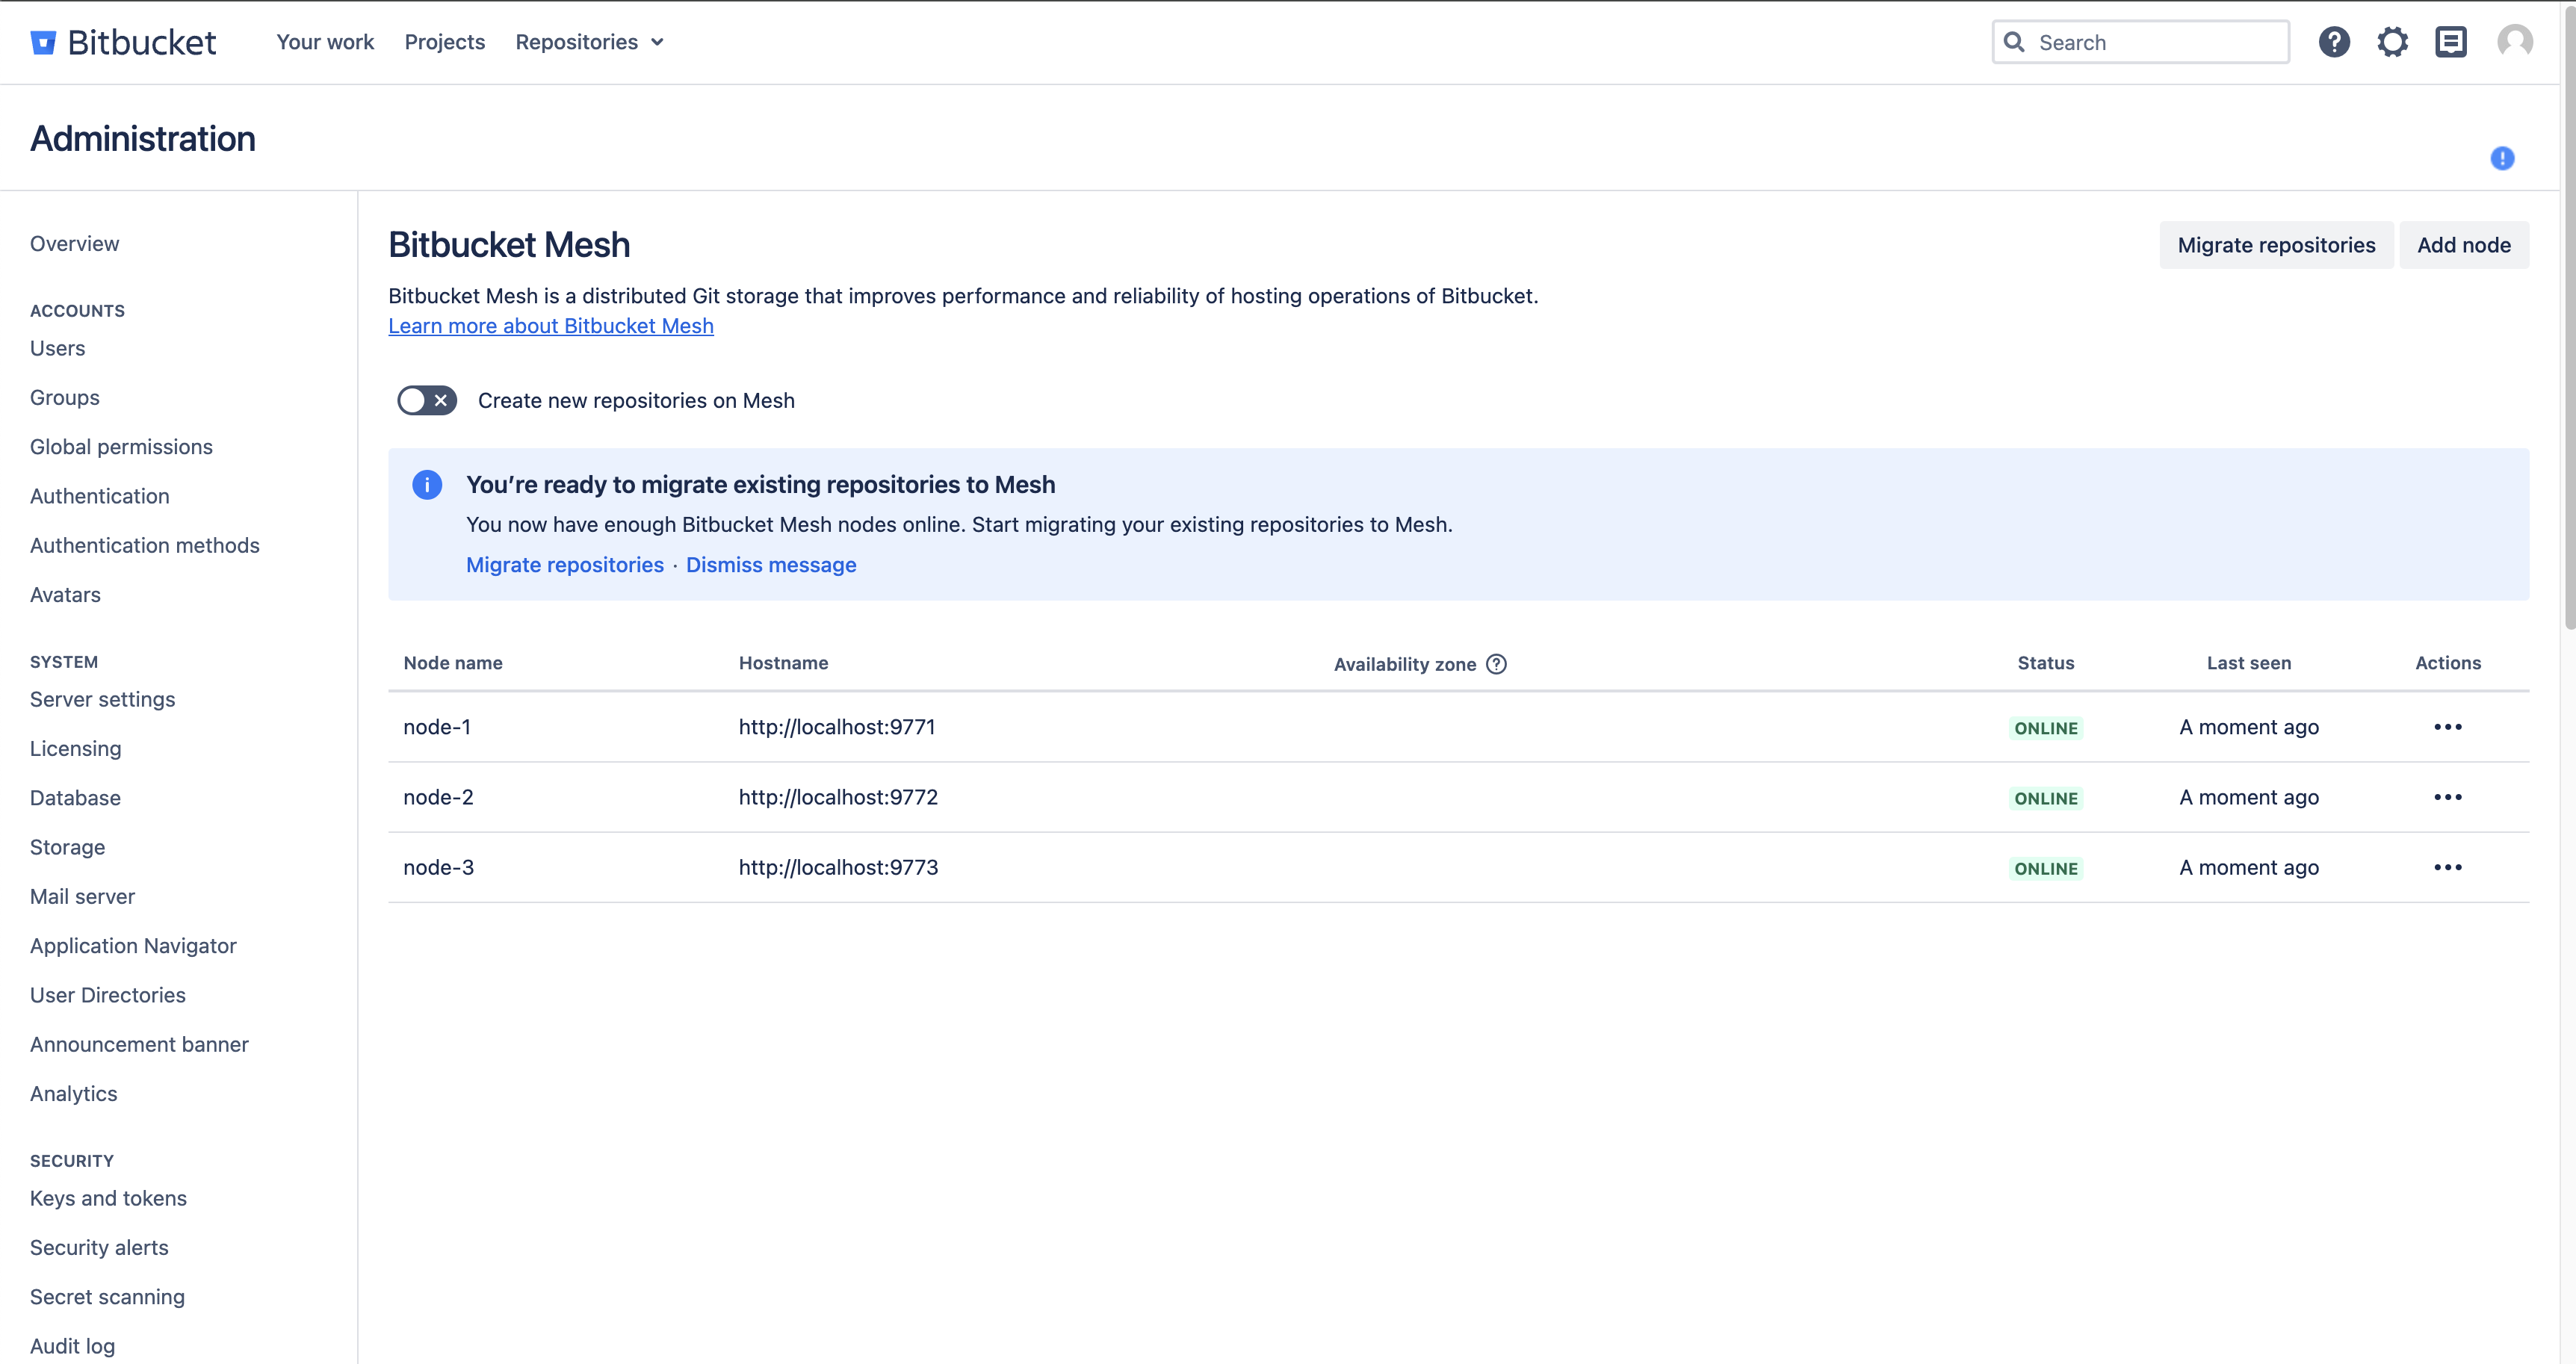
Navigate to the Bitbucket Mesh administration page where your list of registered Bitbucket Mesh nodes should already be displayed.
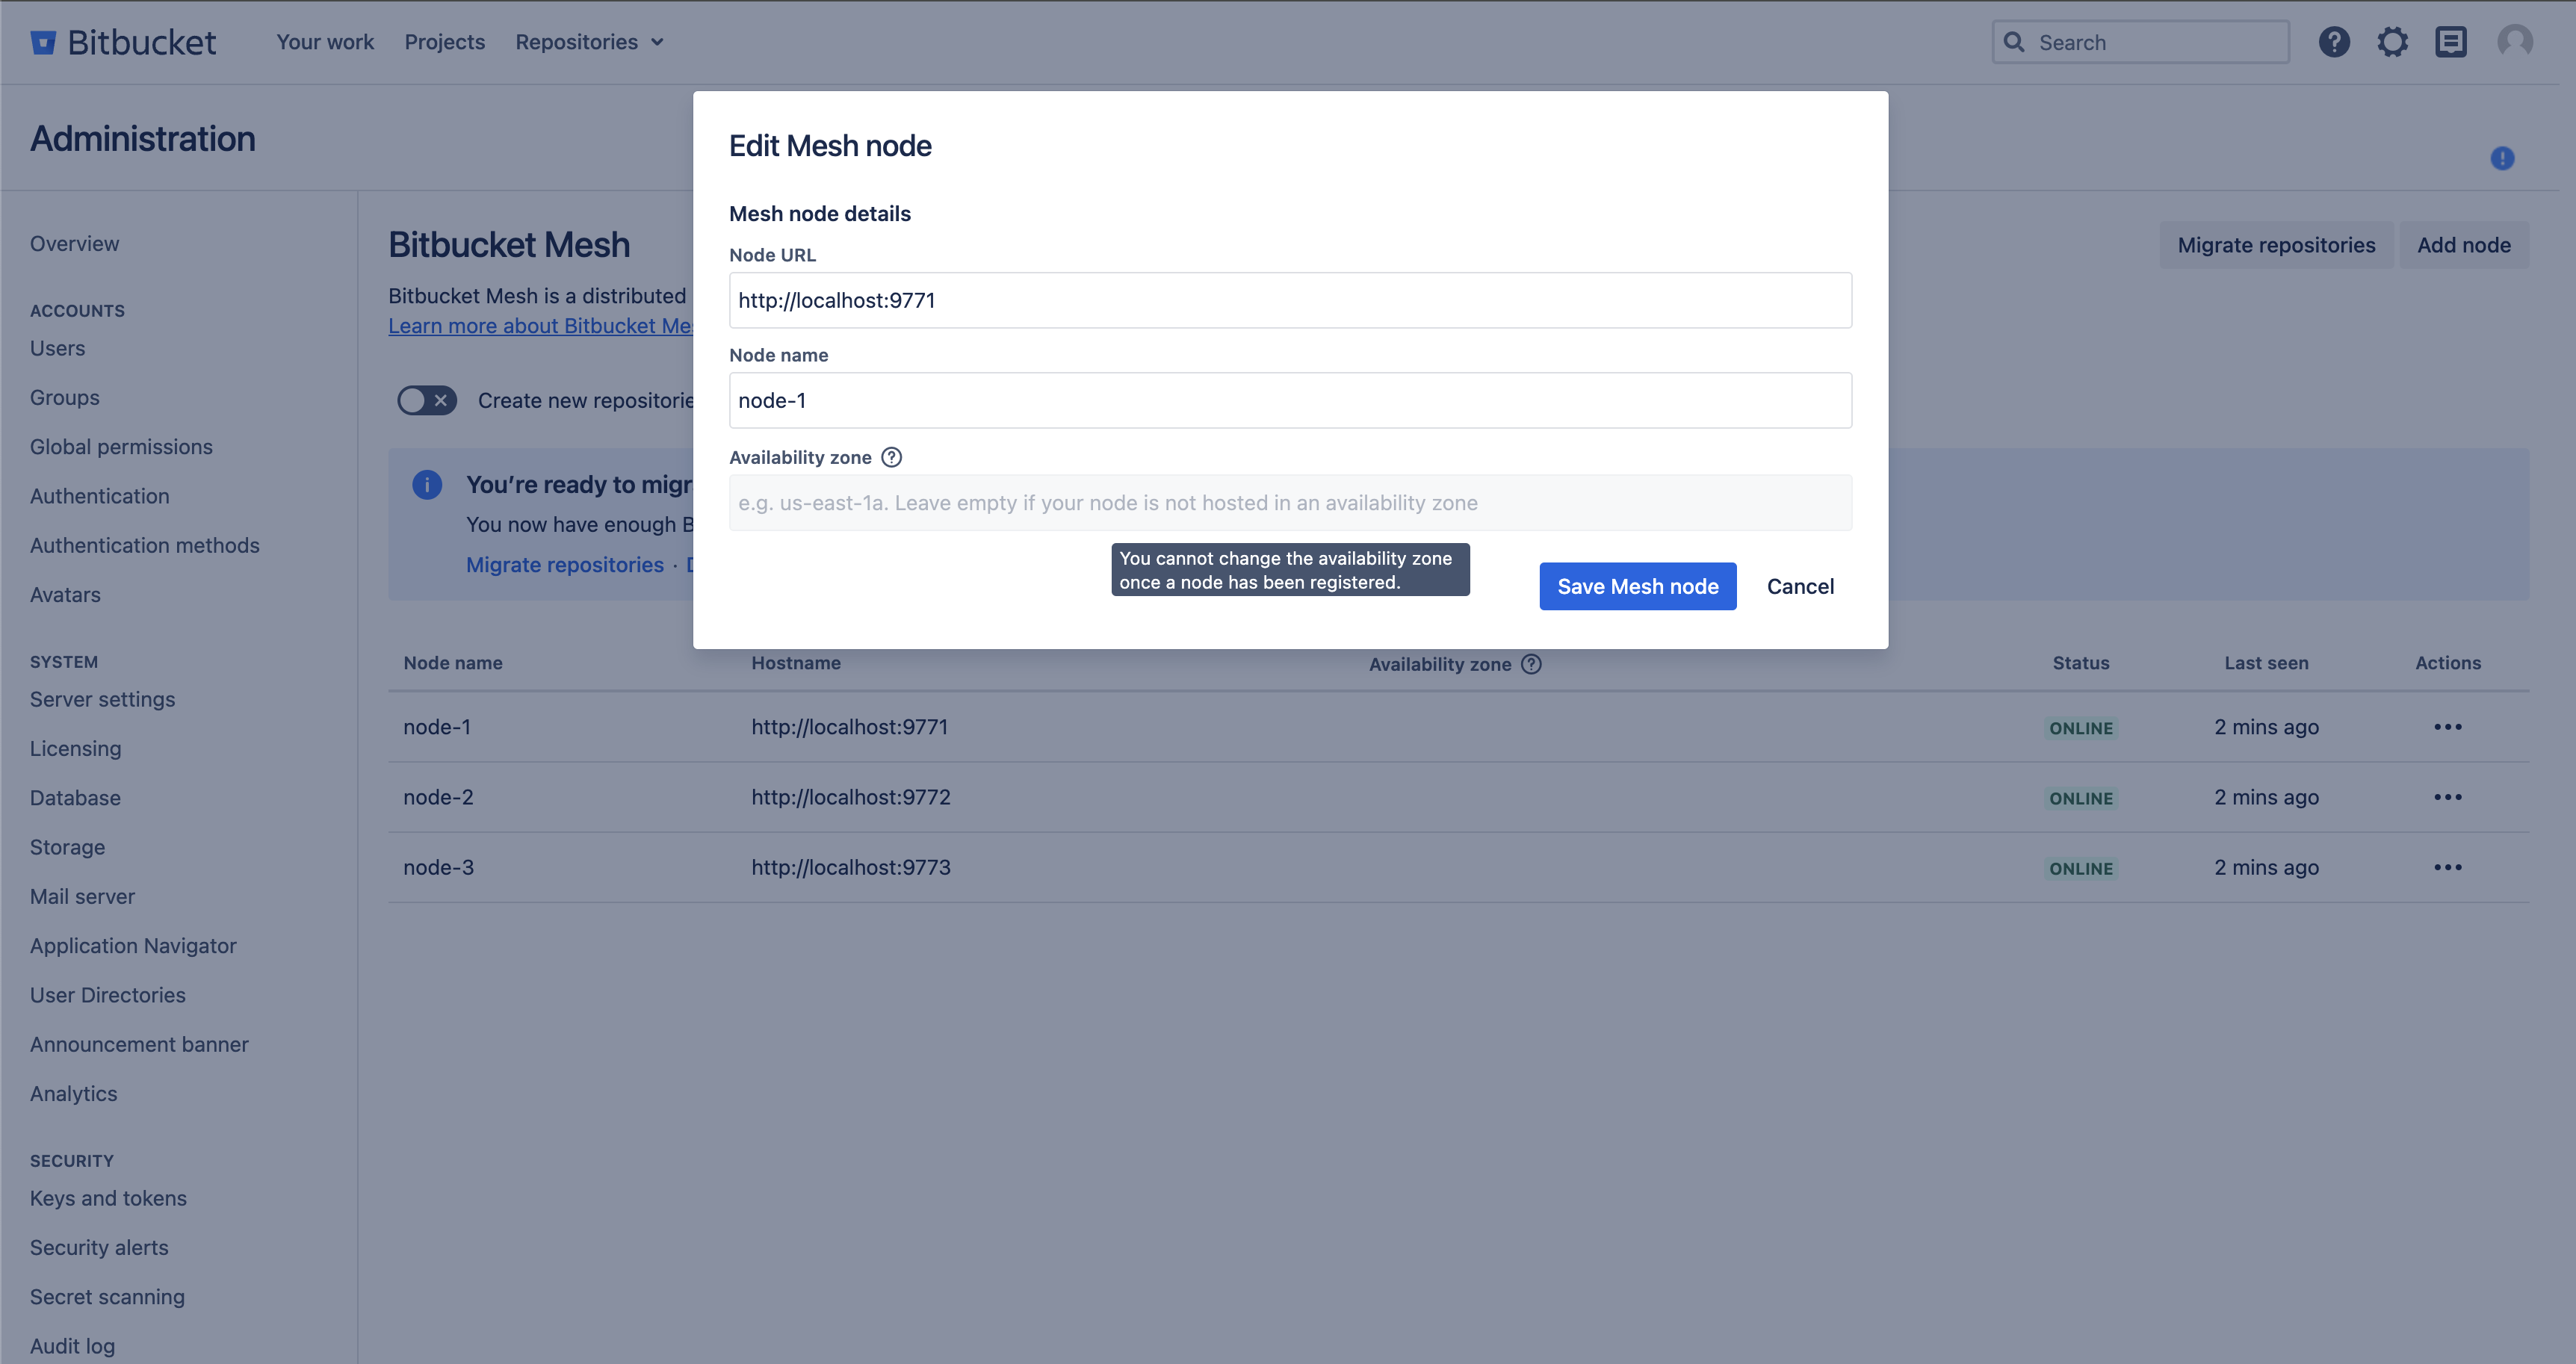
If you try to Edit via the meatball Actions menu one of the Bitbucket Mesh nodes and attempt to update the availability zone you will see the following:
The availability zone field in the dialog box is read only when trying to perform an edit on the already registered Bitbucket Mesh node.
You will need to perform the following steps:
Register a new Bitbucket Mesh node which does not need to have an availability zone present.
This Bitbucket Mesh node will be a temporary addition and is only to be added so that Bitbucket Mesh can guarantee that the Git repository data is replicated at the minimum replication factor.Once the newly registered Bitbucket Mesh node is added and any background processing is completed we can start configuring the availability zones.
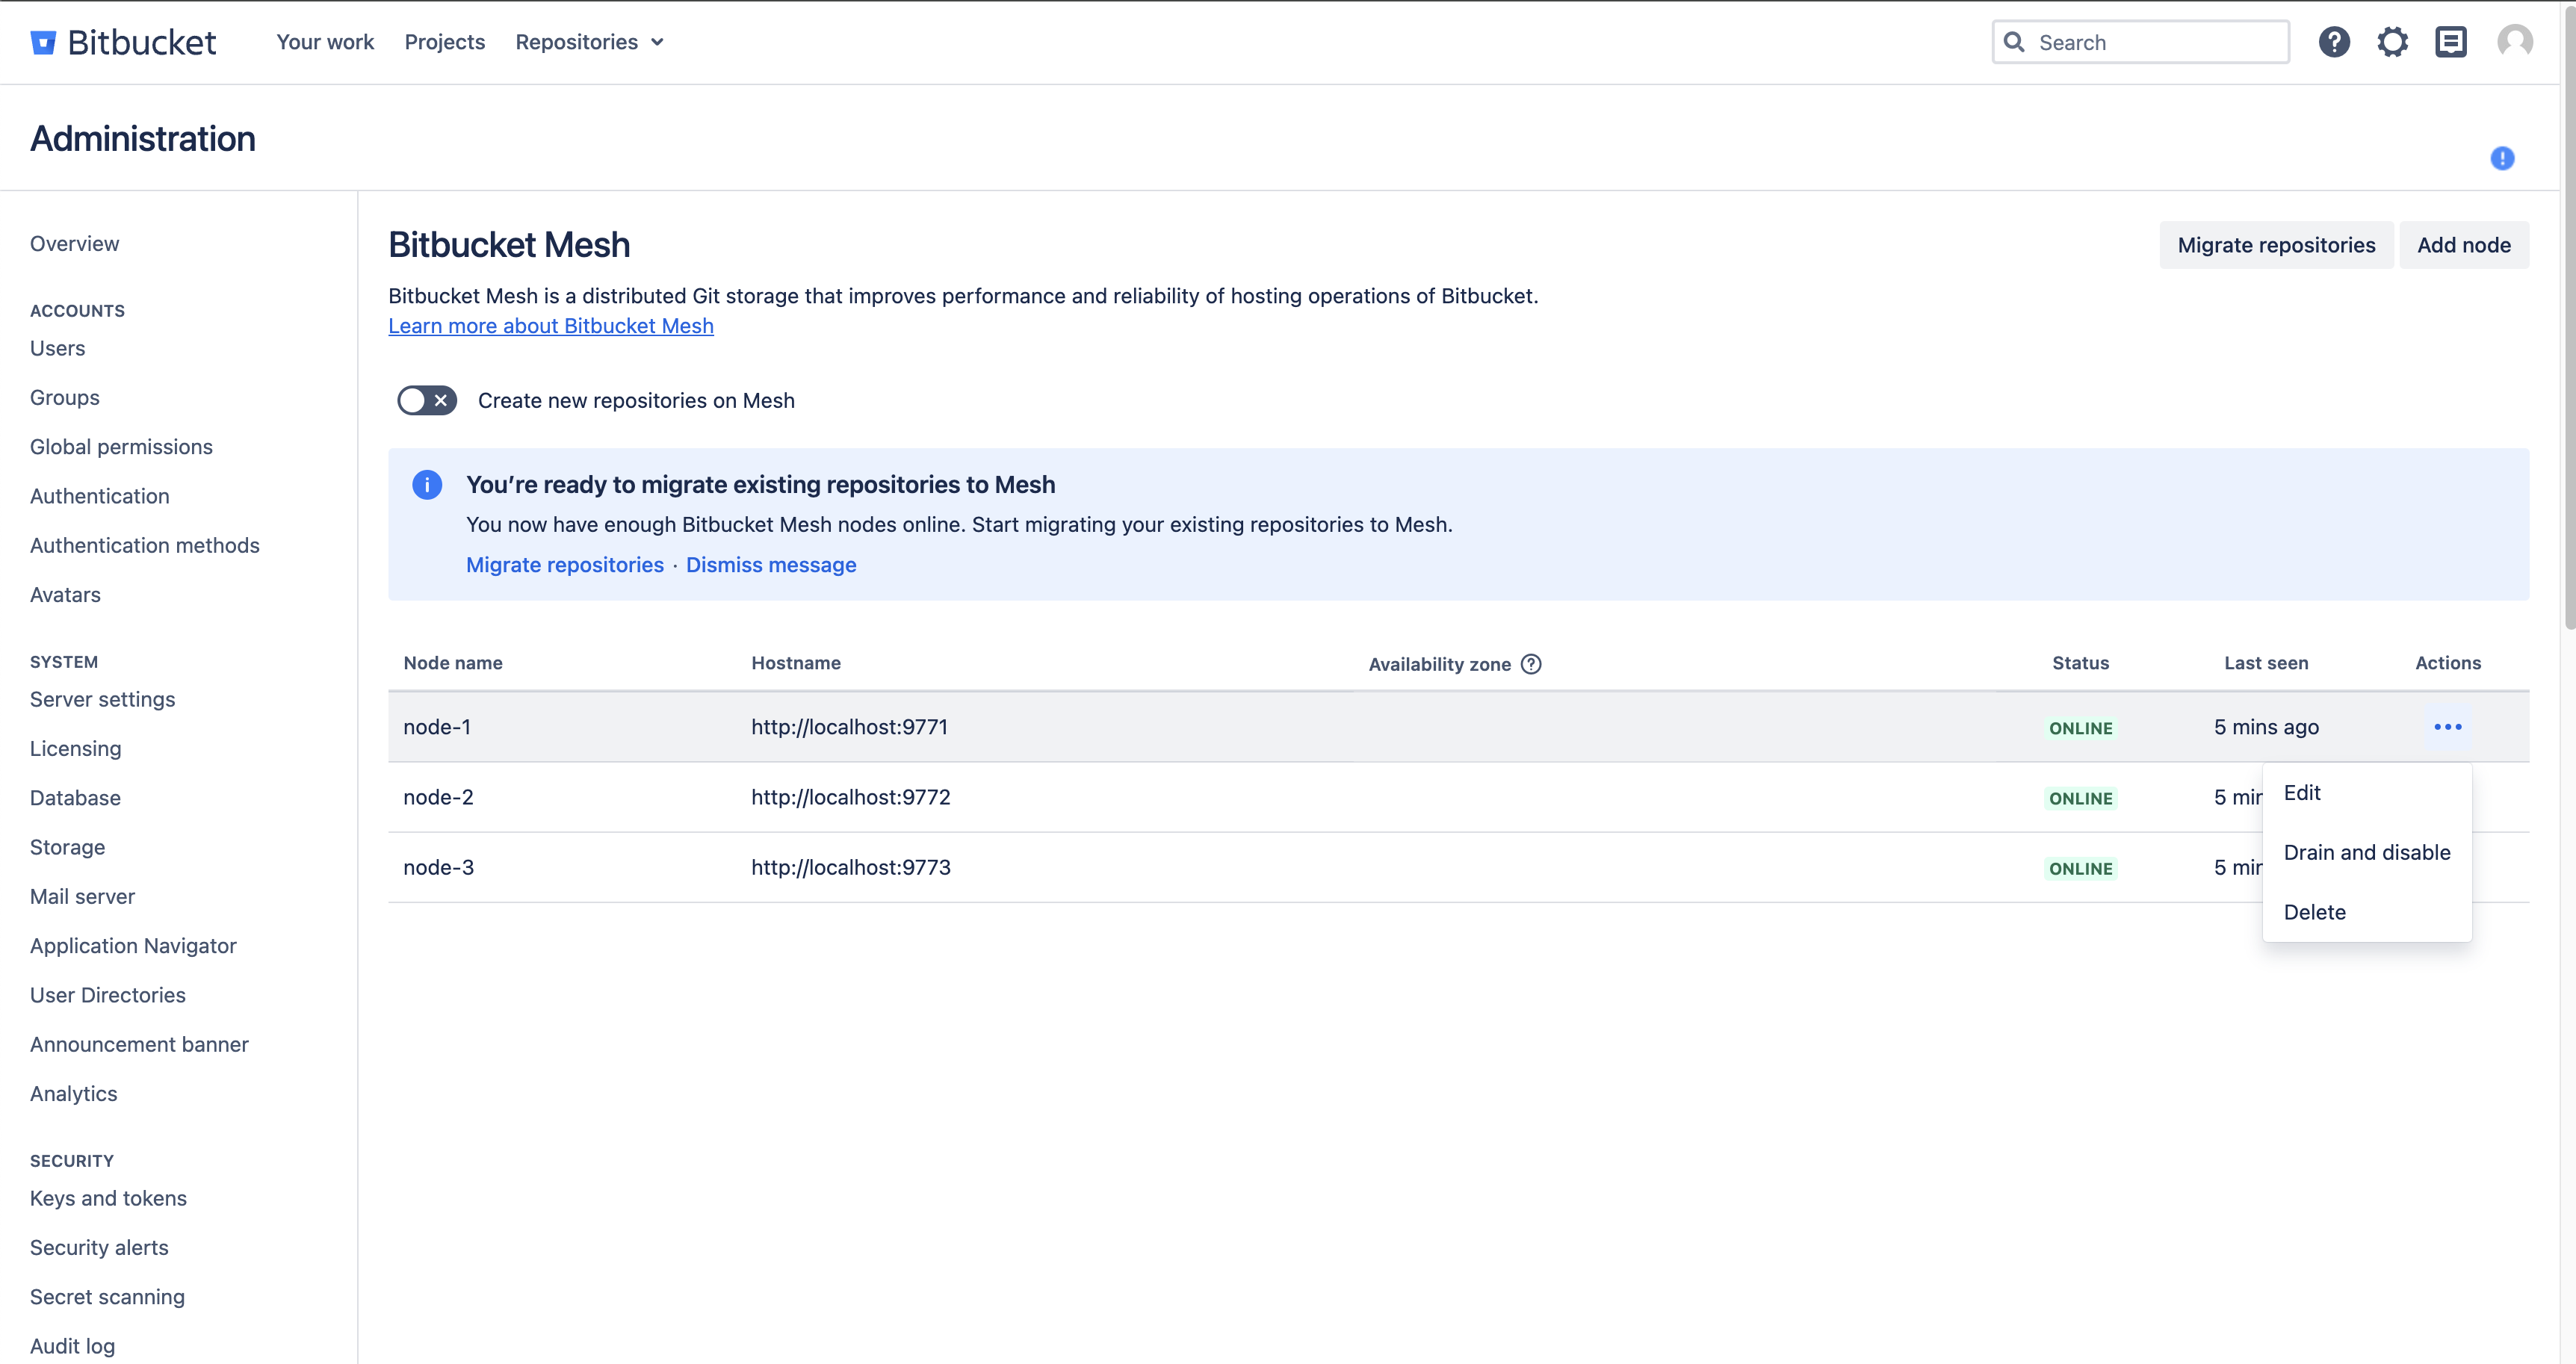
To add an availability zone to the registered Bitbucket Mesh node, simply click on the meatball Actions item corresponding to the node you wish to modify.
Click the Delete Actions menu item from the list for the registered Bitbucket Mesh node.
Deleting your registered Bitbucket Mesh node will initiate background operations that may take some time to complete. During this process, you will not be able to add or remove any Bitbucket Mesh nodes. Wait for these background processes to finish before proceeding with any further actions.
Once the background processing has completed you can safely register the Bitbucket Mesh node back to your Bitbucket instance using the steps outlined in Registering new Bitbucket Mesh nodes with an Availability Zone
For every registered Bitbucket Mesh node that you will like to have an availability zone you will need to perform the same steps as outlined above.
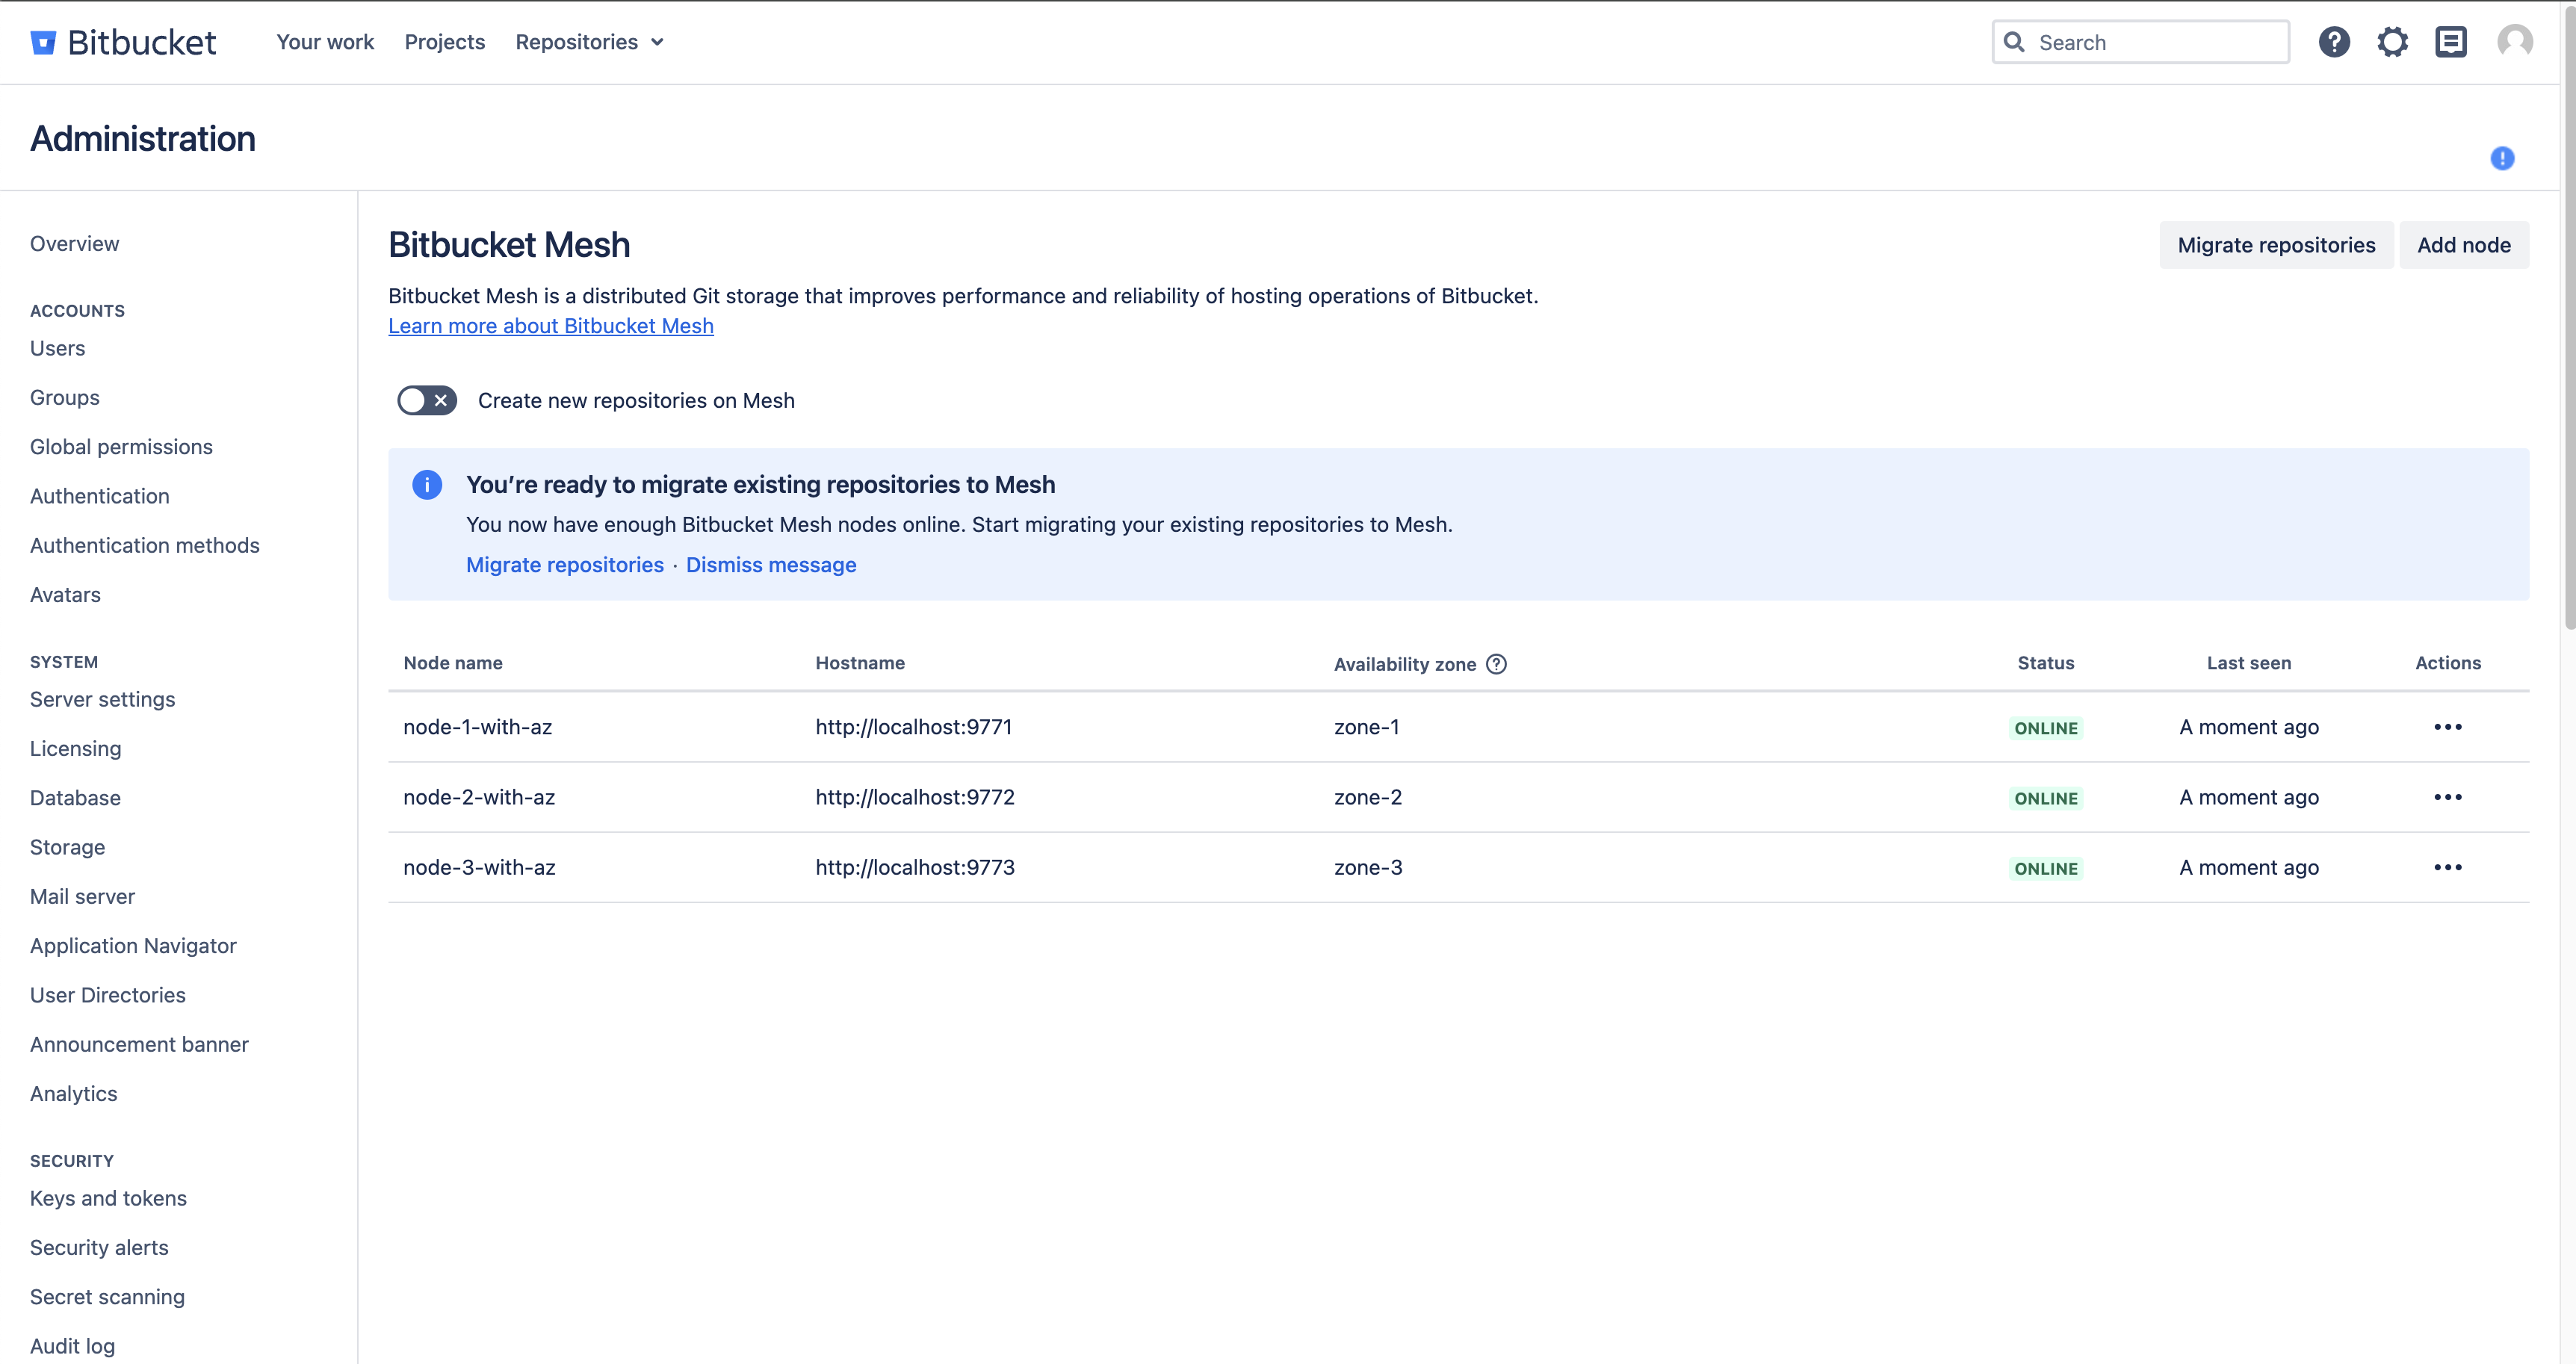
After you have made all the necessary changes to the registered Bitbucket Mesh nodes then your Bitbucket Mesh administration page will look something like the below with availability zone information:
You can now also safely remove the temporarily registered Bitbucket Mesh node so that you only have the original Bitbucket Mesh nodes with their respective availability zones.
Configuring Availability Zone Aware Routing
You can also add availability zone and routing preferences to your Bitbucket application nodes to make use of availability zone-aware routing between your Bitbucket application nodes and Bitbucket Mesh nodes. Routing requests to Bitbucket Mesh nodes in the local or nearest availability zone can help improve performance and lower the cross-availability zone traffic costs.
Before configuring your Bitbucket application node for availability zone aware routing your Bitbucket Mesh nodes need to have their availability zone value set
Availability zone aware routing doesn’t work until both Bitbucket Mesh nodes and Bitbucket application nodes availability zones are configured.
Add the availability zone properties to your Bitbucket application node
Edit the
$BITBUCKET_HOME/bitbucket.propertiesfile and add the following properties:mesh.routing.az-affinity=truenode.availability-zone=your-availability-zone-valueIf your Bitbucket application node is in the same availability zone as your Bitbucket Mesh node, then the value for
node.availability-zoneshould match that of your value of the Bitbucket Mesh node.Restart the Bitbucket application node to get your new properties applied to your Bitbucket application node.
Perform steps one and two for all your Bitbucket application nodes.
