Tables
Confluence tables allow you to present important information and discuss it with your team. Use familiar table formatting options –resizing columns, coloring cells, rows and columns, and sorting the table by clicking the column headers – to view the information the way you like it.
Using Confluence Cloud? Check out our info on the new Confluence Cloud editor if your table looks like this one.
Insert a table
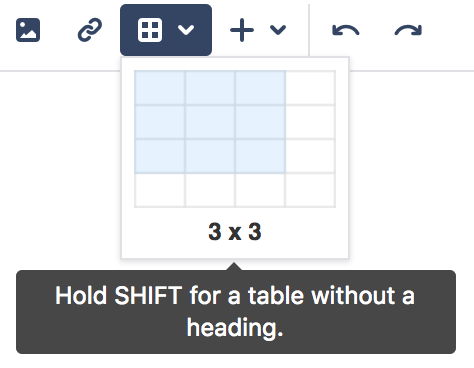
To create a table:
- Hit the Table button in the toolbar
- Click a cell in the drop-down to set the number of columns and rows in your table
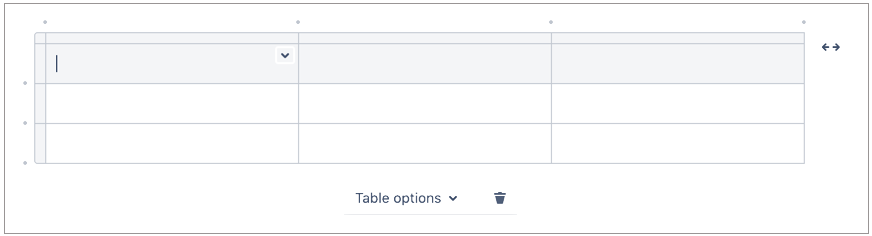
Edit your table
To resize table columns, just click and drag the column's border. To make other changes to your table, click inside it to reveal the table toolbar.
Here's a summary of the table tools:
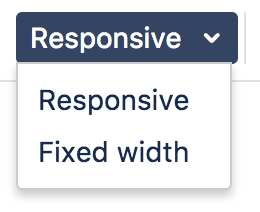
| Column width modes
|
| Rows
|
| Columns
|
| Cells
|
| Table
|
Shortcut keys
Windows | Action | Mac OS X |
|---|---|---|
Ctrl+Shift+c | Copy the current table row, or the selected rows. | Cmd+Shift+c |
Ctrl+Shift+i | Insert a table. (Opens the Insert Table dialog.) | Cmd+Shift+i |
Ctrl+Shift+v | Paste the table rows from your clipboard, placing them above the current row. | Cmd+Shift+v |
Ctrl+Shift+x | Cut the current table row, or the selected rows. | Cmd+Shift+x |
| Alt+Up Arrow | Add a row above the current row. | Alt+Up Arrow |
| Alt+Down Arrow | Add a row below the current row. | Alt+Down Arrow |
For more editor keyboard shortcuts, see Keyboard shortcuts.
Sort the table in view mode
When viewing a table on a page, you can sort it by clicking the sort icons in the header row.
Screenshot: A colorful, sortable table

The default sort order is the order the table rows are listed in the editor. You can use the Cut row and Paste row icons to move rows around in the editor.
Sticky table headers in view mode
In some instances the header rows of your table will stick to the top when you're scrolling down a page, making those really long tables easier to read.
You don't need to do anything to enable sticky table headers, however there are a lot of situations where headers won't stick. These include when your table:
- Is inside a page layout, inside another table, or inside a macro.
- Has no header row or there are cells in the top row that aren't marked as headers.
- Has a header column, instead of a header row, and scrolls horizontally.
- Contains another table, that has its own header row.
There's no way to freeze rows or columns in Confluence tables.
See CONFSERVER-54343 - Getting issue details... STATUS for issues with sticky table headers.