How to change the creator of a space?
Platform notice: Server and Data Center only. This article only applies to Atlassian products on the Server and Data Center platforms.
Support for Server* products ended on February 15th 2024. If you are running a Server product, you can visit the Atlassian Server end of support announcement to review your migration options.
*Except Fisheye and Crucible
Summary
The owner/creator of a Space cannot be modified through the Confluence UI. If a user wishes to change this information, we must do so by querying the database and updating the information there.
Environment
7.2.2 and above
Solution
- Identify the user_key of the user we wish to make the owner.
- Identify the lowerspacekey for the space that we wish to update.
- Perform an Update command against the database using the user_key and lowerspacekey.
Find user_key
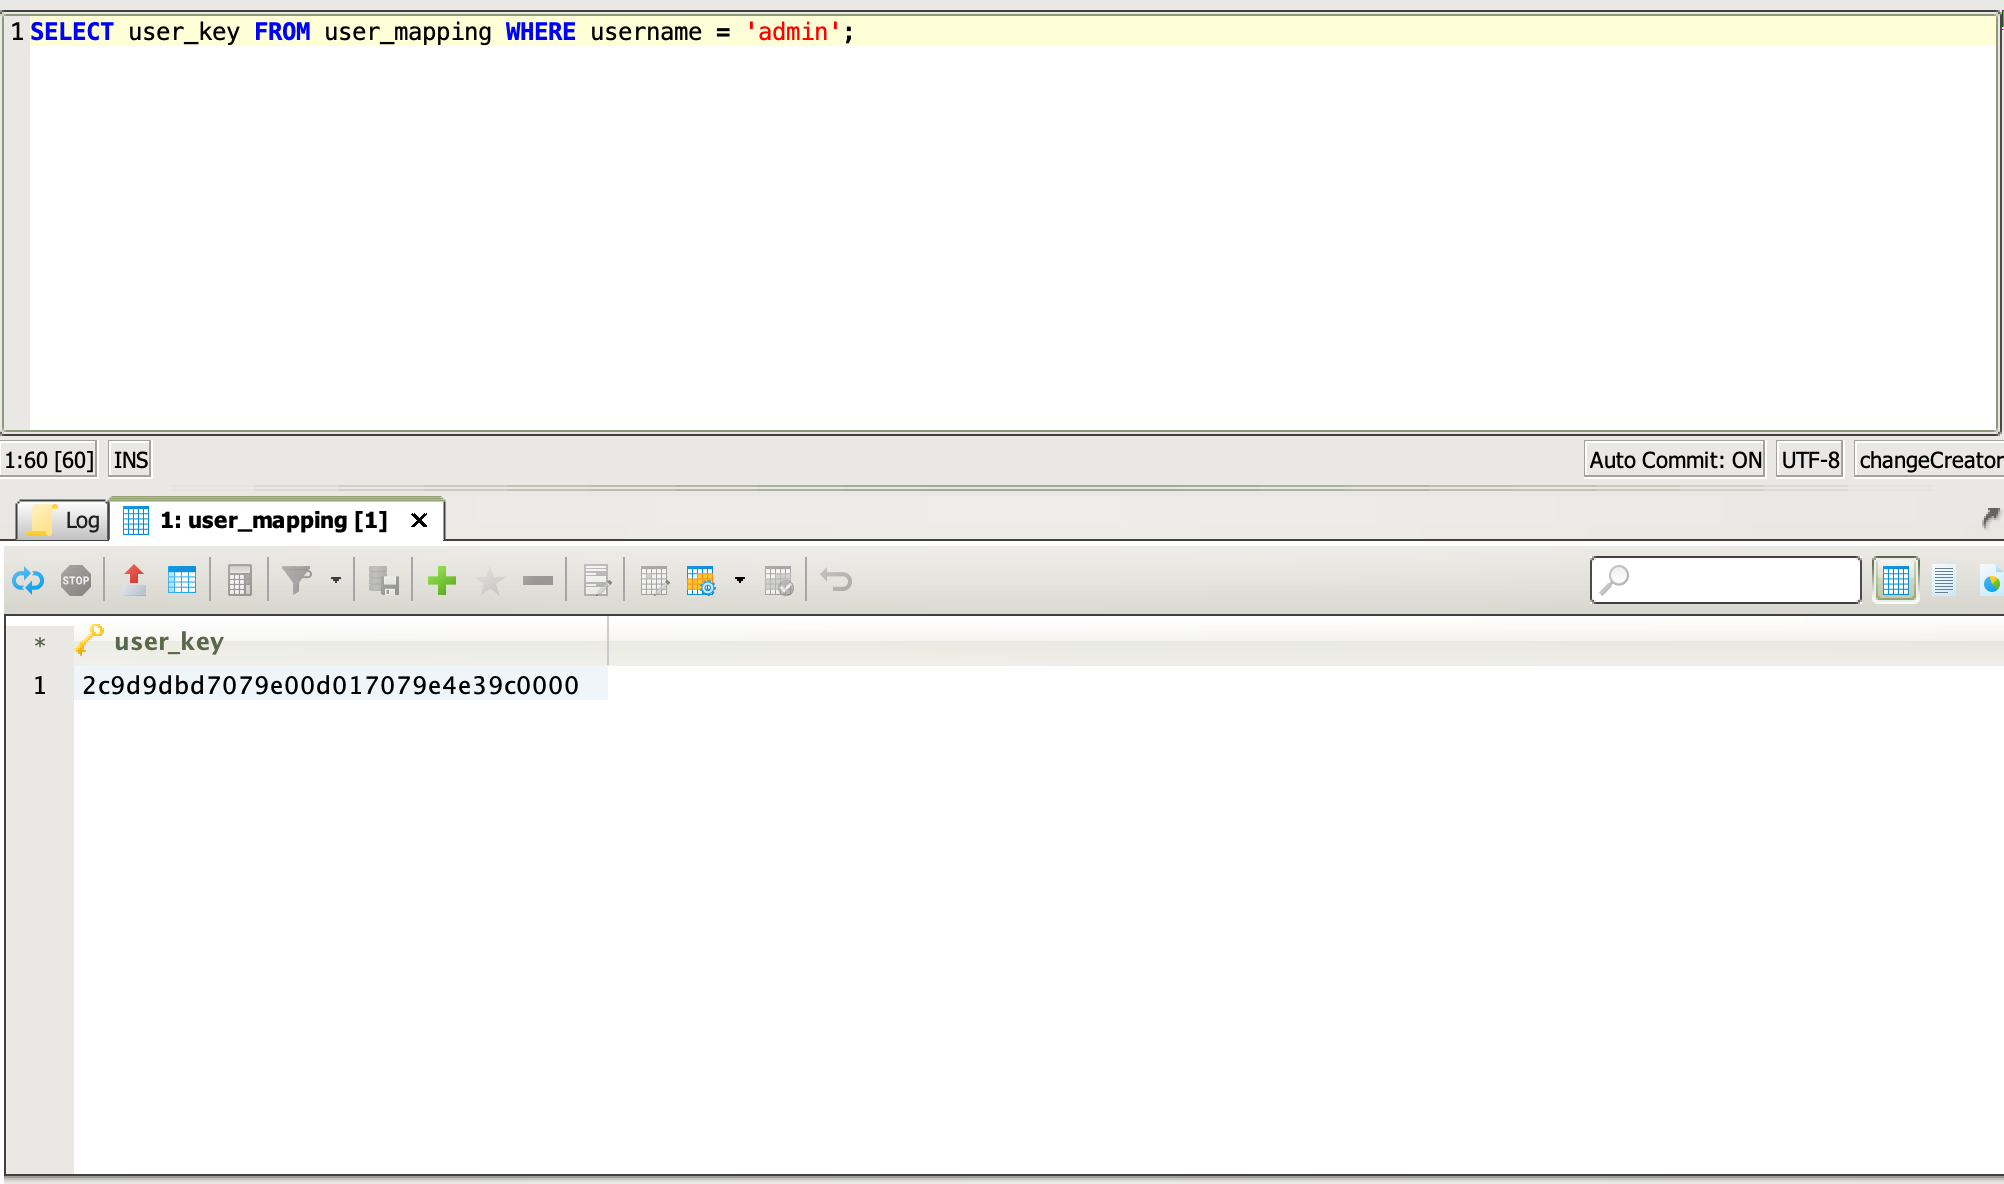
To obtain the user_key, run the following query against the database, replacing <username> with the actual username:
SELECT user_key FROM user_mapping WHERE username = ‘<username>’;Copy and store the value that's returned from this query. The result should be similar to the results in the lower box of this image:
Find lowerspacekey
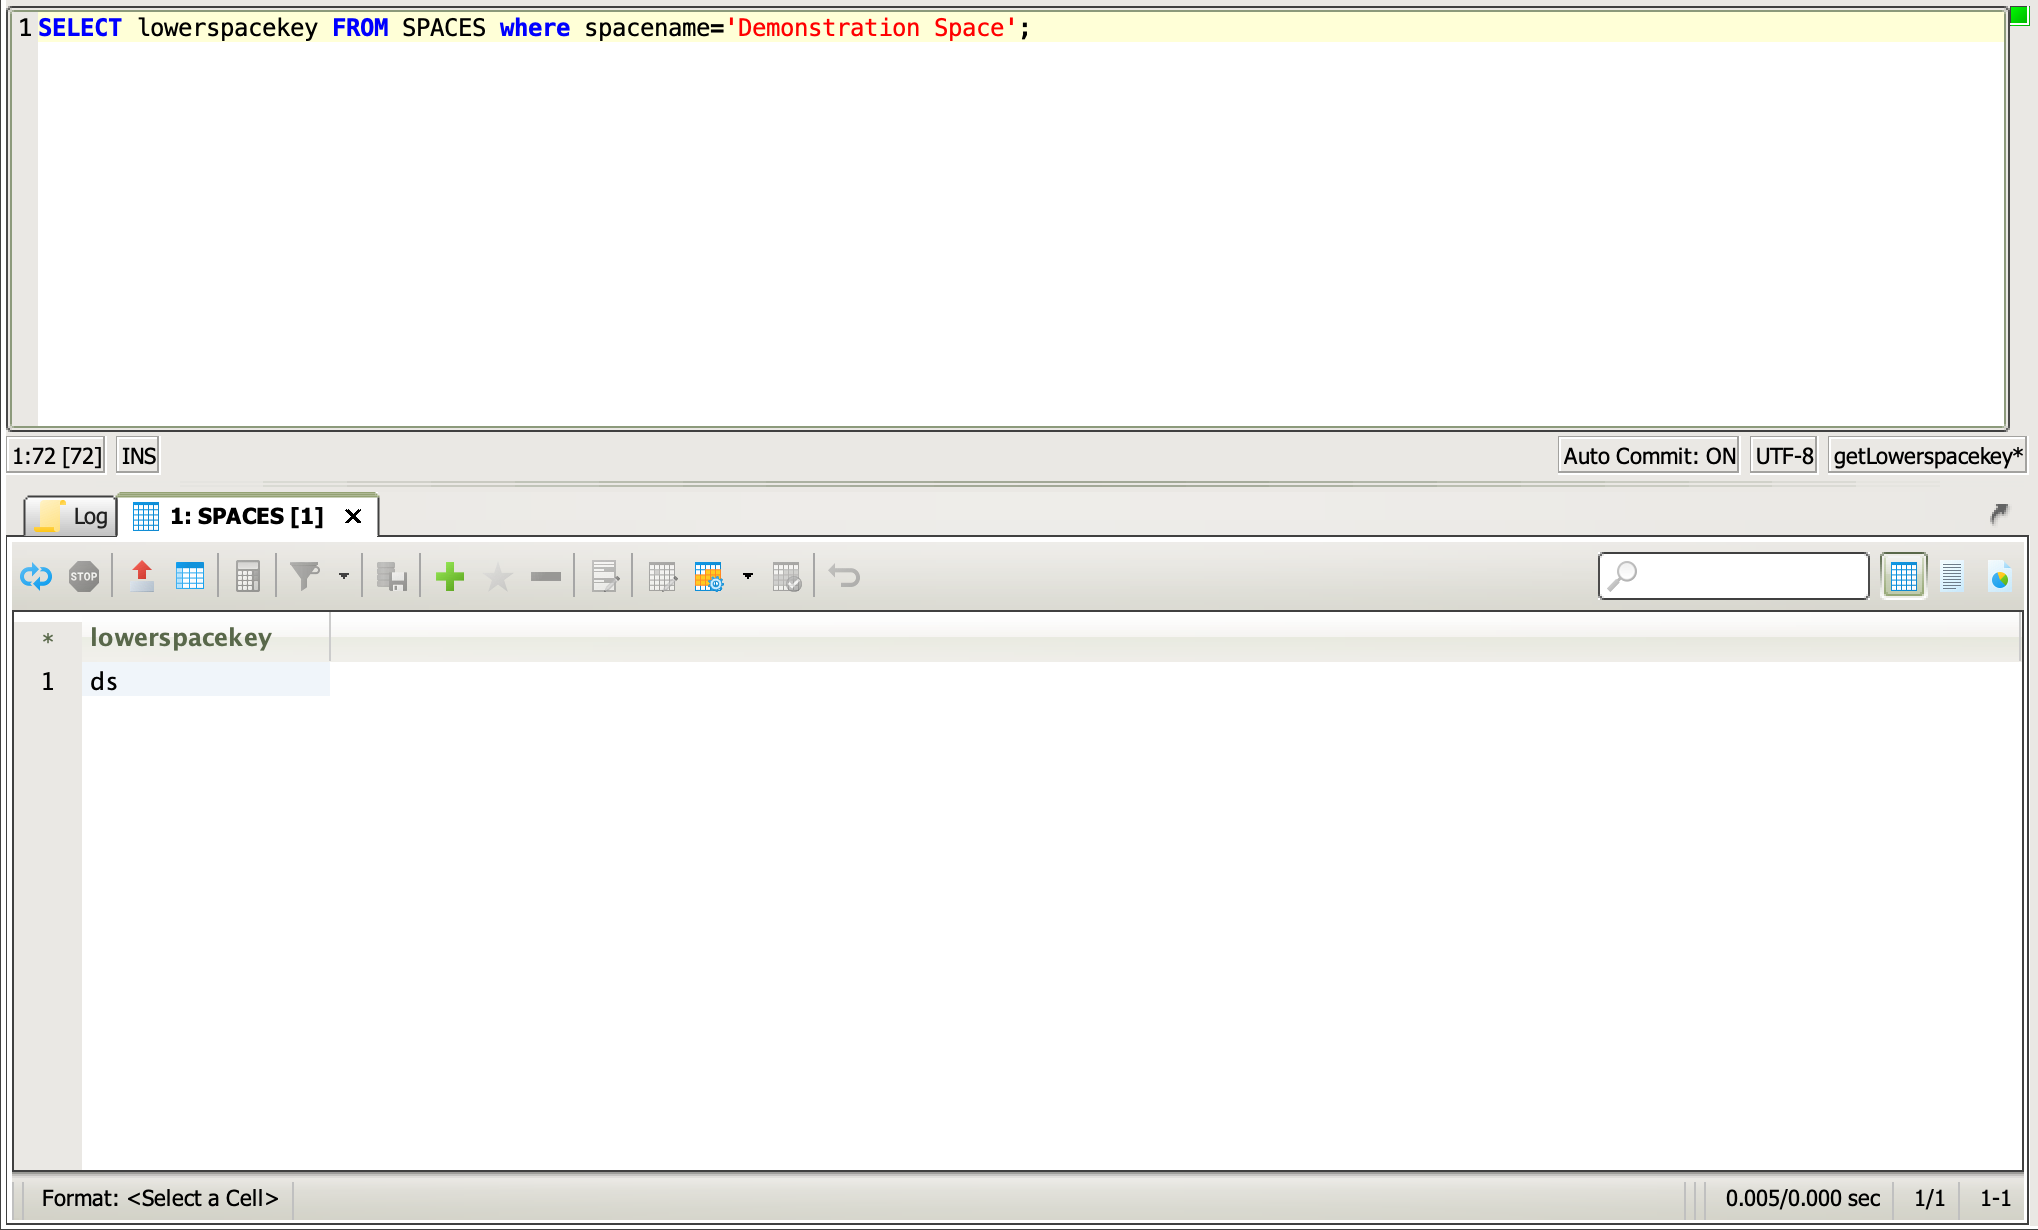
To obtain the lowerspacekey, run the following query against the database, replacing <Space name> with the actual space name:
SELECT lowerspacekey FROM SPACES where spacename=‘<space name>’;Copy and store the value that's returned from this query. The result should be similar to the results in the lower box of this image:
Once we have both of the keys, we'll use them to update the database and change the creator of the Space. Run the following query against the database, replacing <user_key> and <lowerspacekey> with the values we obtained in the previous queries for each.
UPDATE SPACES set creator=‘<user_key>’ WHERE lowerspacekey=‘<lowerspacekey>’;Finally, from within the Confluence UI, we'll need to flush the cache. Navigate to Cog > *General Configuration* > Administration > Cache Management and click on 'Flush All’.

