How to integrate Confluence Data Center with Keycloak for SAML 2.0 SSO
Platform Notice: Data Center Only - This article only applies to Atlassian products on the Data Center platform.
Note that this KB was created for the Data Center version of the product. Data Center KBs for non-Data-Center-specific features may also work for Server versions of the product, however they have not been tested. Support for Server* products ended on February 15th 2024. If you are running a Server product, you can visit the Atlassian Server end of support announcement to review your migration options.
*Except Fisheye and Crucible
Purpose
Confluence Data Center is bundled with the SSO for Atlassian Server and Data Center App – we will refer to it simply as Atlassian SSO App in the remainder of this document.
With this App, Confluence administrators can configure SSO using SAML 2.0 or OIDC with your preferred Identity Provider (IdP). Check SAML single sign-on for Atlassian Data Center applications for further details on supported IdPs and more information on the SSO App.
This document highlights the steps to integrate Confluence Data Center with Keycloak for SSO using SAML 2.0.
This document is not intended to be a full reference guide, since you may need to change Keycloak or Confluence configuration to your organization's needs. Hence, this describes a sample configuration to have it working.
For any Keycloak related issue or question, refer to Keycloak community.
Atlassian Support can't provide assistance with configuring third-party tools like Keycloak. If you have questions, check the Keycloak documentation, Keycloak community, ask the Atlassian Community, or get help from a Solution Partner.
Summary
This is a guide to easily integrate Confluence (Service provider) with Keycloak (Identity provider IdP). Each requires their own specific configurations and we'll outline these below. If there are specific settings that need to in place and which are out of scope of this page, please check those with your IdP admins.
For more technical details and documentation, please refer to:
You may want to enable Confluence's default login page, as a security measure, so you won't lose access to Confluence, in the event of any issue during the following steps.
For reference: Enable default login page to bypass SAML in Confluence Data Center
Integration Steps
After installation of Keycloak, and setup of Admin Console on http://127.0.0.1:9990, we should proceed to Keycloak Server console http://127.0.0.1:8080/auth. There we will need to set up the initial user (eg. user1), then login to Keycloak. Once that is done we have a working Keycloak instance.
- In the Keycloak console, we want to retrieve metadata from our Keycloak instance, which we will use in the Atlassian SAML app. You can get this information by clicking on "SAML 2.0 identity provider metadata".

- On the new page http://127.0.0.1:8080/auth/realms/master/protocol/saml/descriptor we will see information about entityID, X509Certificate, and Location

- This data will be used to update the SAML configuration in Atlassian products:

- Then we will record data from the Confluence side, EntityID, and Assertion Consumer Service URL to add it on the Client side:

- At this point, we will also need to create our user - user1 in the Atlassian product.
This user can come from any directory, and it can even be provisioned on the first login. - On the Keycloak side again, we will create a new client, where we will specify EntityID as ClientID and SAML as protocol:

- After saving the client, we want to check all switches, and verify that Valid Redirect URIs and Master SAML Processing URL are set correctly as per the Atlassian SAML page:

- If the configuration is correct, we can proceed and test our login at http://localhost:6747/c747/plugins/servlet/external-login
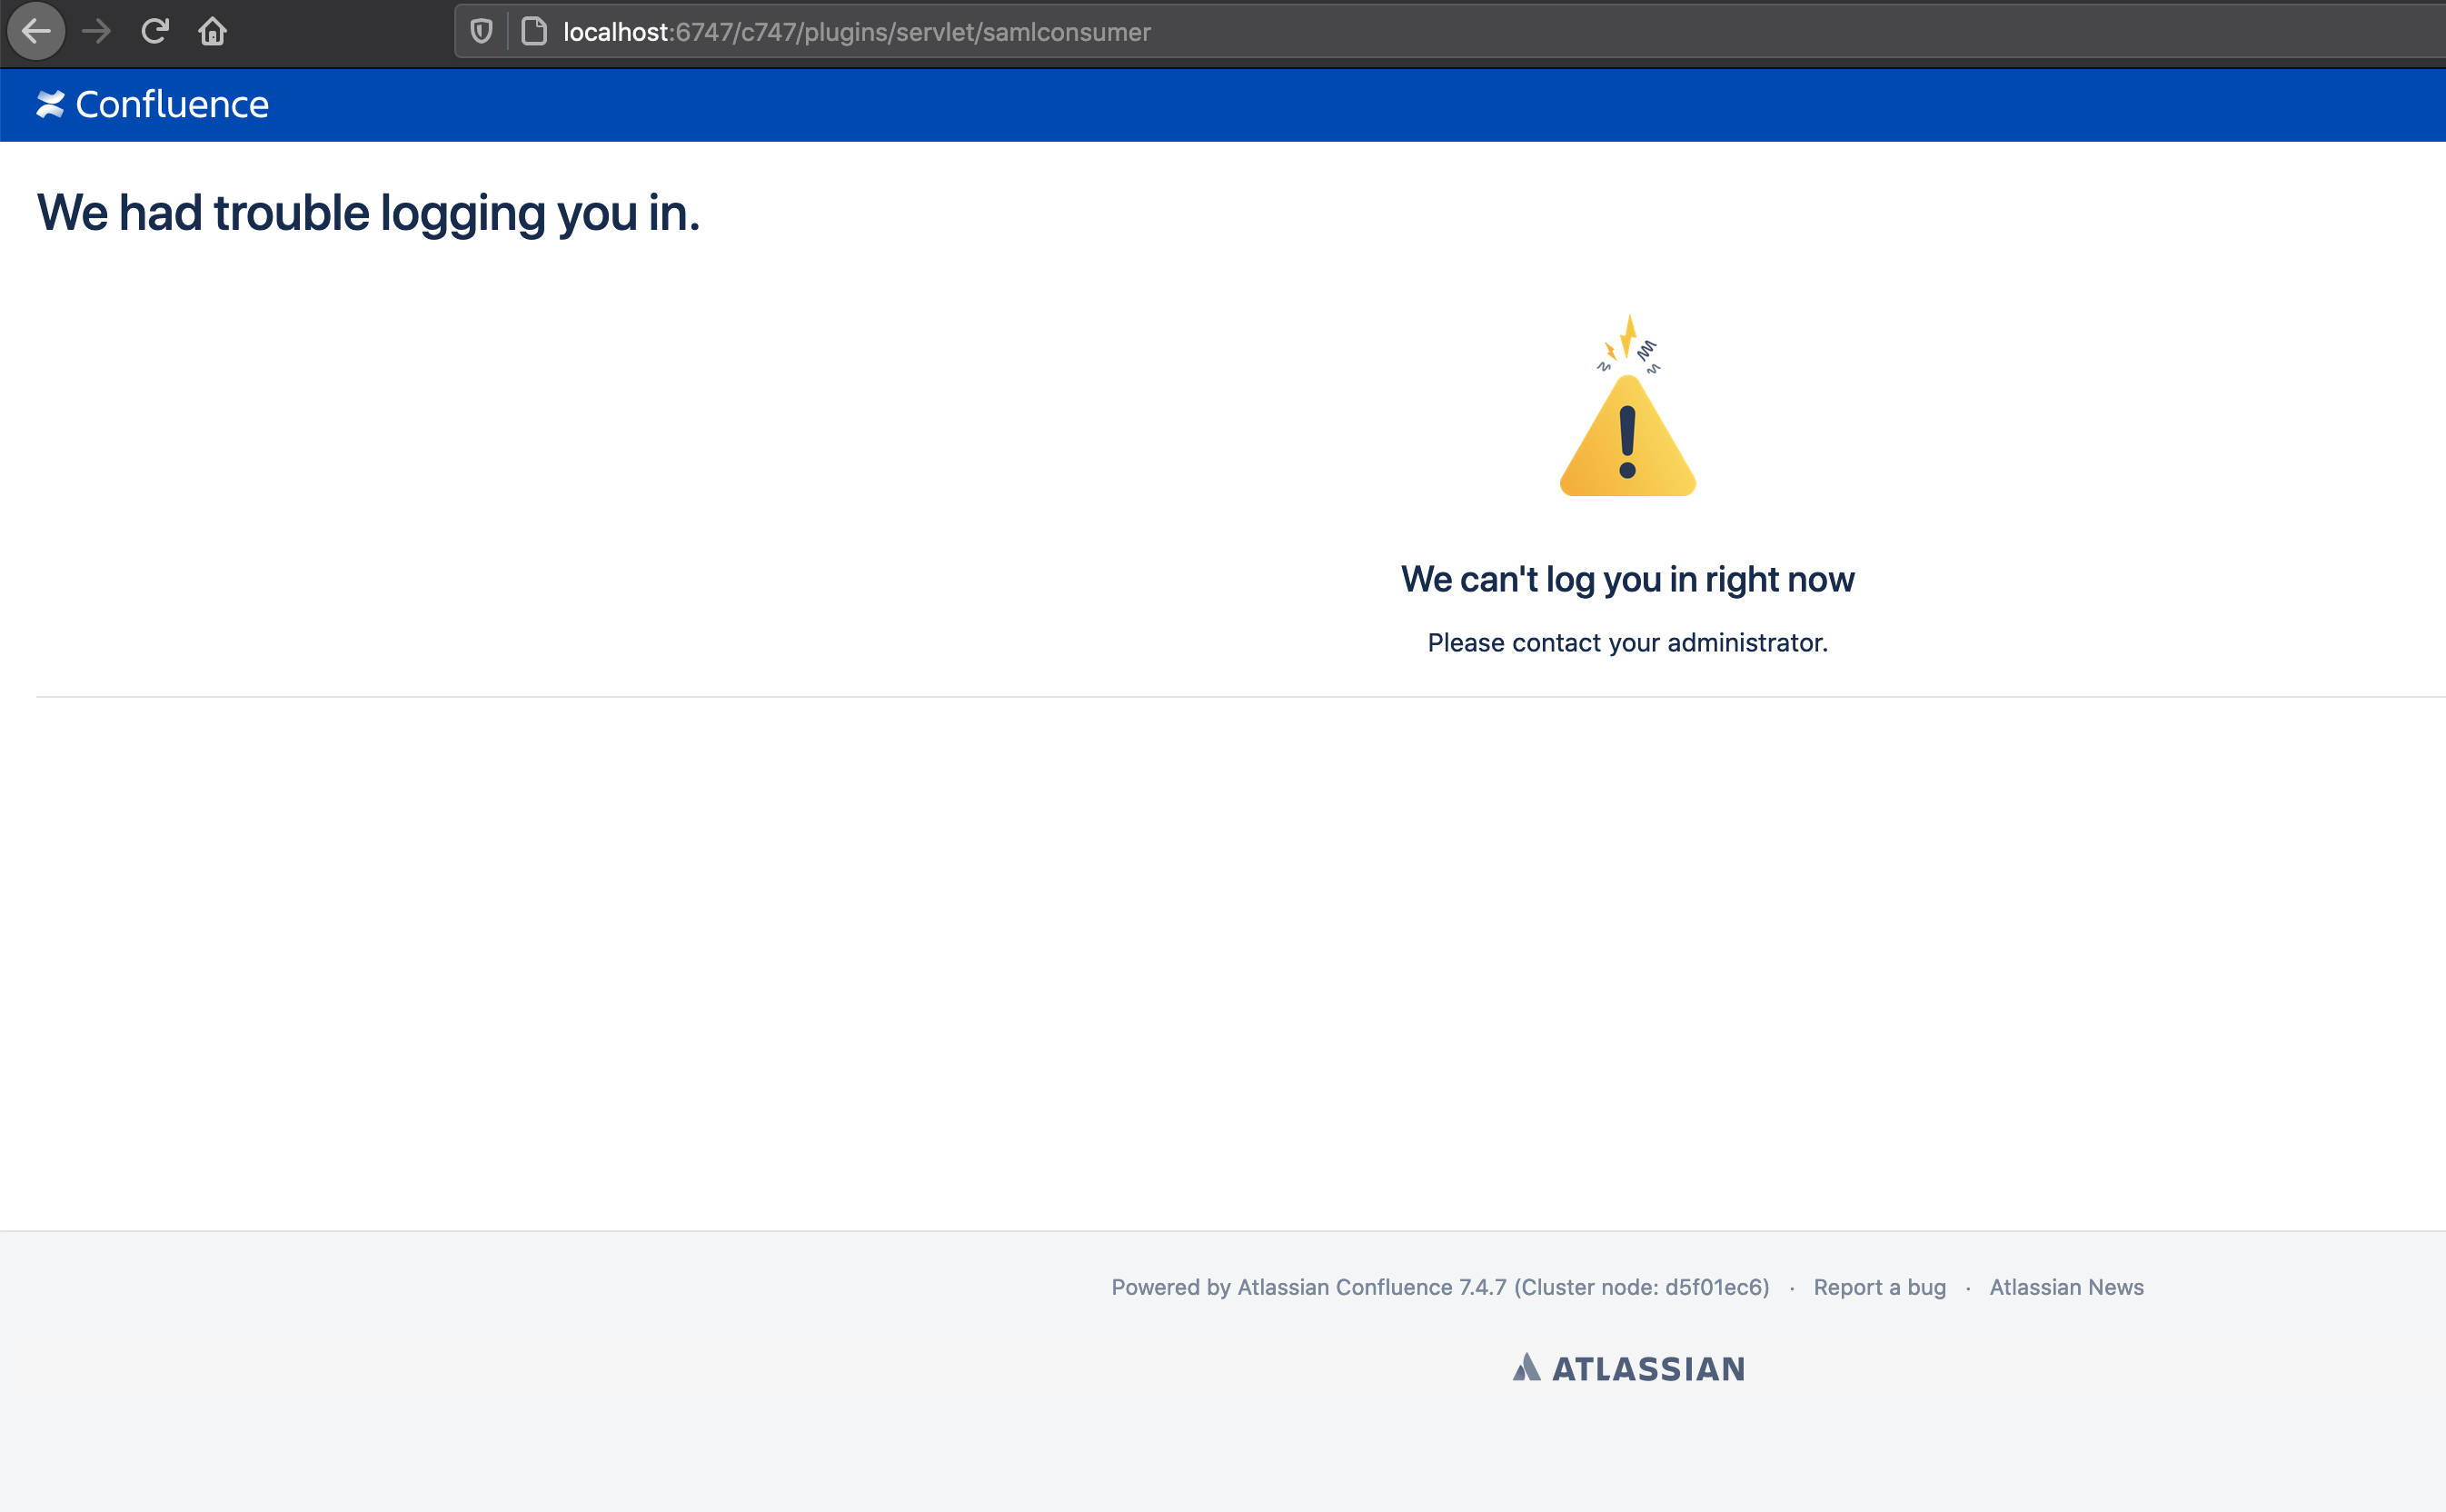
If you receive an error message like the one in the image below after logging, check if the user exists in the Atlassian application and if it has the right permissions to view the content. If that does not help, inspect the Atlassian logs for that product for the exact error.