Getting started with Java and Bamboo
This tutorial outlines how to use Bamboo to run, and get rapid feedback on, builds for your Java project. Bamboo has the concept of a 'plan' to look after the configuration for your continuous integration workflow. So, to run your first build, you'll create and run a Bamboo plan.
Information you need before you begin
This tutorial assumes you have an individual Bitbucket account. If you don't, it only takes minutes to create one, and you can always delete it after you're done.
1. Create a project and plan
A Bamboo plan specifies the source code repository, the tasks to run in your build, and when to trigger a build. We start by creating a new plan:
- Log into your Bamboo instance as a user with permissions to create plans.
- Select Create > Create plan from the menu bar.
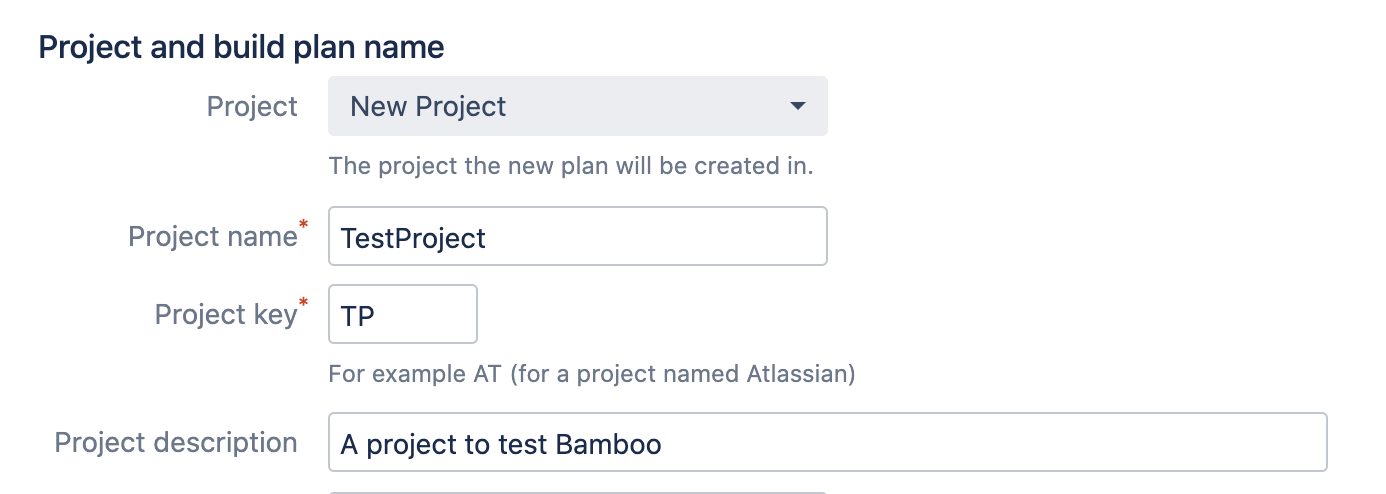
Every plan belongs to a project. We don't have a project yet, so select Project > New Project, and enter details for both the project and plan.
Bamboo needs to know the plan name, plan key and a brief description of what the plan is for.
See Configuring plans for more details.
2. Connect to a source repository
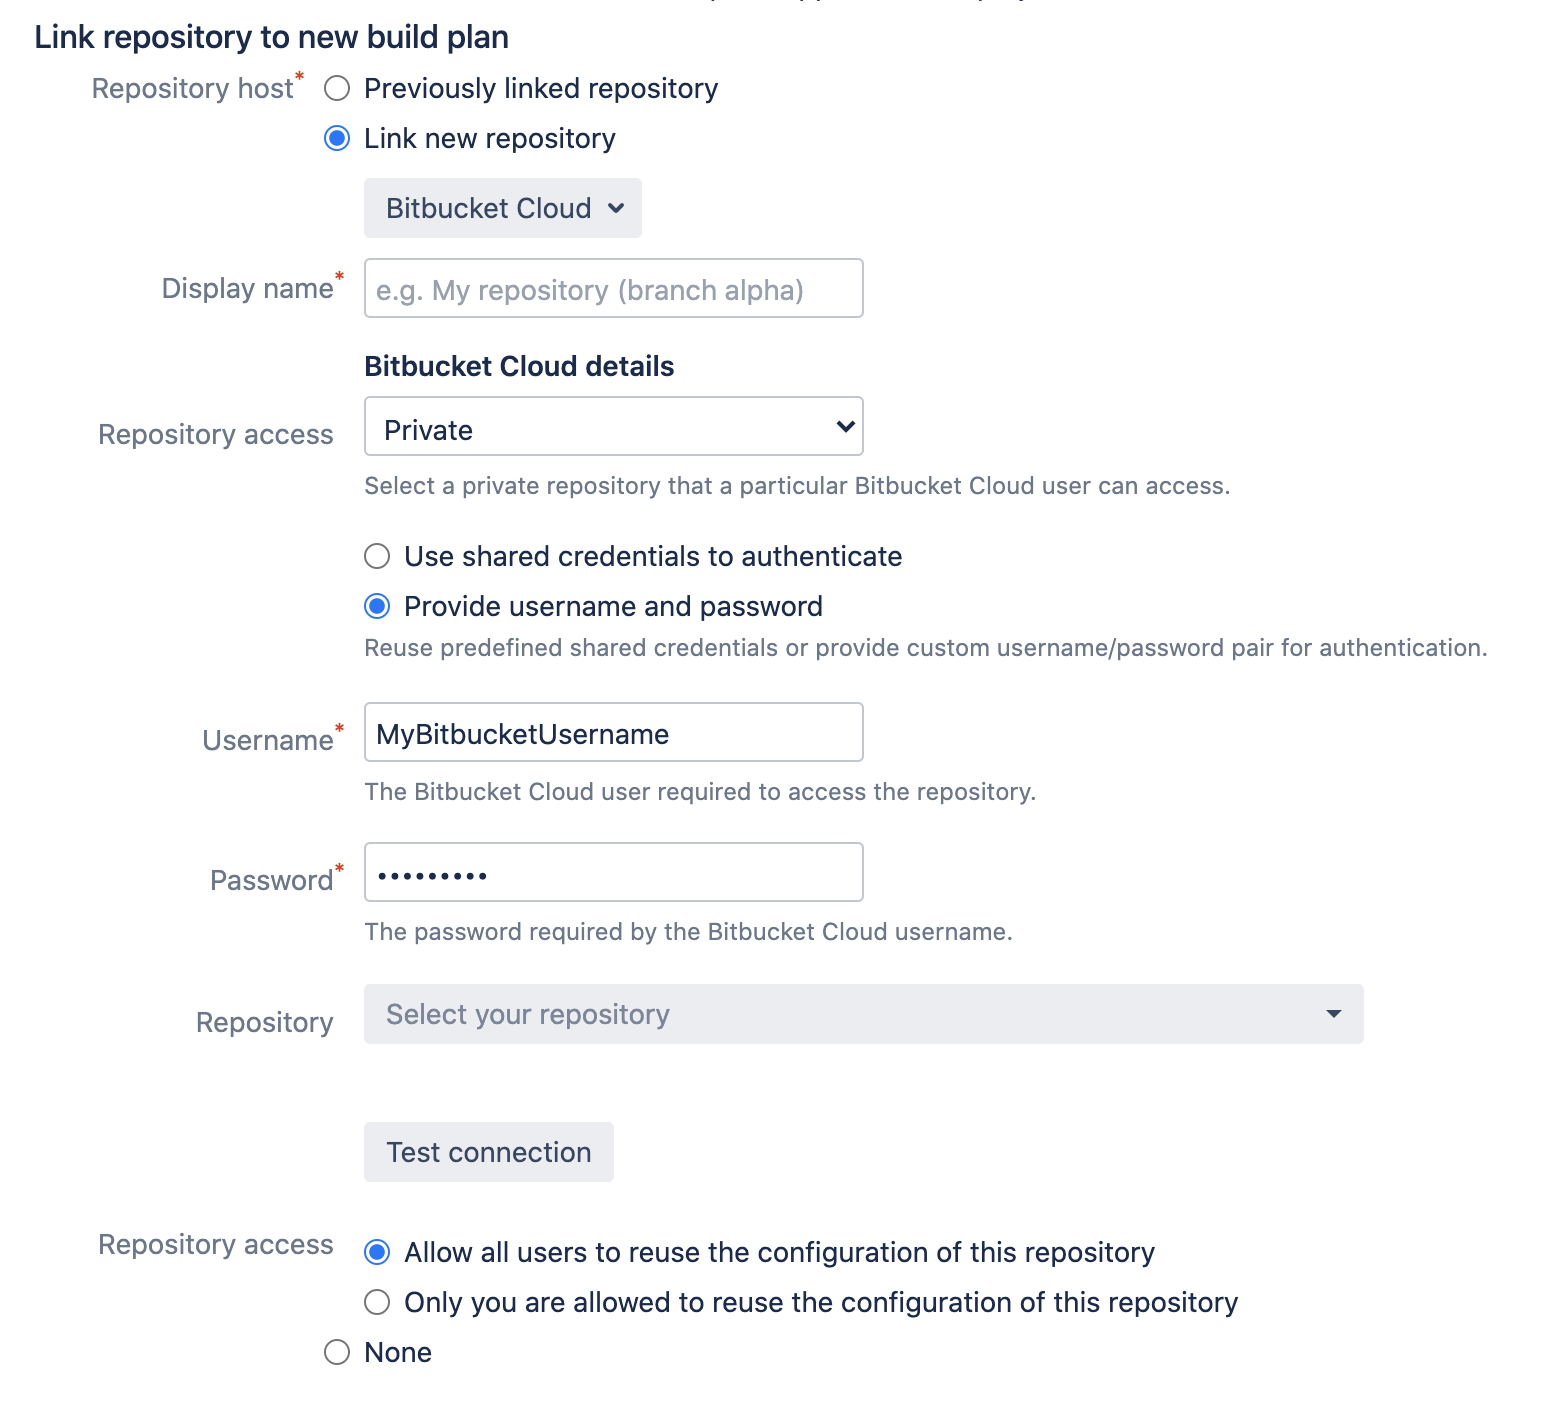
Bamboo needs to know where the source code repository is located, and needs permissions to access the repo, so that it can check out the code when it runs a build. Enter your Bitbucket credentials, and select your repository.
Connect to the demonstration atlassian_tutorial/helloworld repo on Bitbucket for this tutorial, if you like.
See Linking to source code repositories for more details.
3. Configure tasks
Each plan needs to have at least one task specified. Tasks do the real work of the plan.
The source code checkout task
A newly created plan has a default Source Code Checkout task that gets the source code from the source repository specified earlier.
See Checking out code for details.
The builder task
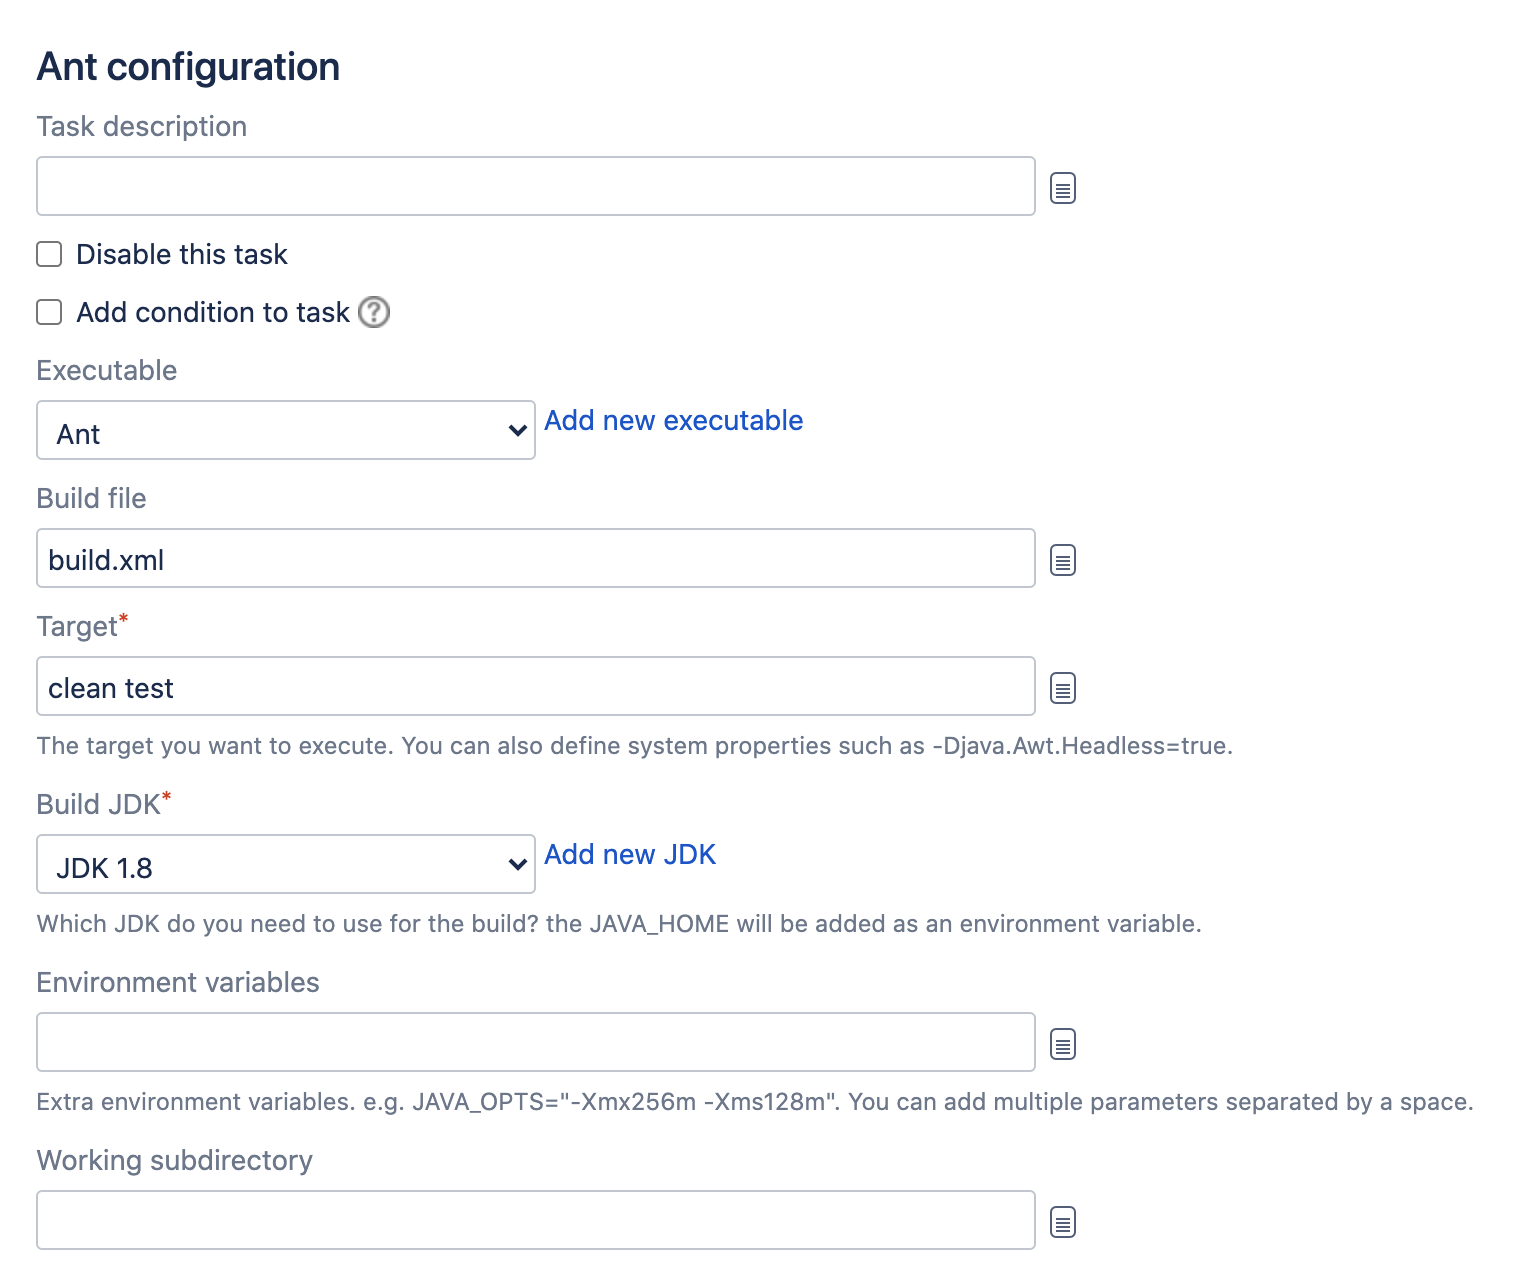
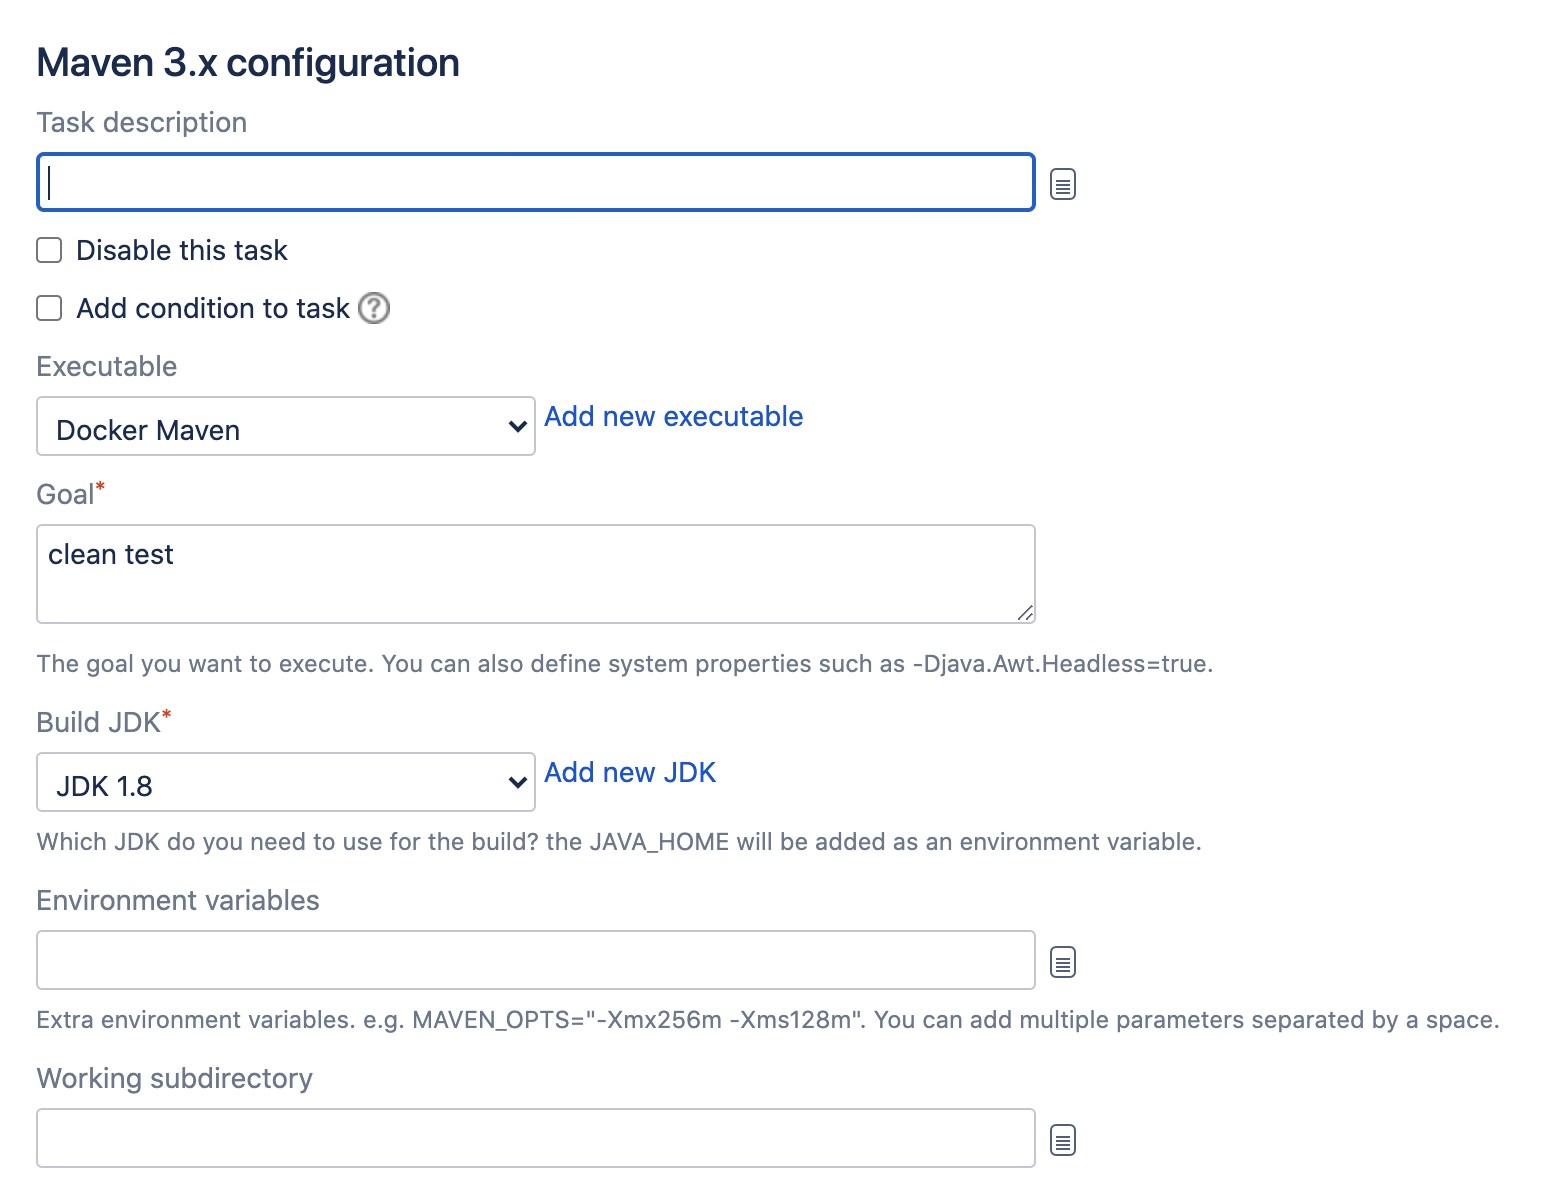
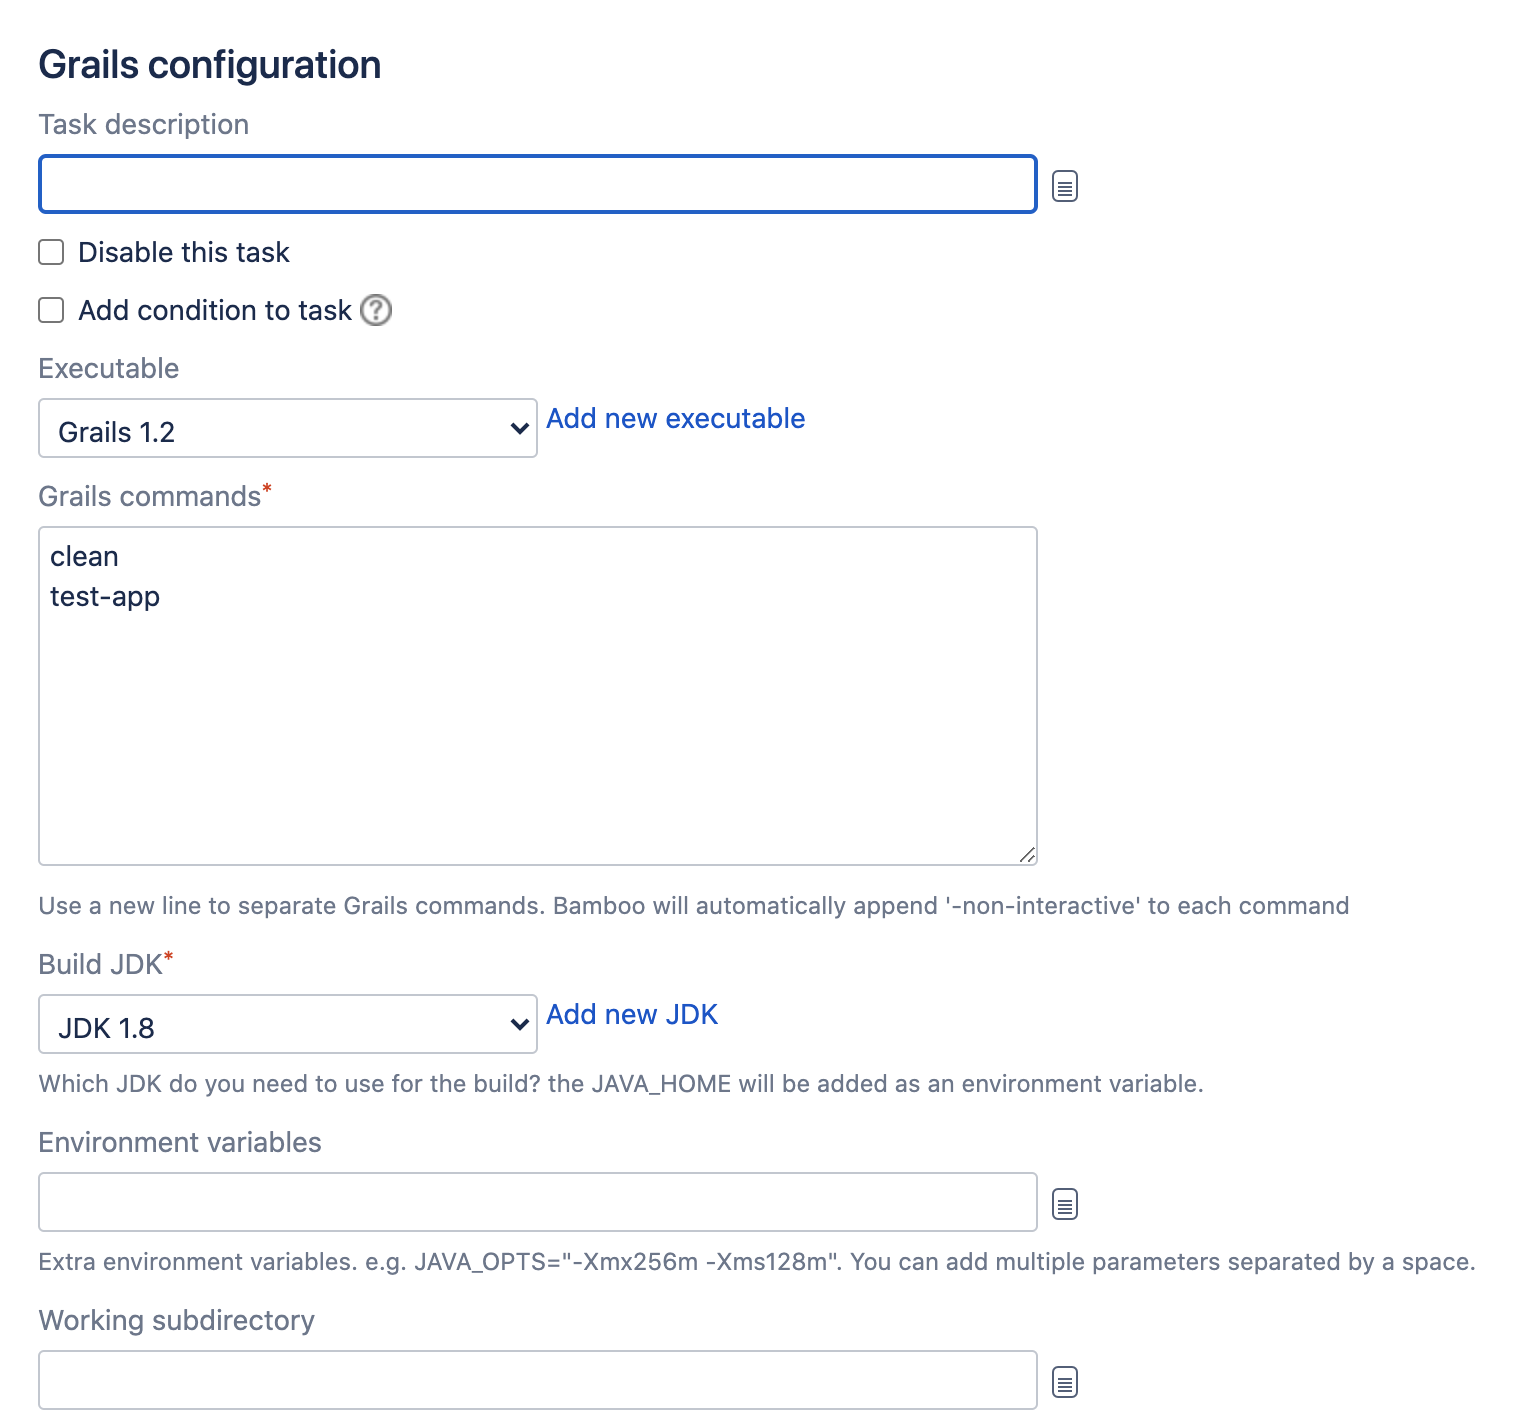
We also want to compile the code, and run the unit and integration tests. We'll add a builder task to the Bamboo plan to do that. We assume that your project already has a build process set up that Bamboo can call.
Select Add Task, then Builder and choose the task that matches the build tool for your project. Expand one of the following sections to see configuration details specific to that builder task:
Note that:
- A build tool needs to be installed on the Bamboo server machine before you can use the Bamboo task.
- There are plugins available for Bamboo that add build tasks for other tools, such as Gant and Gradle. See the Atlassian Marketplace for details.
Getting the test results
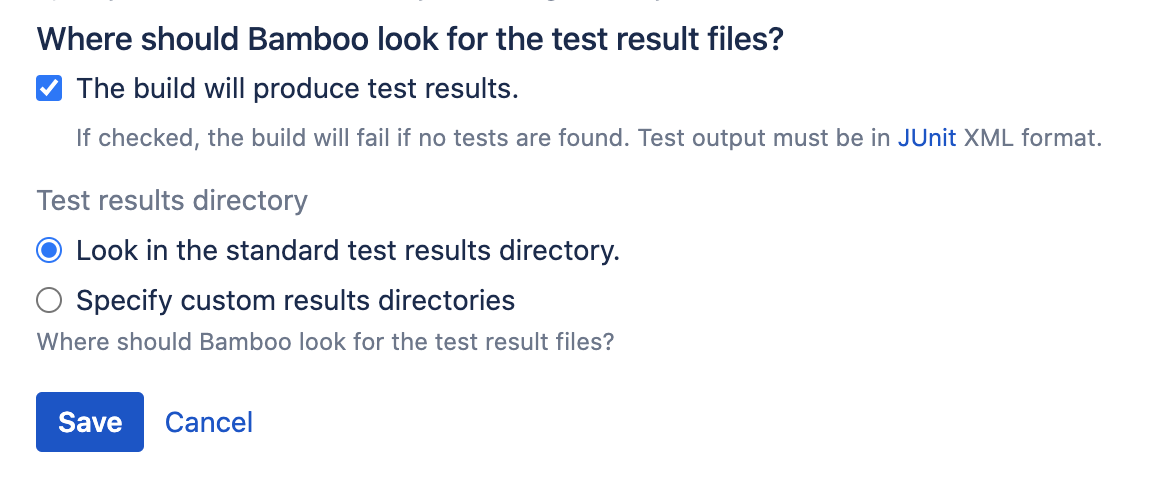
Your tests will be run when the builder task compiles the code. Each of the builder tasks above has a section to tell Bamboo to expect test results and where to look for them. You can specify a custom results location if your project directory doesn't use the conventional structure.
See Configuring jobs and Configuring tasks for details.
5. Run!
Enable the plan, and click Create.
You should see the plan run. Bamboo will:
- Connect to the code repository
- Check out the source code
- Compile the code
- Run unit and integration tests
- Report back the test results
The 'Plan summary' tab will report whether the build succeeded or not.
Tests in the appropriate directory in the source code repository will be run automatically as part of the build, and the test results will be displayed in Bamboo.
Now, whenever you commit a change to the repository, Bamboo will build your source code and report on your test results.
6. Get feedback
Bamboo displays a summary of the results of the build on the dashboard.
You can get further information about the build in the following ways:
- Build results for one or more plans can be displayed on a wallboard.
- You can get notifications about build results sent to you by email, IM and RSS feed.
- You can get build statistics about plans, and about developers contributing code to the build.
- You can drill down into the results to see the code changes that triggered the build, and the tests that were run for that build.
See Getting feedback for details.
