
7 steps to get started in Jira
Jira is a work management tool for software teams that need to organize and track their work. Jira is incredibly flexible and can be customized to work with your team’s unique workflow, meaning teams of all kinds can enjoy increased productivity and visibility as they march toward releasing amazing software.

Signed up and ready to get started?
This guide help you set up your first project so you and your team can start getting the most out of Jira.
Haven’t signed up yet? Sign up for the free edition of Jira now.
Step 2 - Pick a template
There are dozens of Jira templates, each of which is designed to get your team started quickly and successfully. Today, there are three templates specifically for software teams:

Scrum
For agile teams that work from a backlog, plan and estimate their work in sprints, and deliver work on a regular schedule.

Kanban
For agile teams that monitor work in a continuous flow (rather than in sprints), with a focus on managing in-progress work. (Includes the option of a kanban backlog.)

Bug tracking
For teams that don't need boards and prefer to manage development tasks and bugs in a list view.
Select a template that aligns most closely with your team’s unique way of working.
Project Types
For the scrum and kanban templates only, you will also be prompted to choose a project type. The fundamental difference between the two project types is how they are administered, and whether that occurs at the team level or at a company/Jira admin level.
Team-managed projects are suited for independent teams who want to control their own working processes and practices in a self-contained space.
Company-managed projects are set up and maintained by Jira admins. This project type is designed for teams who want to standardize a way of working across many teams, such as sharing a workflow.
Step 3 - Set up your columns
In Jira, the board displays a selection of issues in columns, with each column representing a step in your team’s workflow for taking work through completion. Although there are many things you can configure on your board, we suggest just setting up columns for now. When you're getting started on a new Jira project, it's important to make your board reflect the way your team works.
How you setup the columns on your board in the scrum and kanban templates depends if you’re in a team-managed (directly from the board) or company-managed project (in board settings).
In team-managed projects:
- Go to your board. Select (•••) in the top right and click Configure board.
- Add a new column, change the name of column, delete a column, or a move a column as necessary.
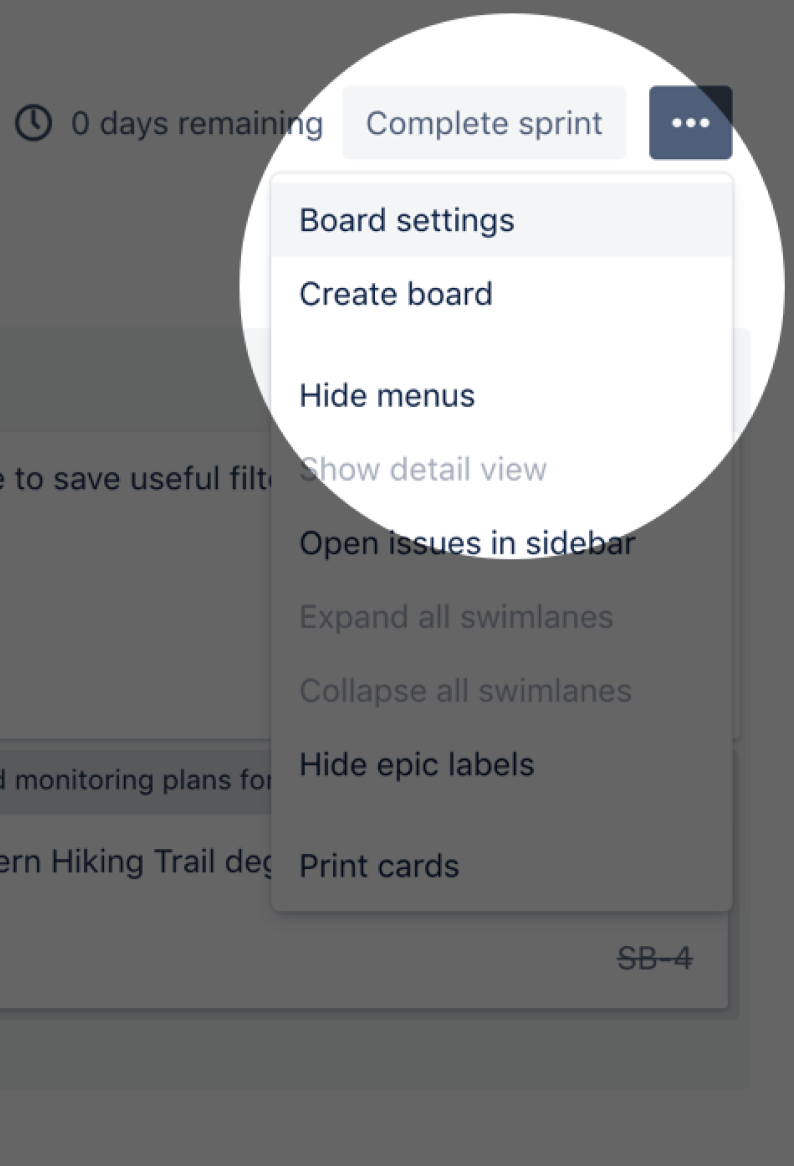
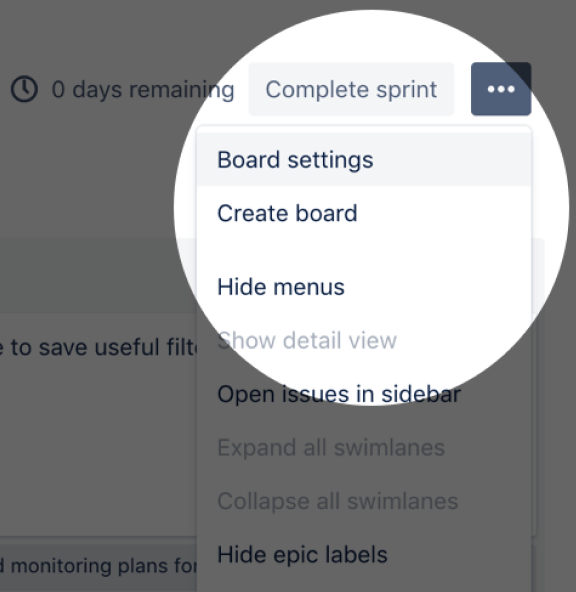
In company-managed projects:
- Go to your board. Select (•••) in the top right and click Board settings.
- Click the Columns tab.
- Add a new column, change the name of column, delete a column, or a move a column as necessary.
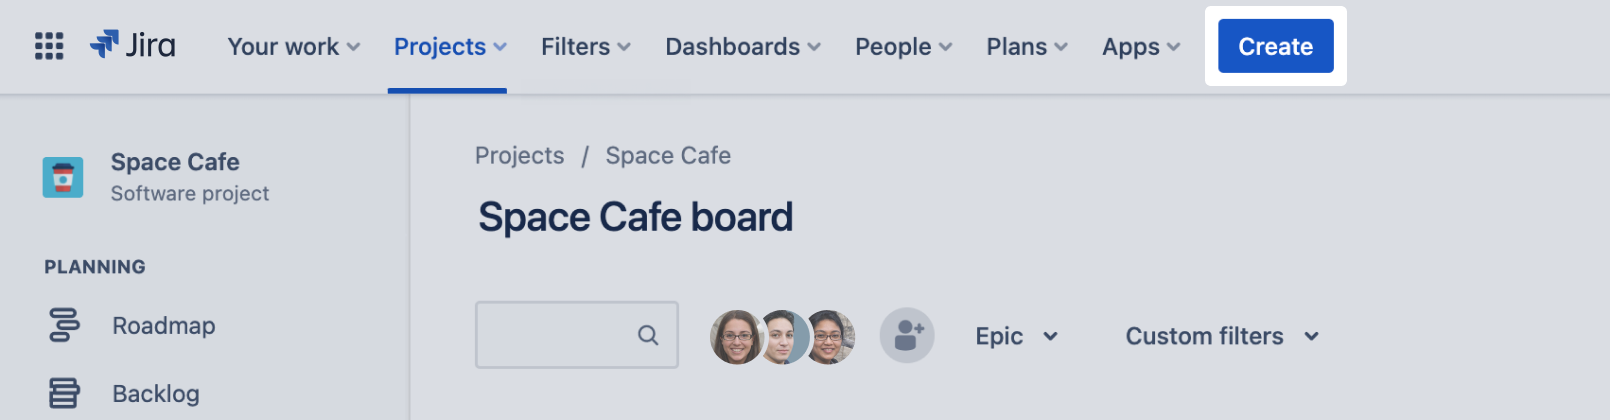
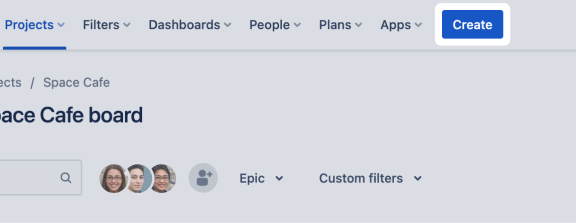
Step 4 - Create an issue
Issues are the building blocks of your Jira project. An issue can represent a story, epic, bug, feature to be built, or any other task in your project.
Select “Create” in the top navigation. Your issue will appear in the backlog or board of the project.
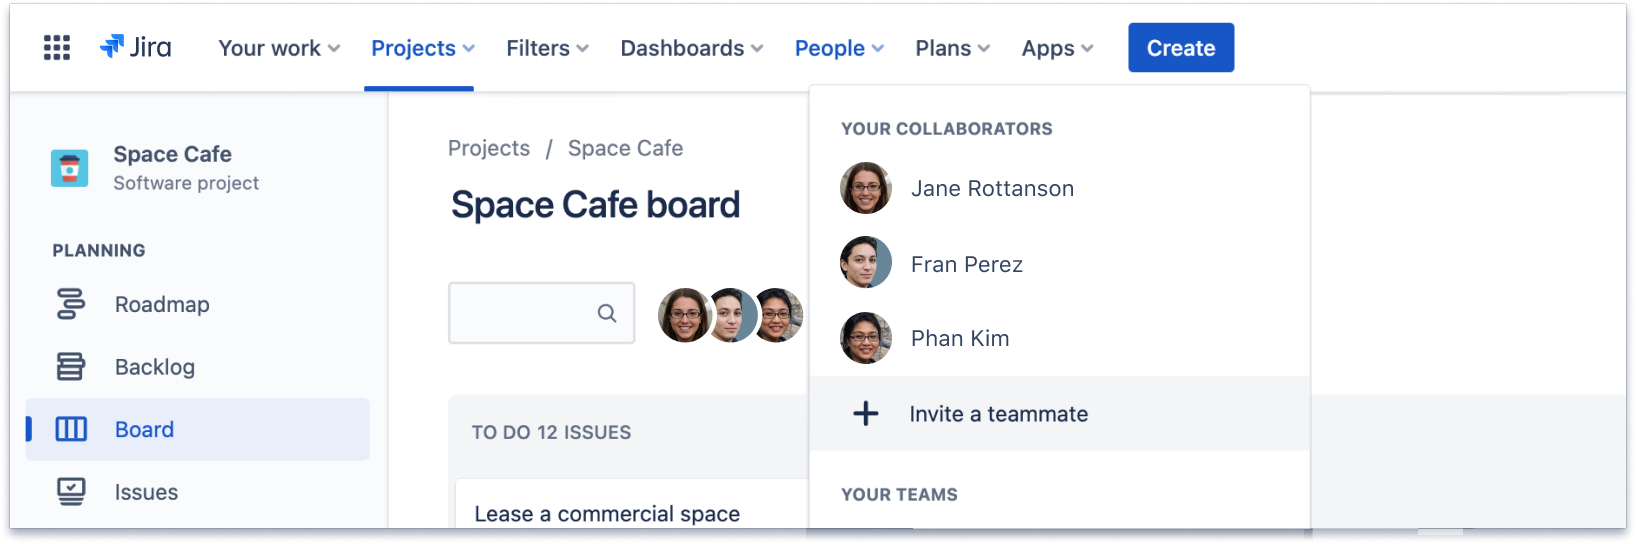
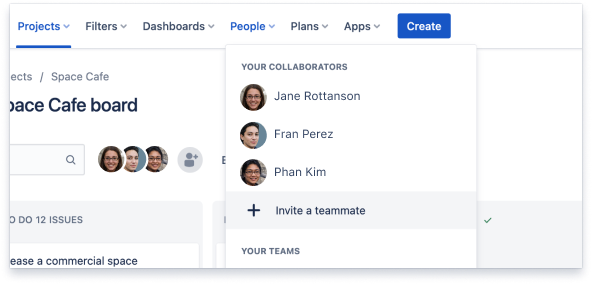
Step 6 - Invite your team
It’s time to get the party started! Once you have enough work represented on your board, start inviting team members.
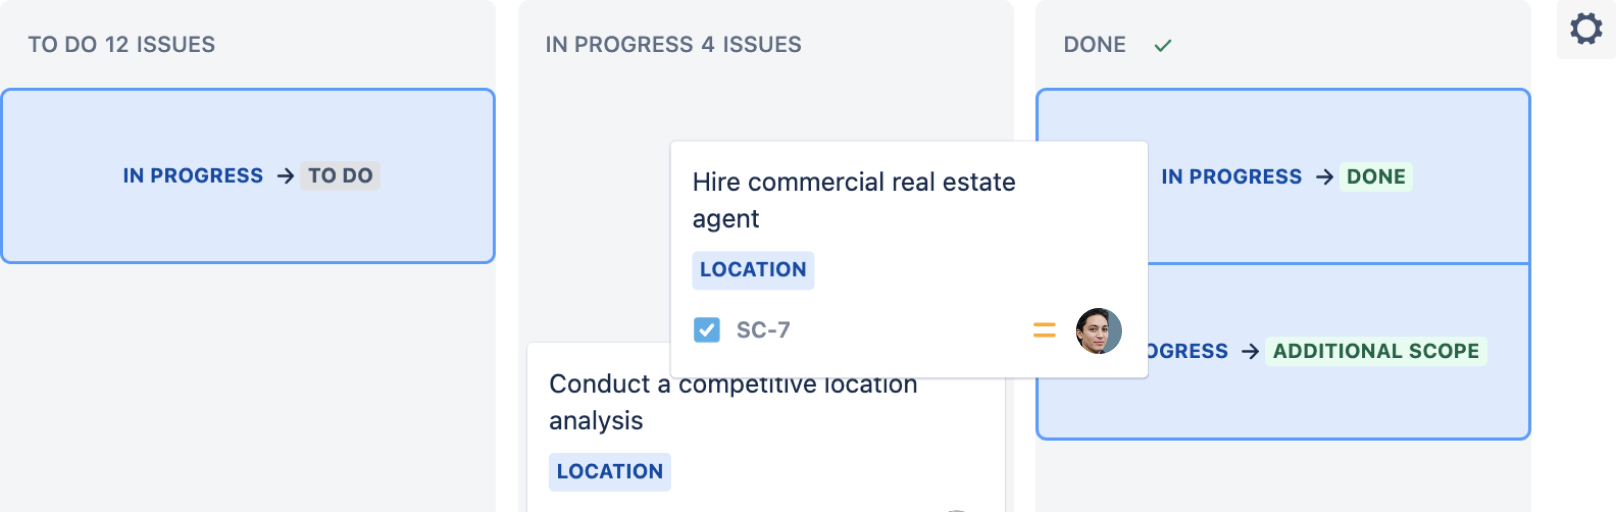
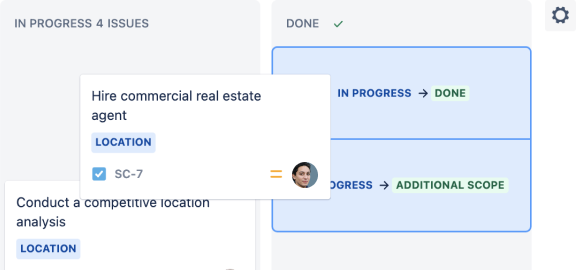
Step 7 - Move work forward
Now that your team has joined your Jira site, you're ready to collaborate and track work together. If you're in a scrum project, you'll need to create and start a sprint to begin tracking work. If you're in a kanban project, you can start tracking work on the board. To track work items, move an issue from one column to another as it progresses through your team's workflow.
Pro-tip
Stay connected, and move work forward – anywhere, anytime in the palm of your hand with the Jira Cloud app for iOS or Android.
Curious to learn more about core concepts and principles of agile project management in Jira? Check out The Beginner’s Guide to Agile in Jira on Atlassian University!