What to expect: Sample lifecycle of a change
Here’s an example of how a change request could look like, and how it progresses through the change management workflow. This should help you understand the changes you’ll be making to your projects.
Requesting a software upgrade – Jira Software
This example shows a request for a software upgrade of our Jira Software instance that lives as an asset in Jira Service Management.
| What we're doing | What it looks like in Jira |
|---|---|
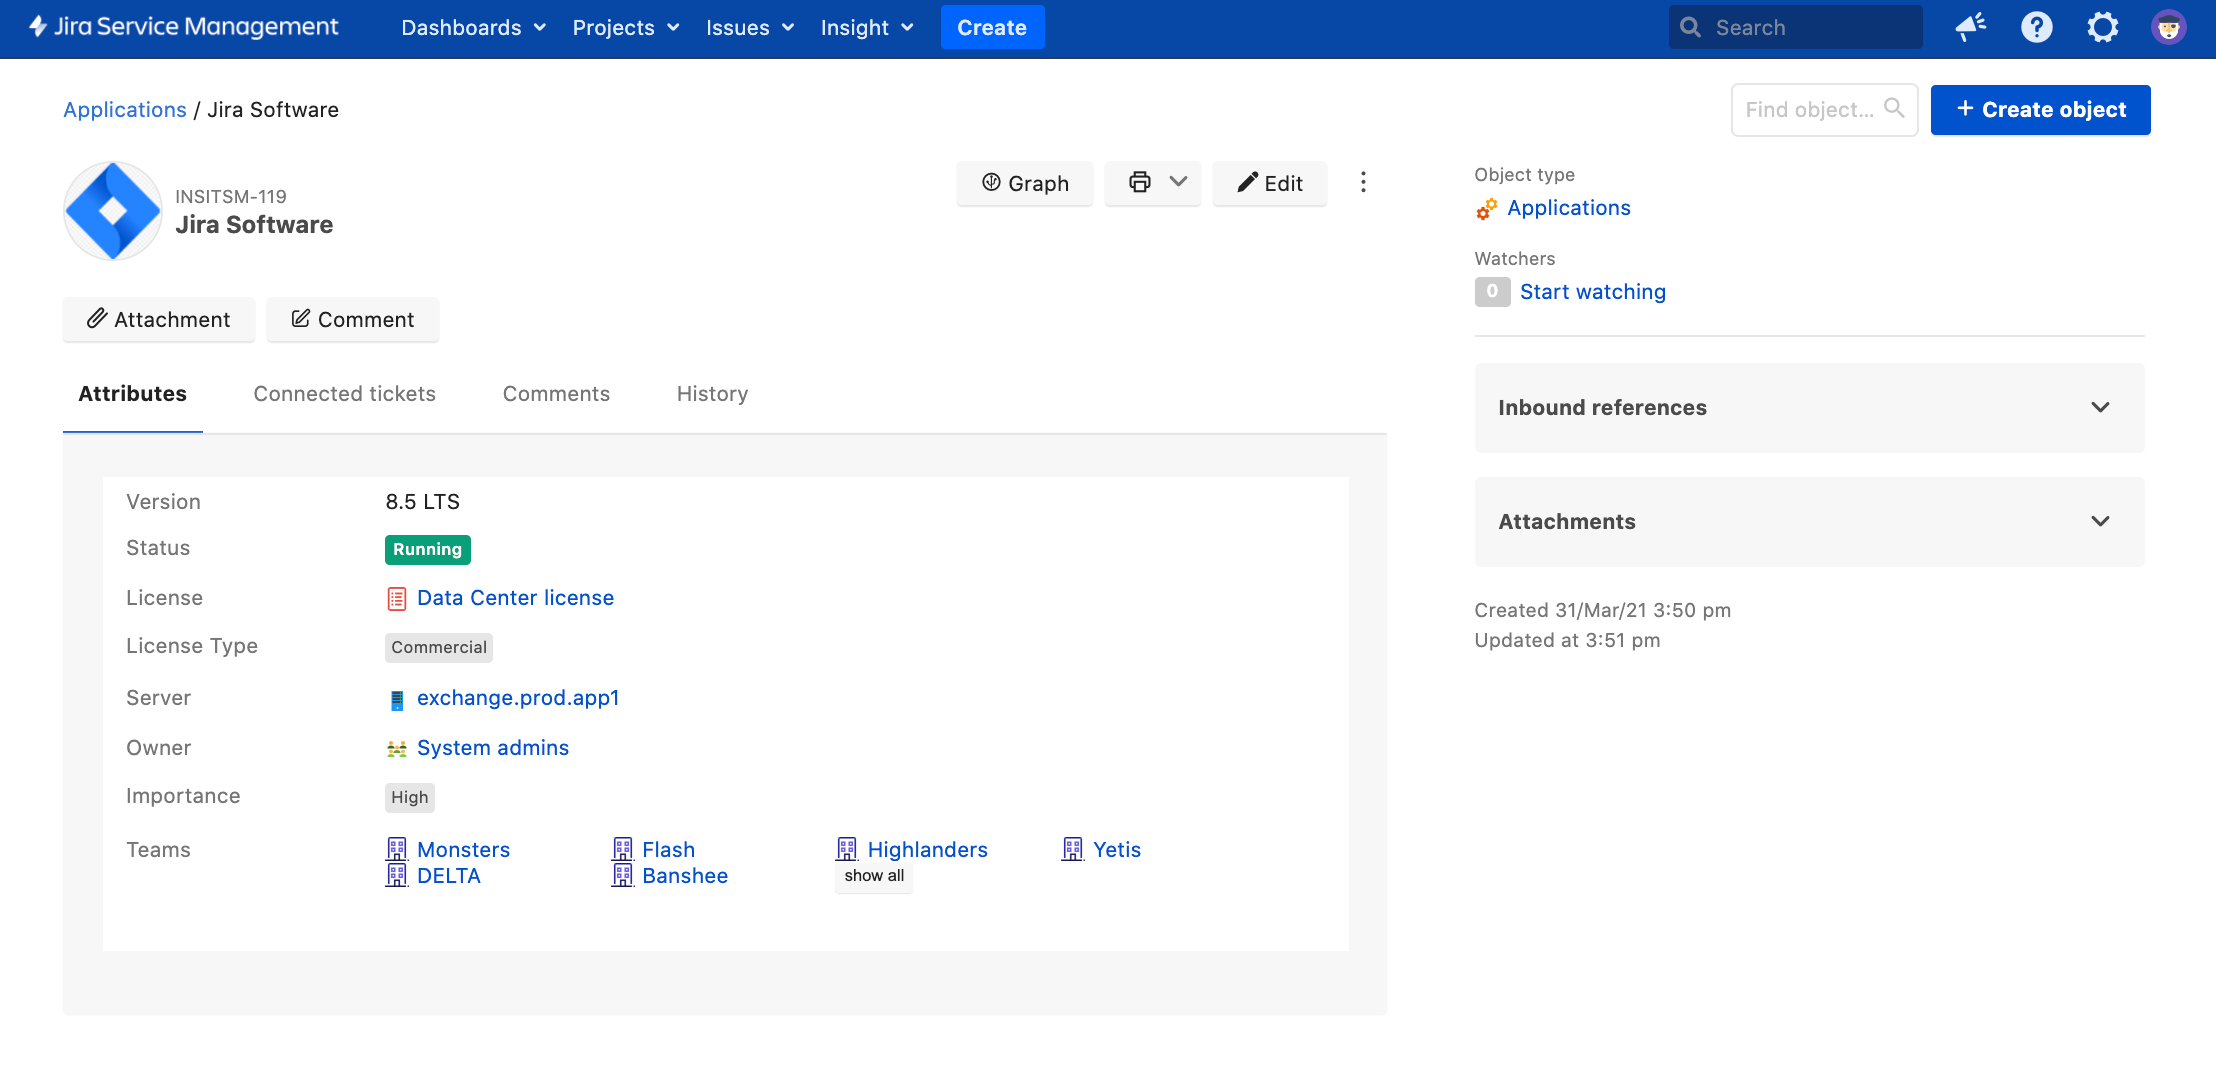
Viewing an asset in Insight Let’s have a look at our Jira instance (asset) in Insight. It’s quite an old version and we want to get it upgraded to get new features, security updates, and all the other bug fixes. We’ll open a change request against it to upgrade it to the latest LTS release: 8.13. | |
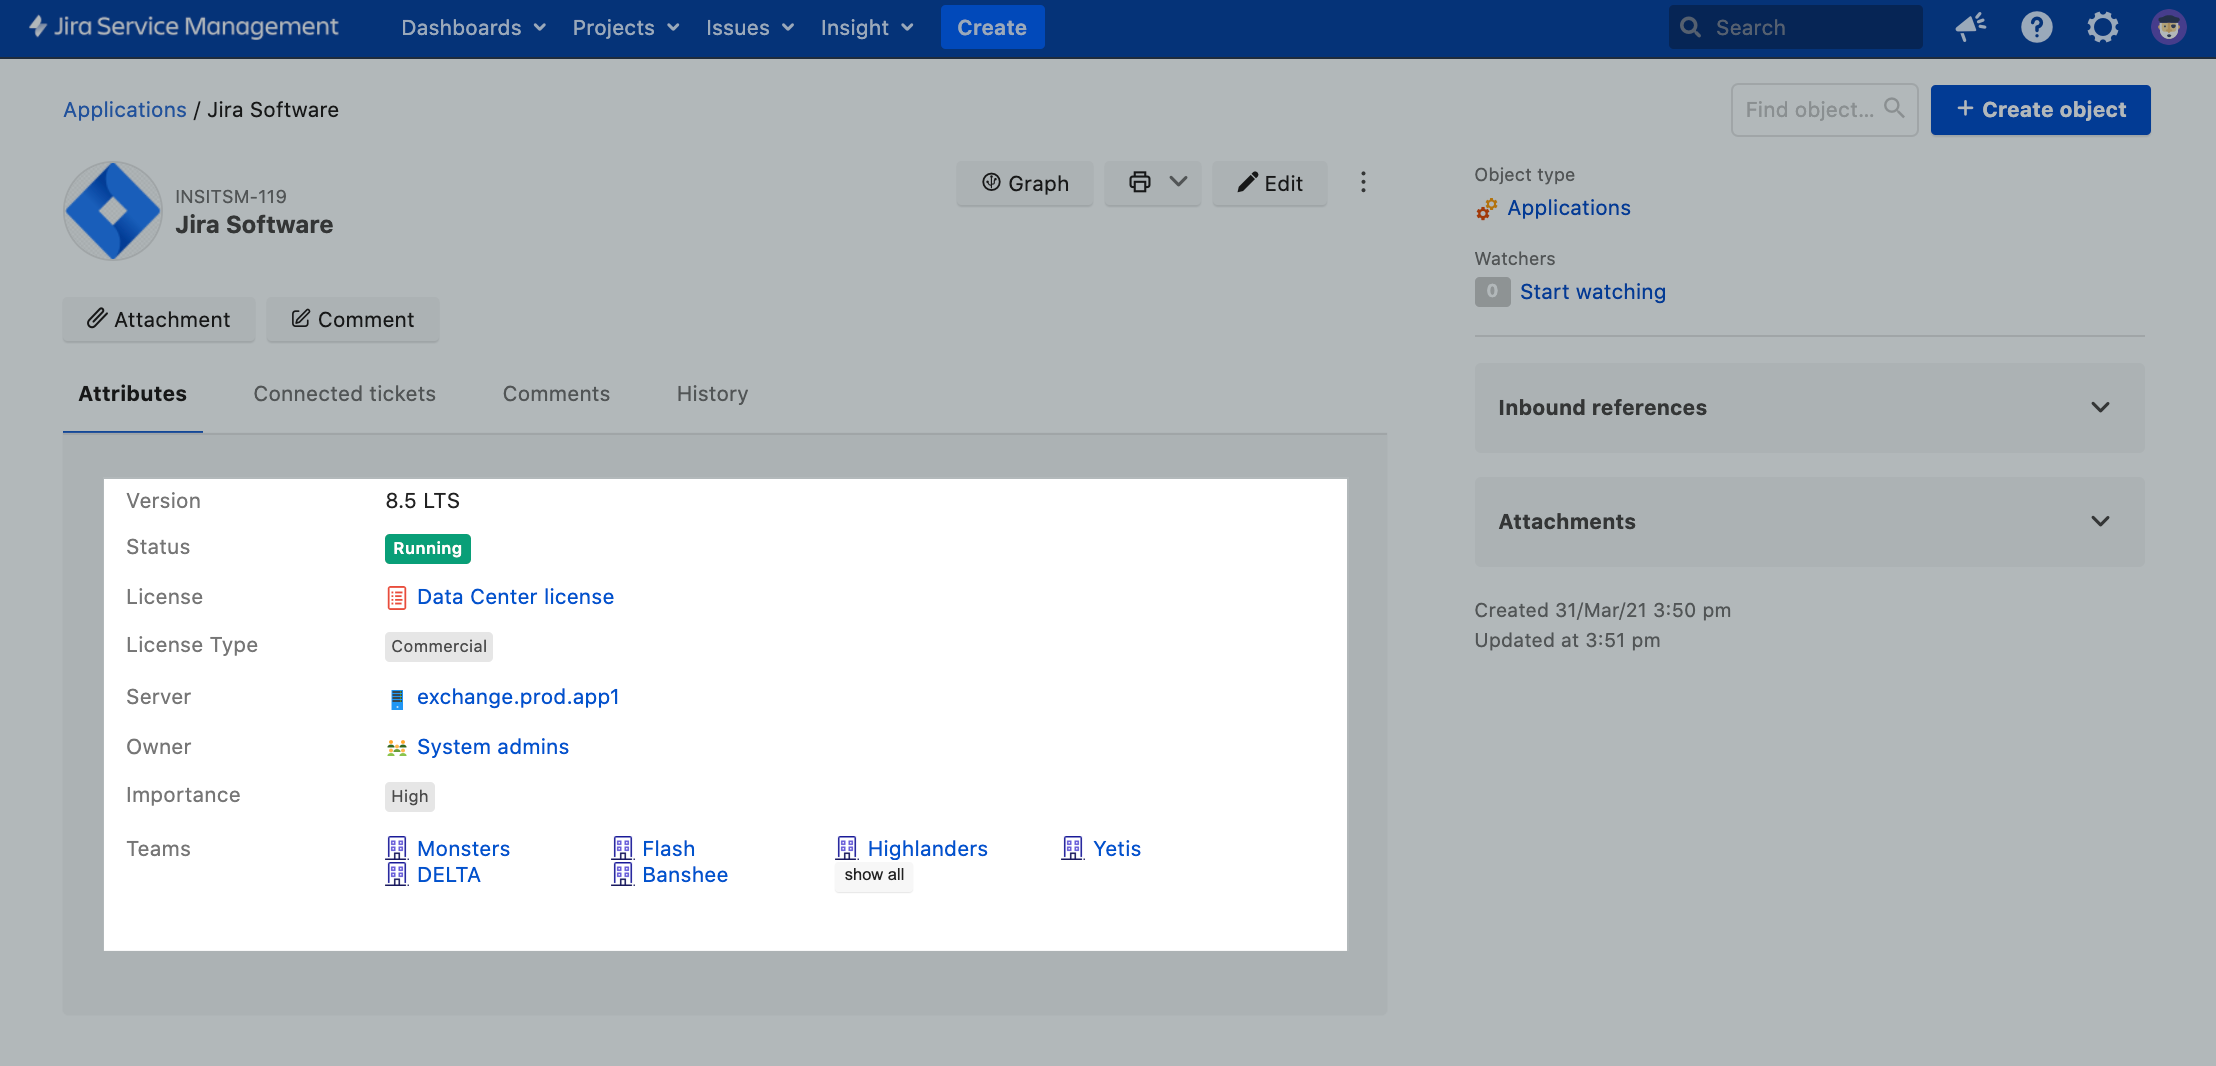
What’s important here is some of the fields of our asset that will affect how our change request behaves:
| |
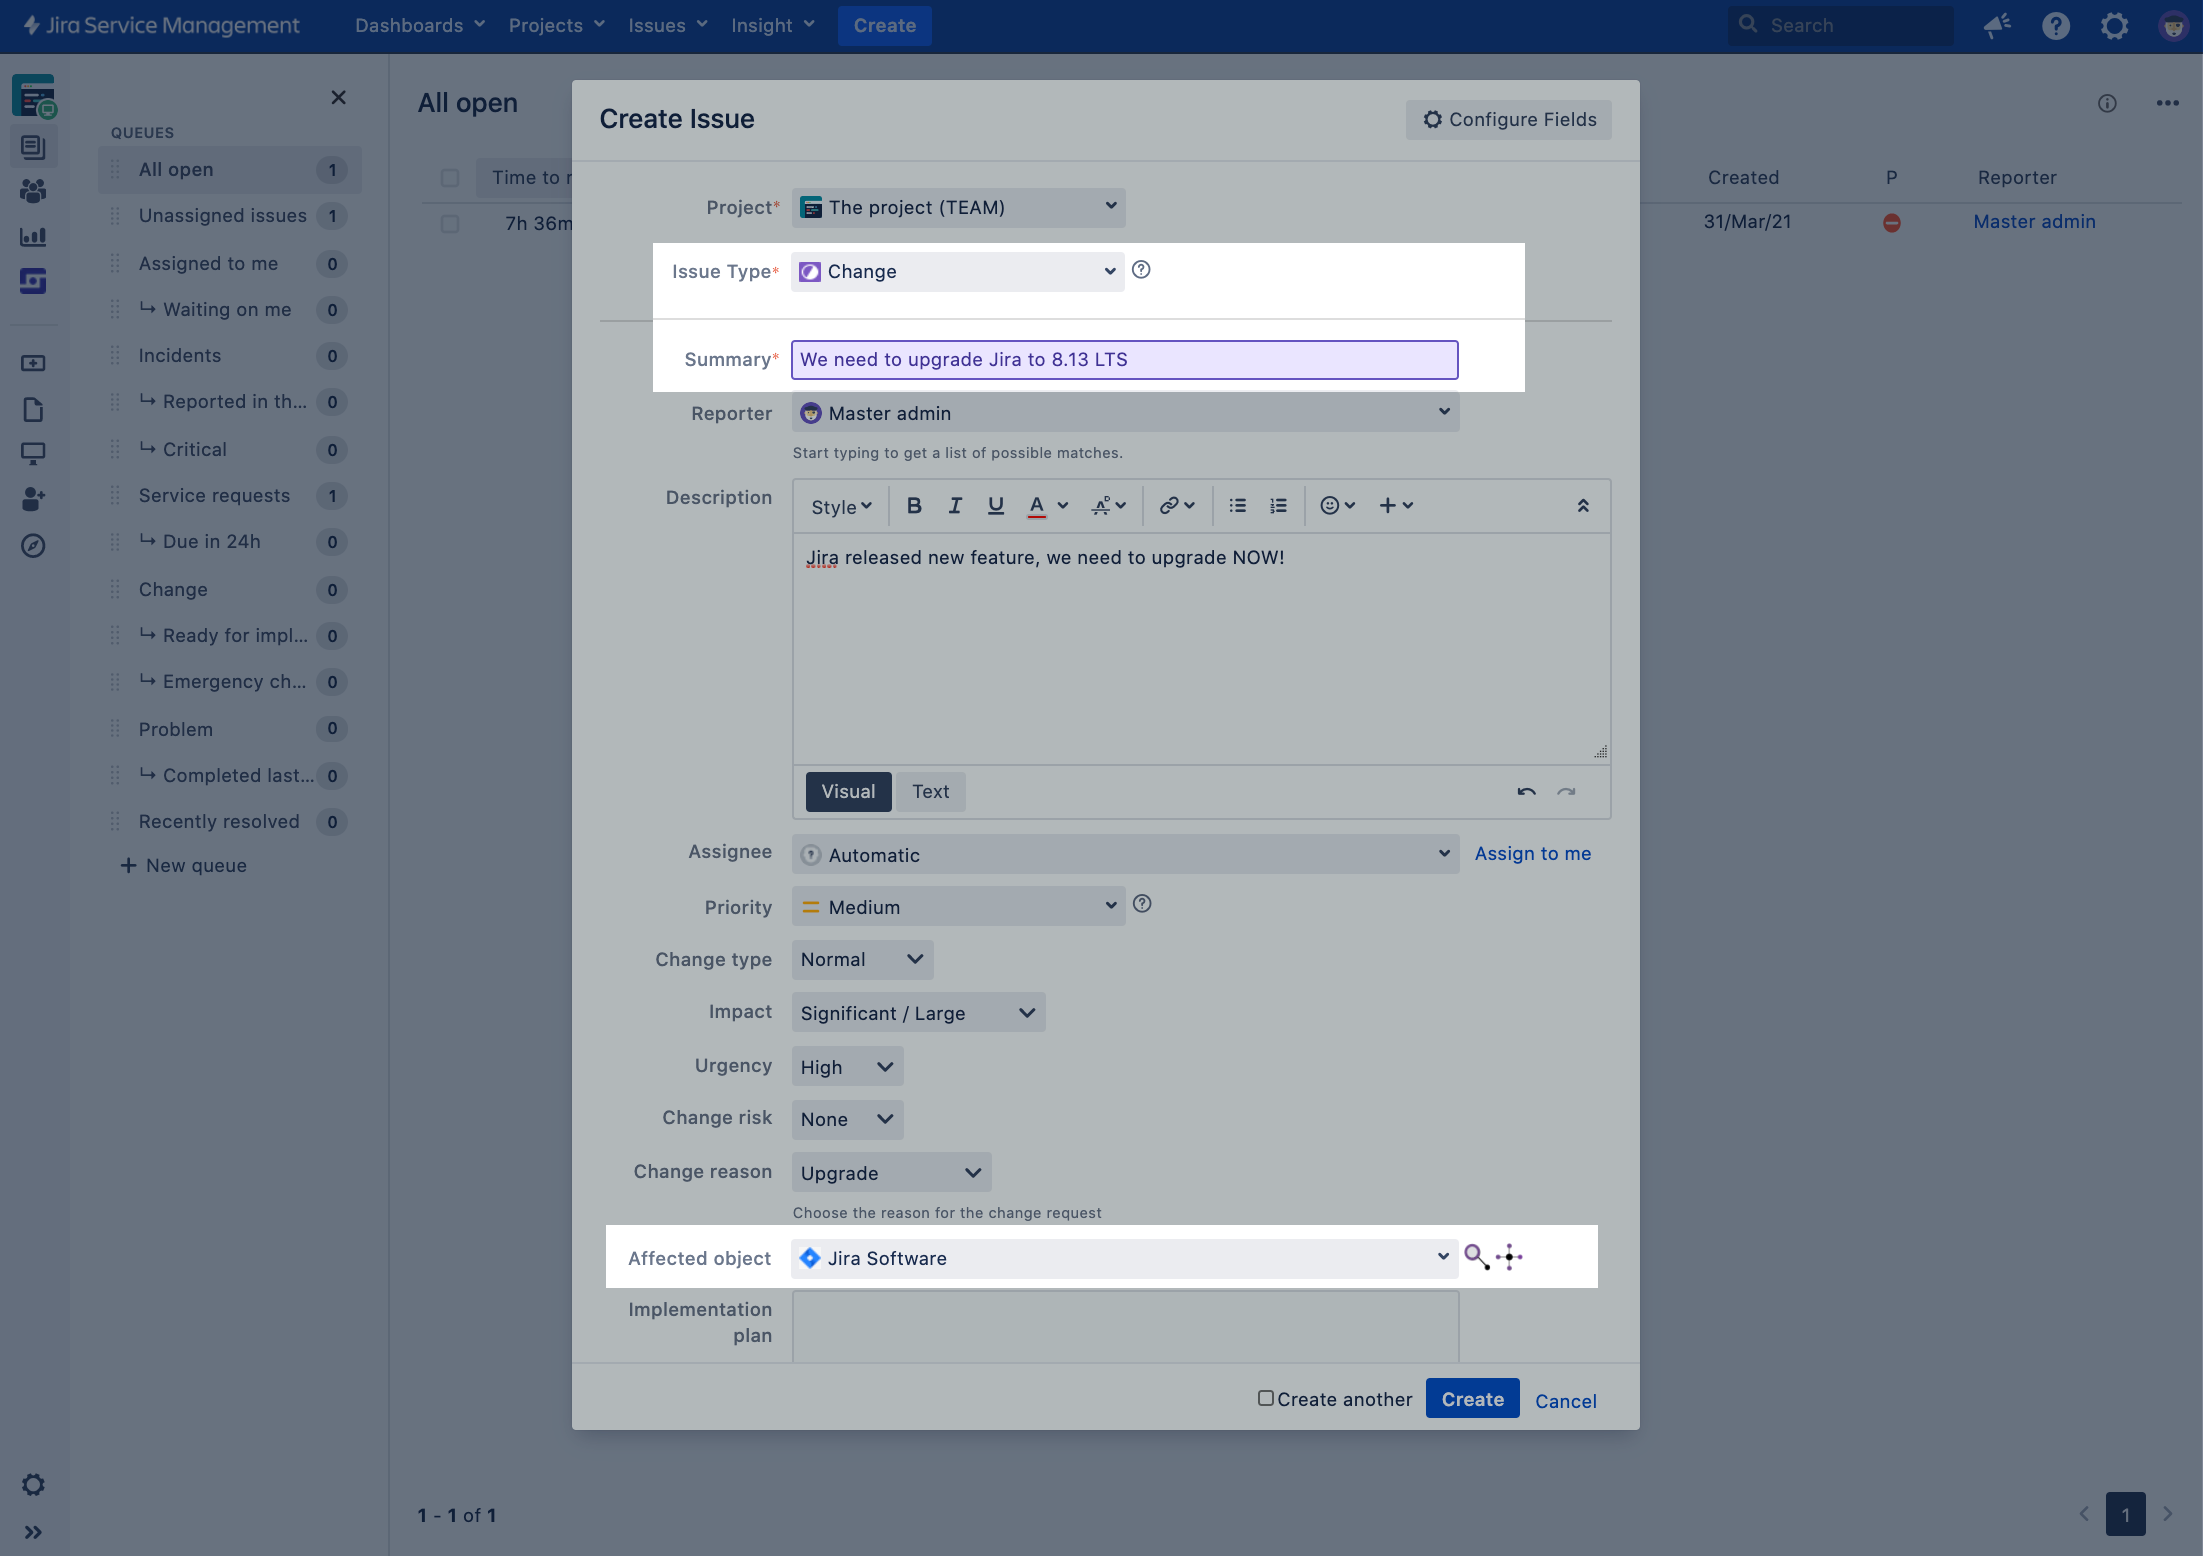
Creating a change request Let’s open a change request, and choose this Jira instance as an affected object. | |
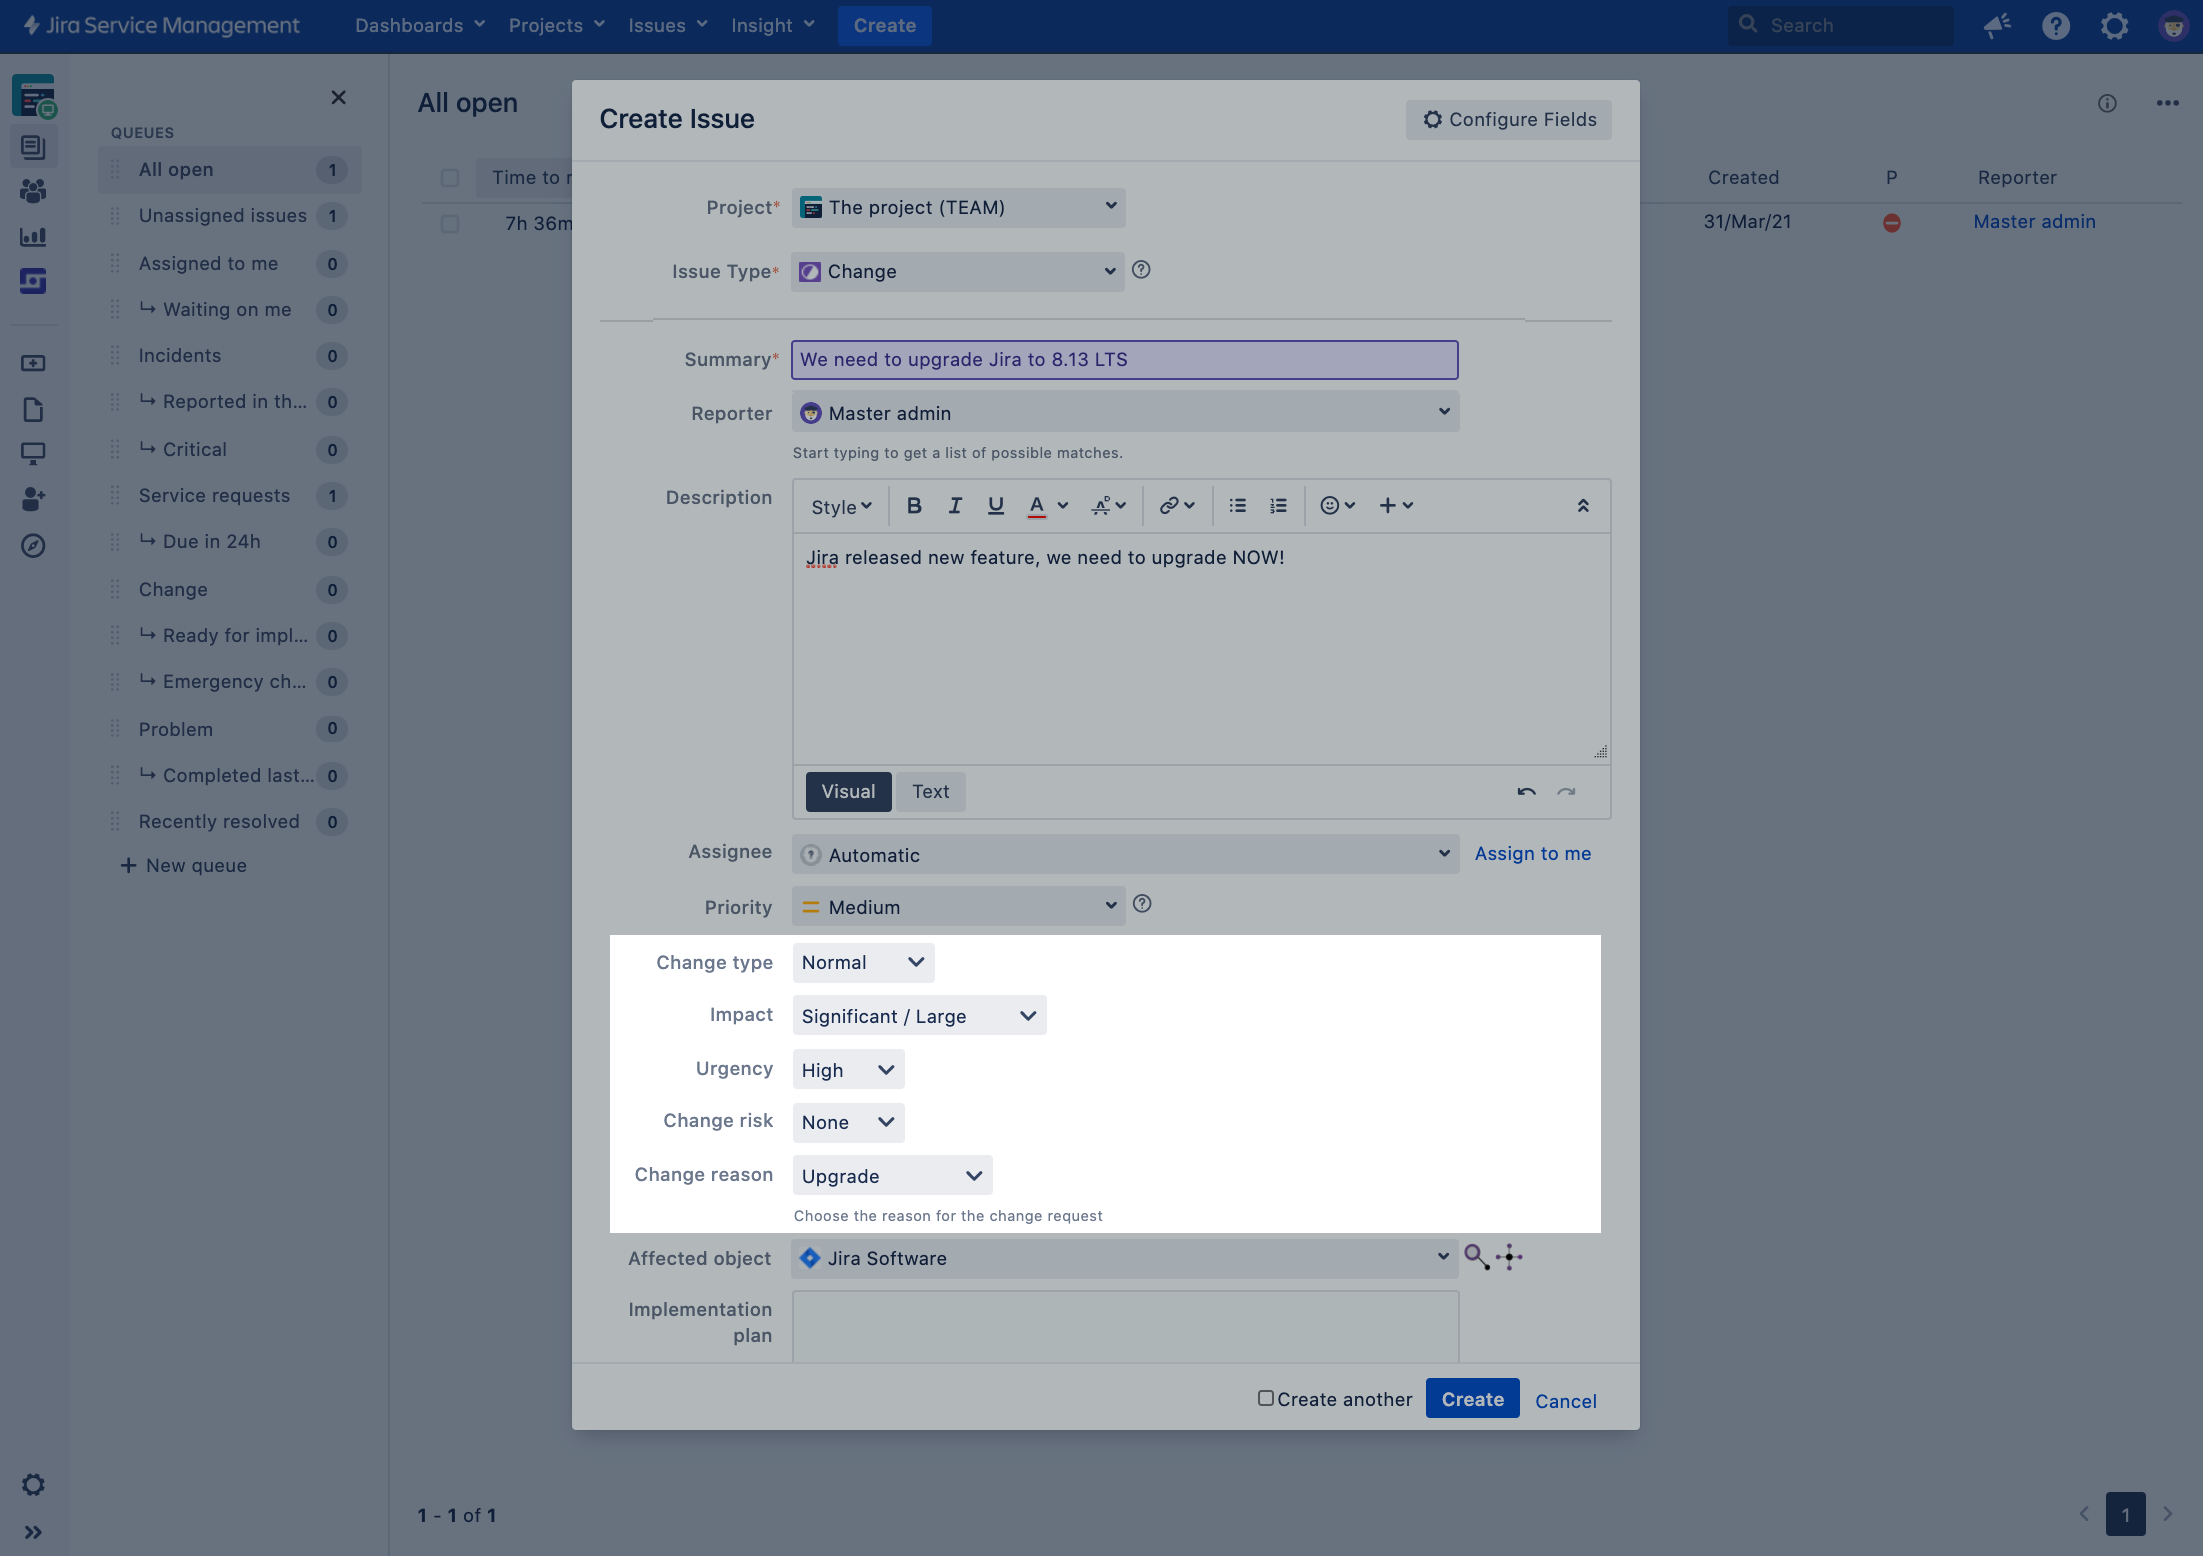
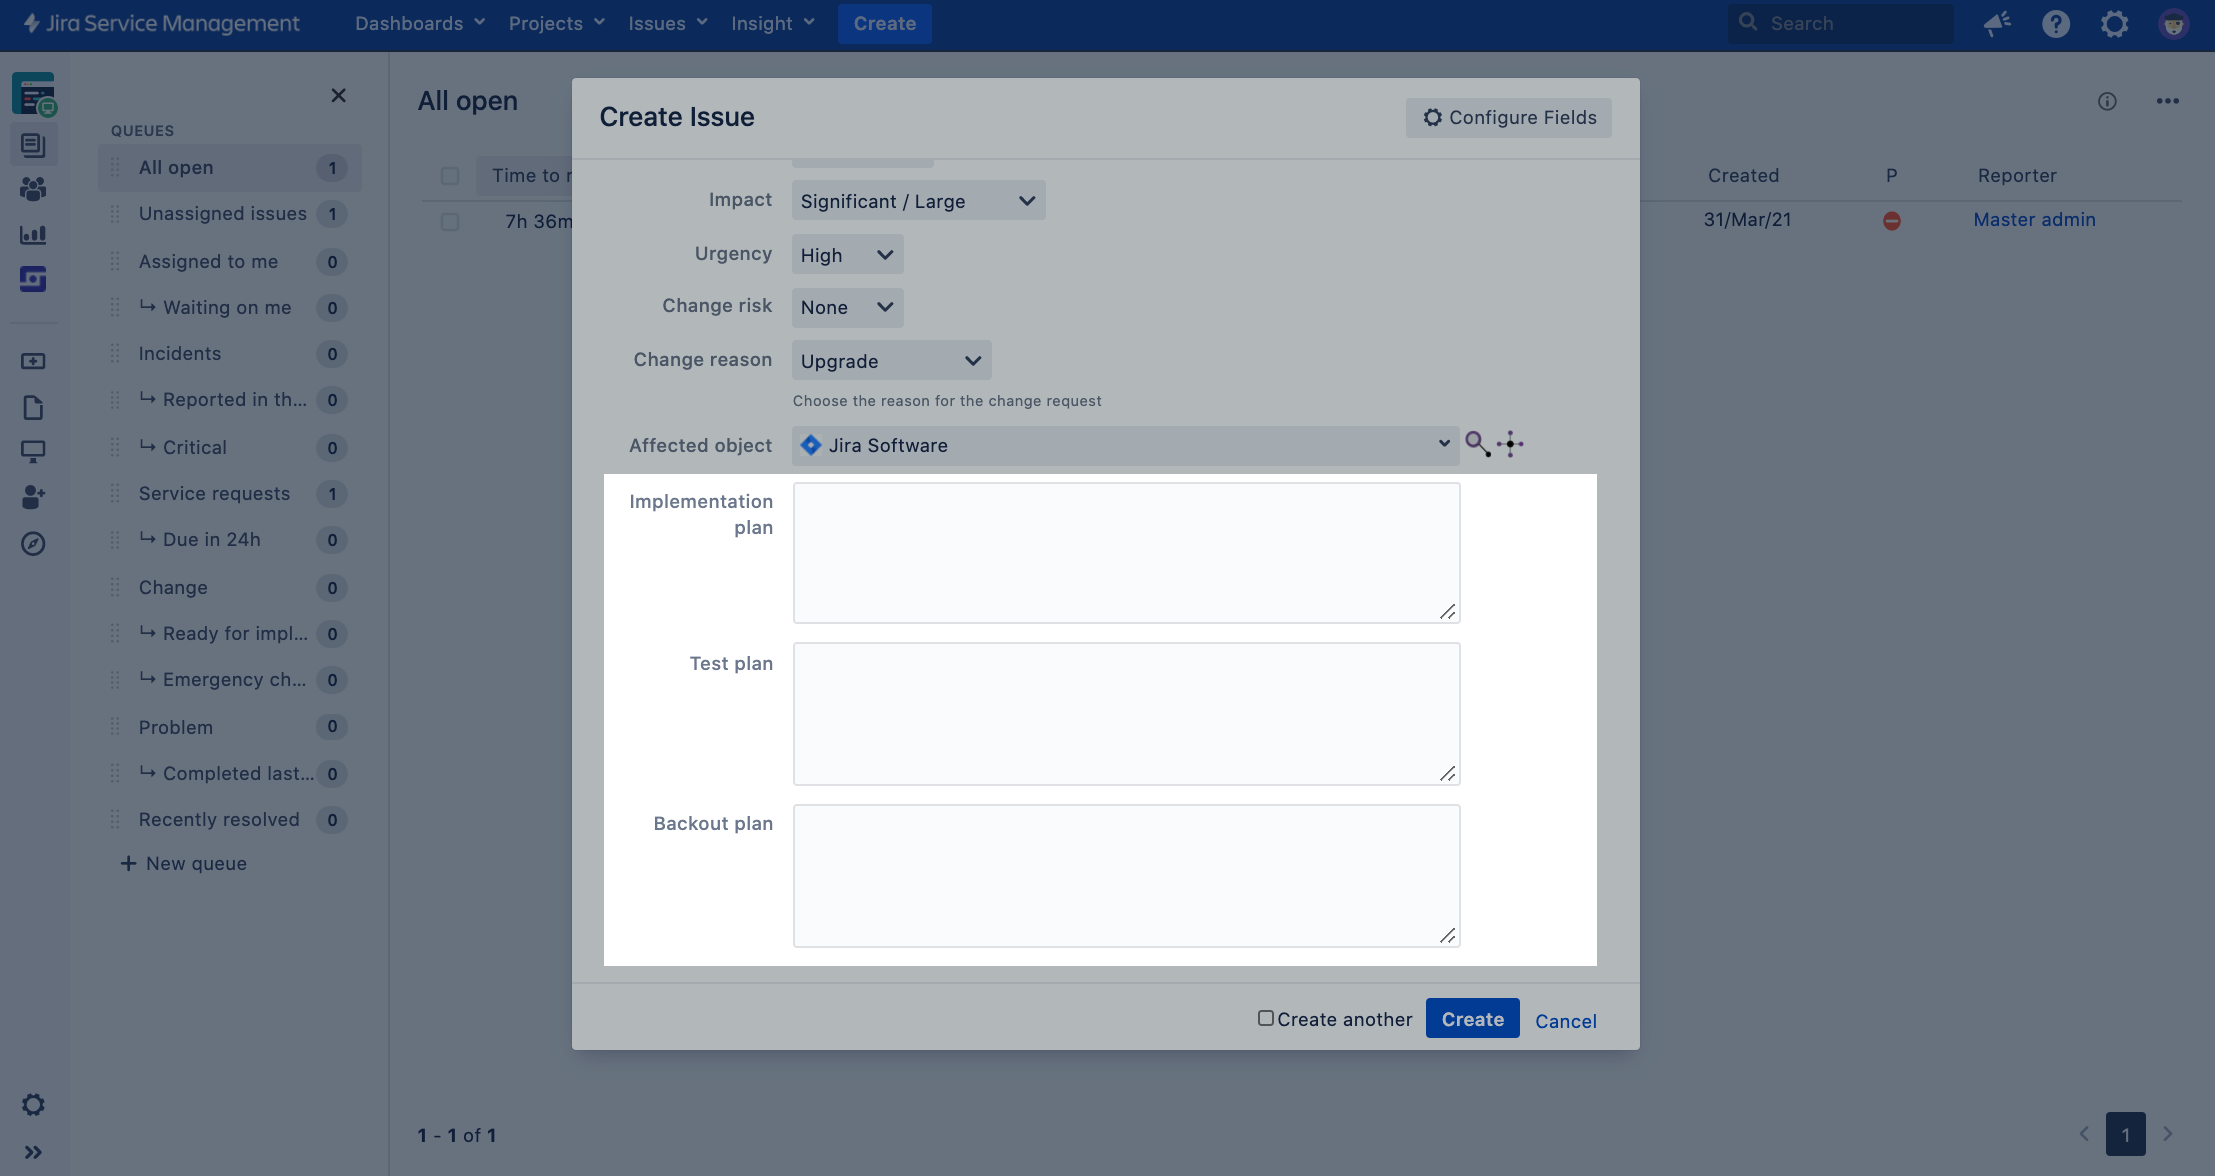
Let’s fill in the fields explaining the change:
| |
| Let’s leave the new fields for plans empty right now. Who will be filling them out depends on the company process—usually it’s the change requestor, but let’s try including the whole team in it later. | |
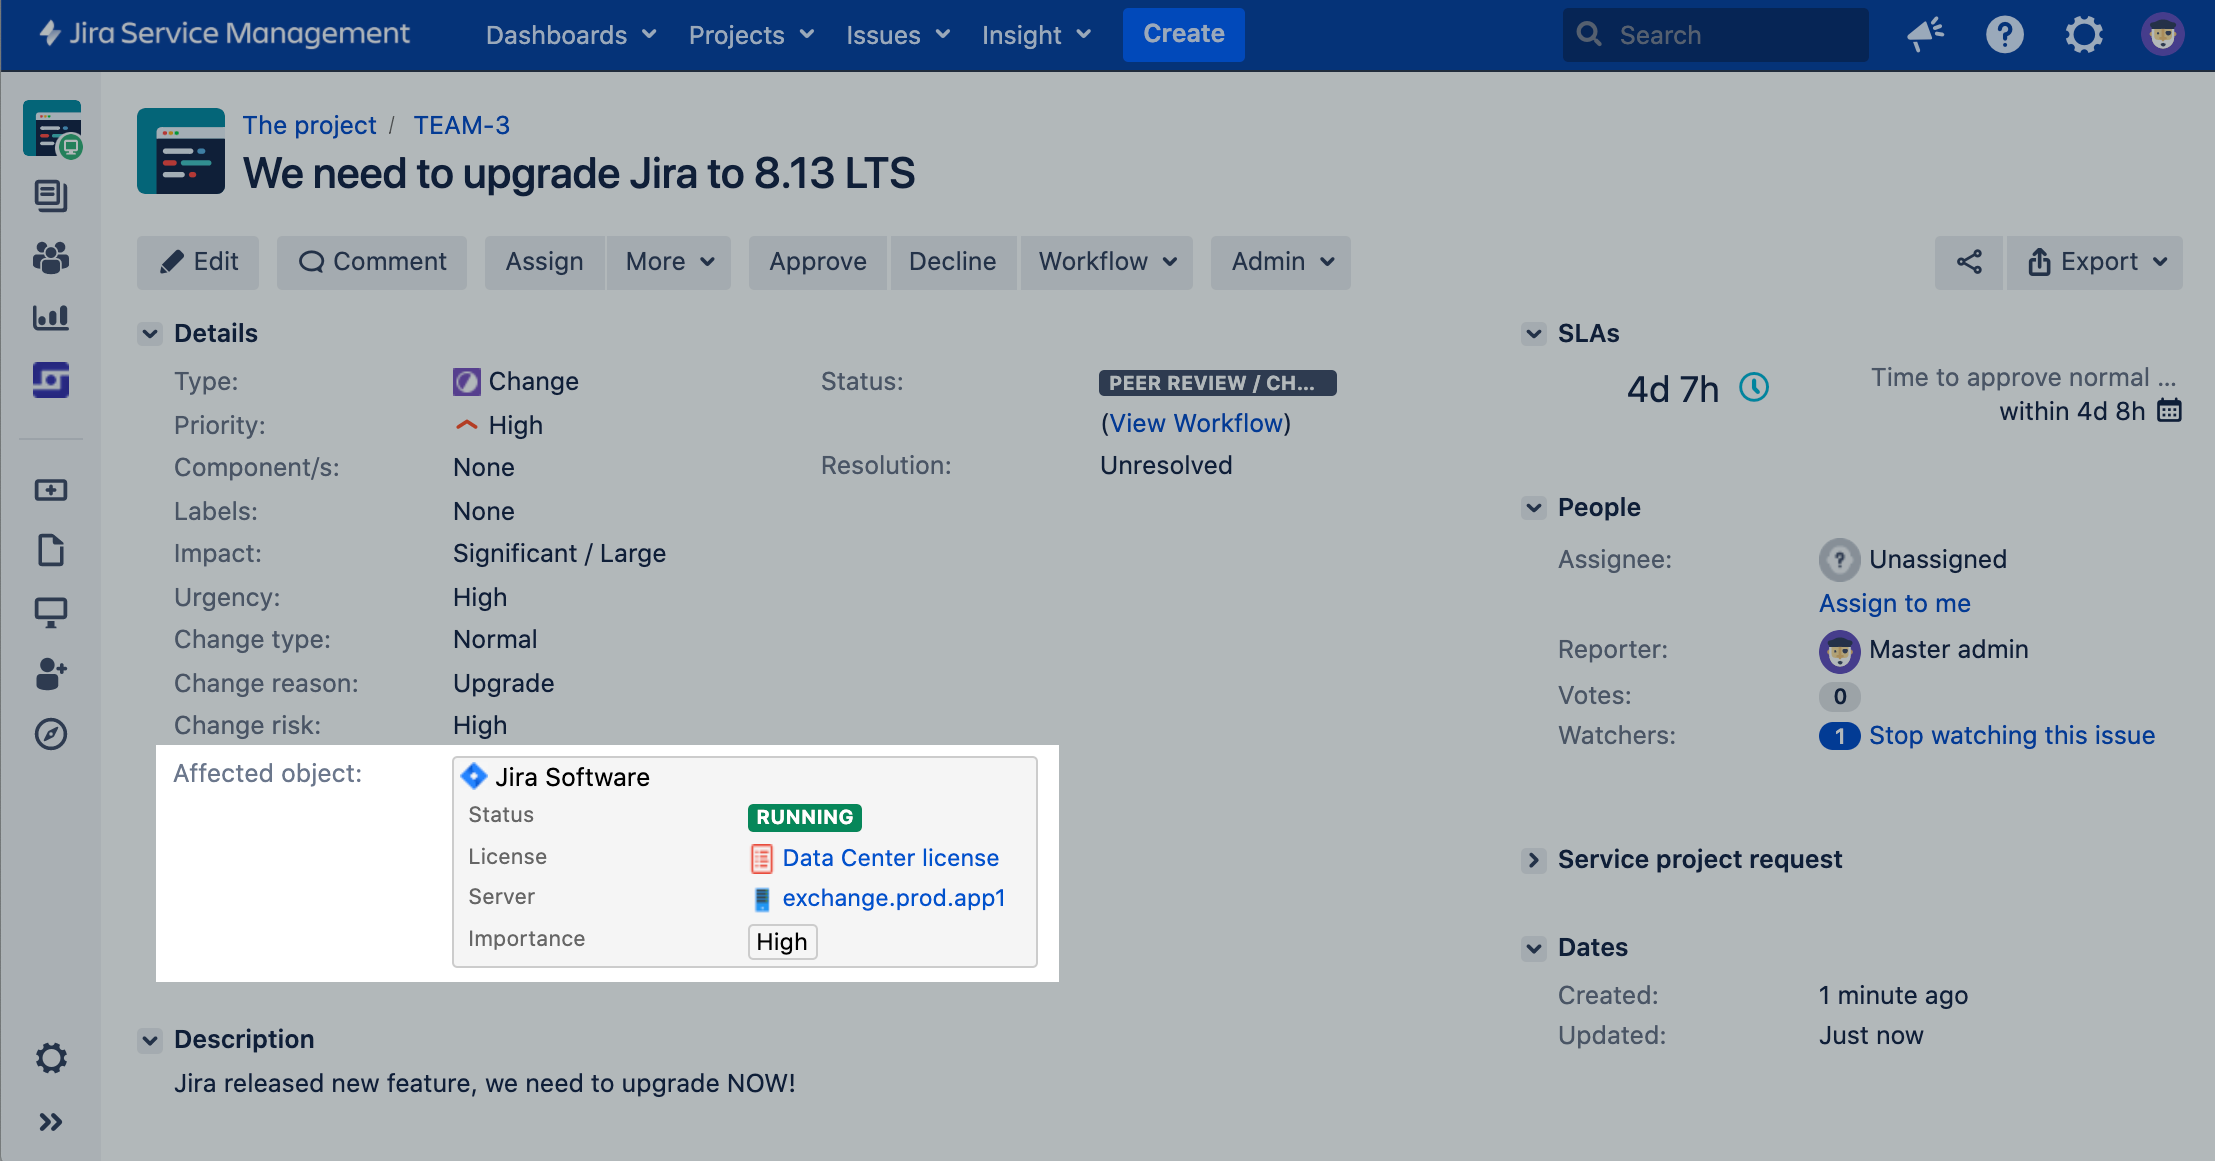
Viewing the asset on the change request After the change request is created, details of our Jira instance are pulled into the request. Both you, and everyone interested, can view it. You can configure what exactly is displayed here… | |
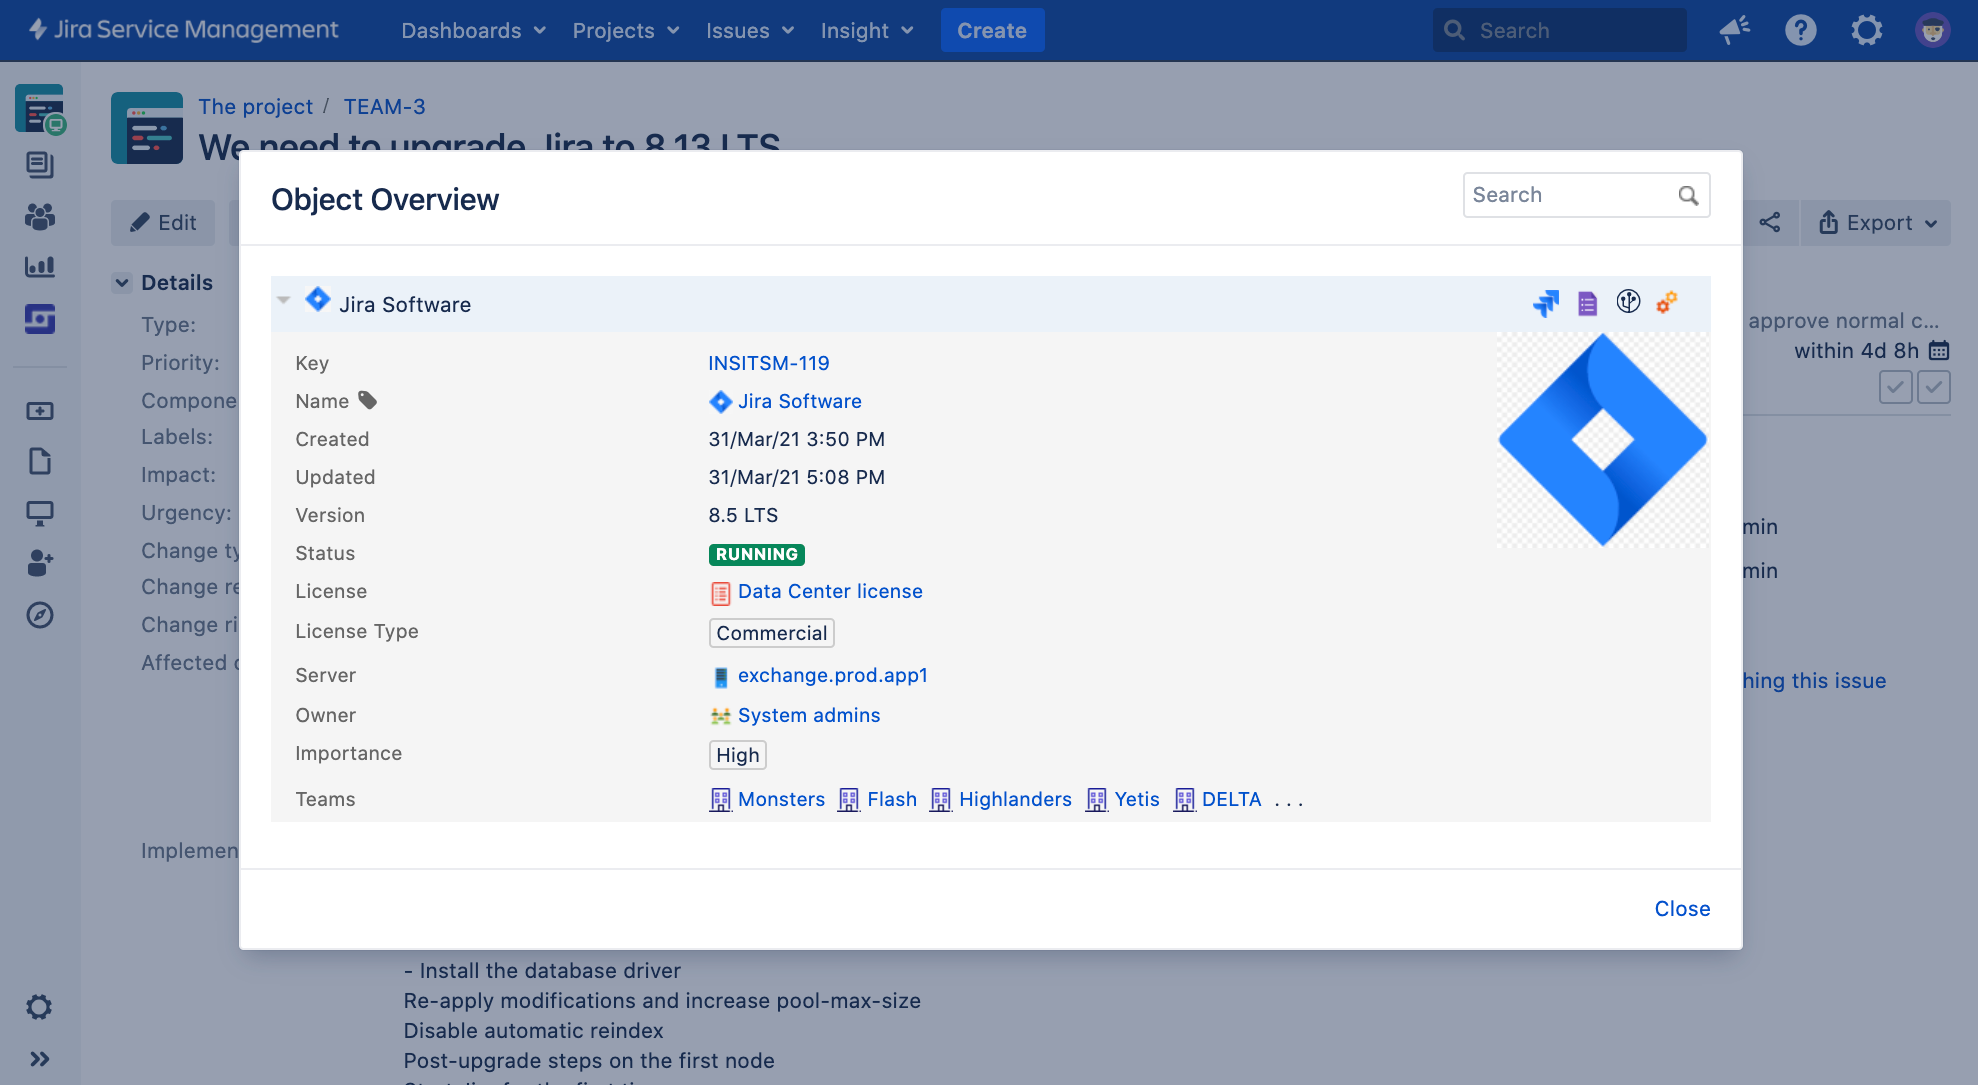
| …or just click it to view more details and dependencies. | |
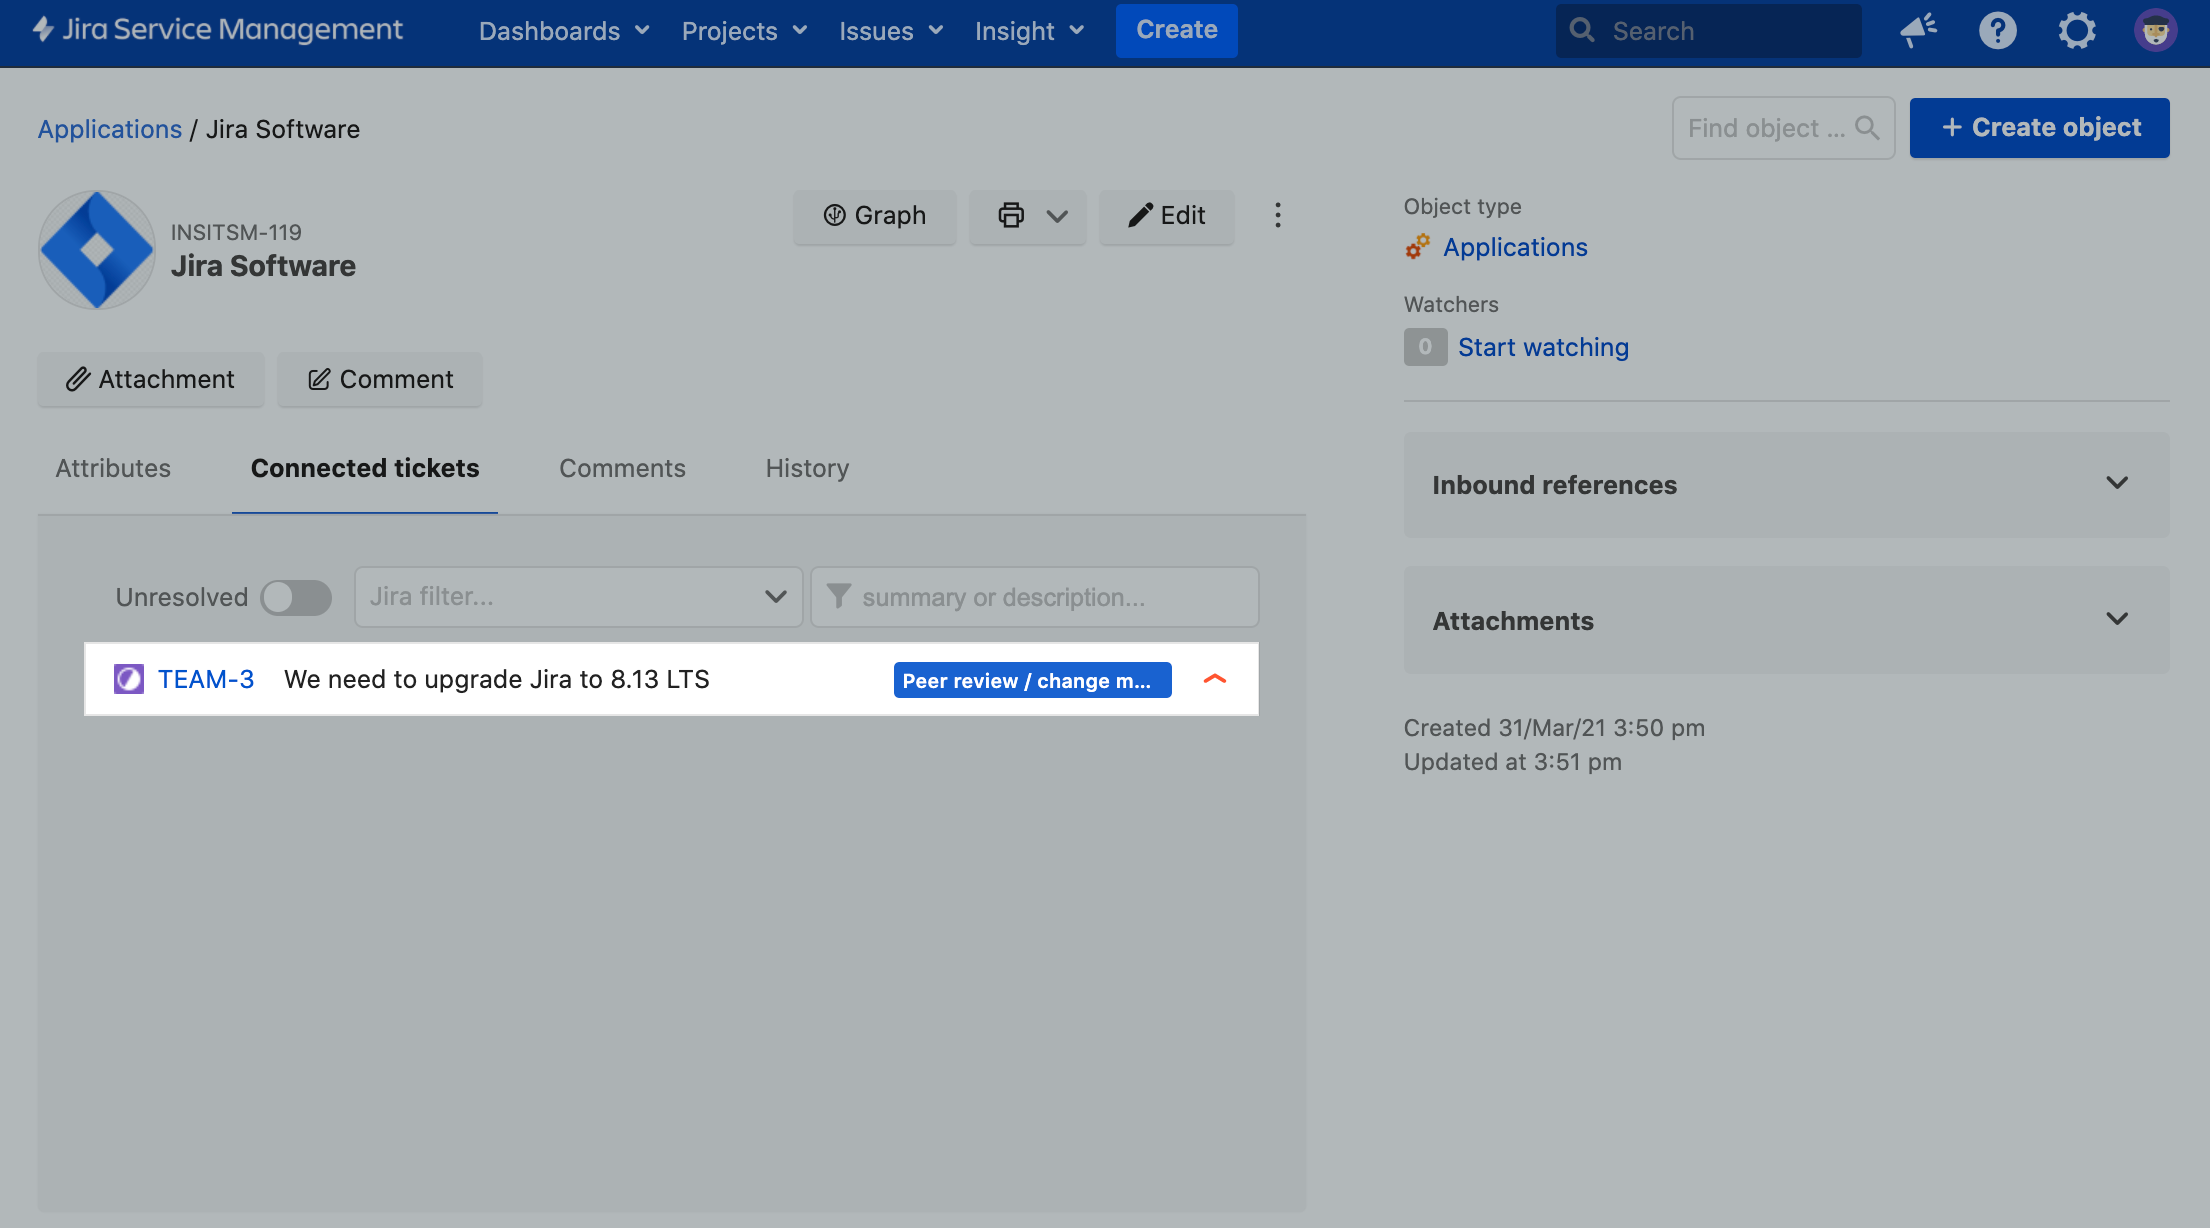
| The change request was also linked to our Jira instance in Insight. The system admin responsible for this instance will be alerted right away. | |
Viewing the effect of automation rules But, there’s more. Thanks to automation rules, Jira automatically:
This will help the approvers take necessary steps when approving this change—for example, they could move the date to a weekend and make sure that the teams using this Jira instance can work without it. | |
How did we do it? We added new automation rules to Jira Service Management. The ones used here:
| |
| In this case, automation rules don’t affect the change request that much, because Normal changes should go through all workflow steps and approvals – they usually don’t have established processes, yet are not emergencies, so we have time to review them. | |
But if it was an Emergency… that’s a different story. Thanks to automations, Emergency changes can bypass a few steps, so you can implement them right away instead of running around asking for permissions. It’s an Emergency after all. | |
Planning the change After our change request is transitioned to the Planning stage, the whole team can get together and collect all the necessary info.
Just to make sure we know what we’re doing or can roll back if it turns out we don’t. | |
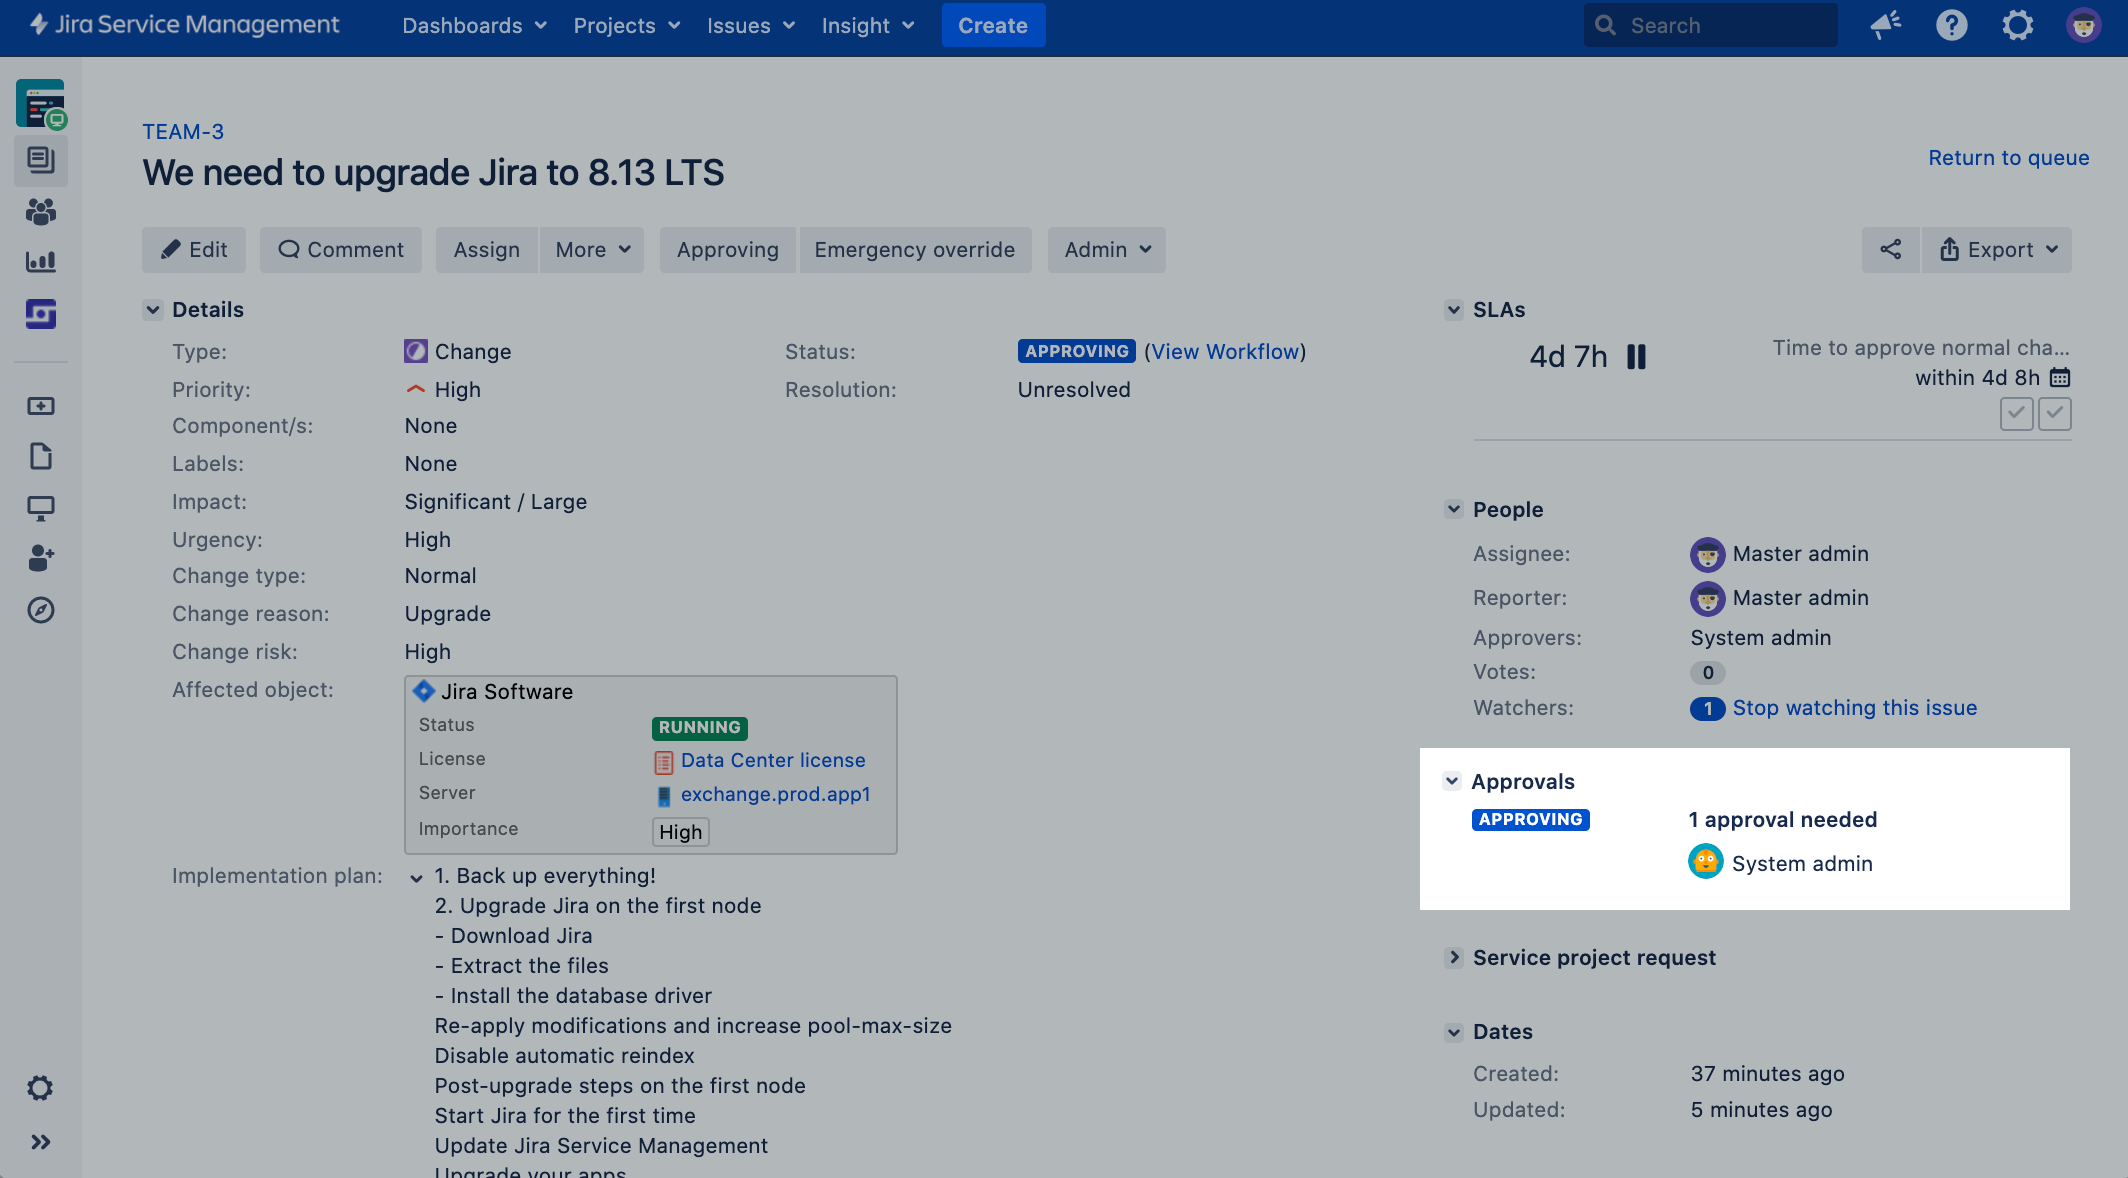
Approving the change by the asset’s owner With the plan ready, we can transition the change request to the Approving step where it will undergo the initial review. It would usually be done by change managers (fetched from a Jira user picker custom field) and someone responsible for this Jira instance—the right person at the right time. | |
Although you’d usually know who change managers are, you can have as many asset owners as you have assets. You don’t have to know who they are, because Jira will automatically assign them as approvers based on their relation to the asset. It will be a different owner for a different software or server, or maybe no owner if the asset isn’t that important. | |
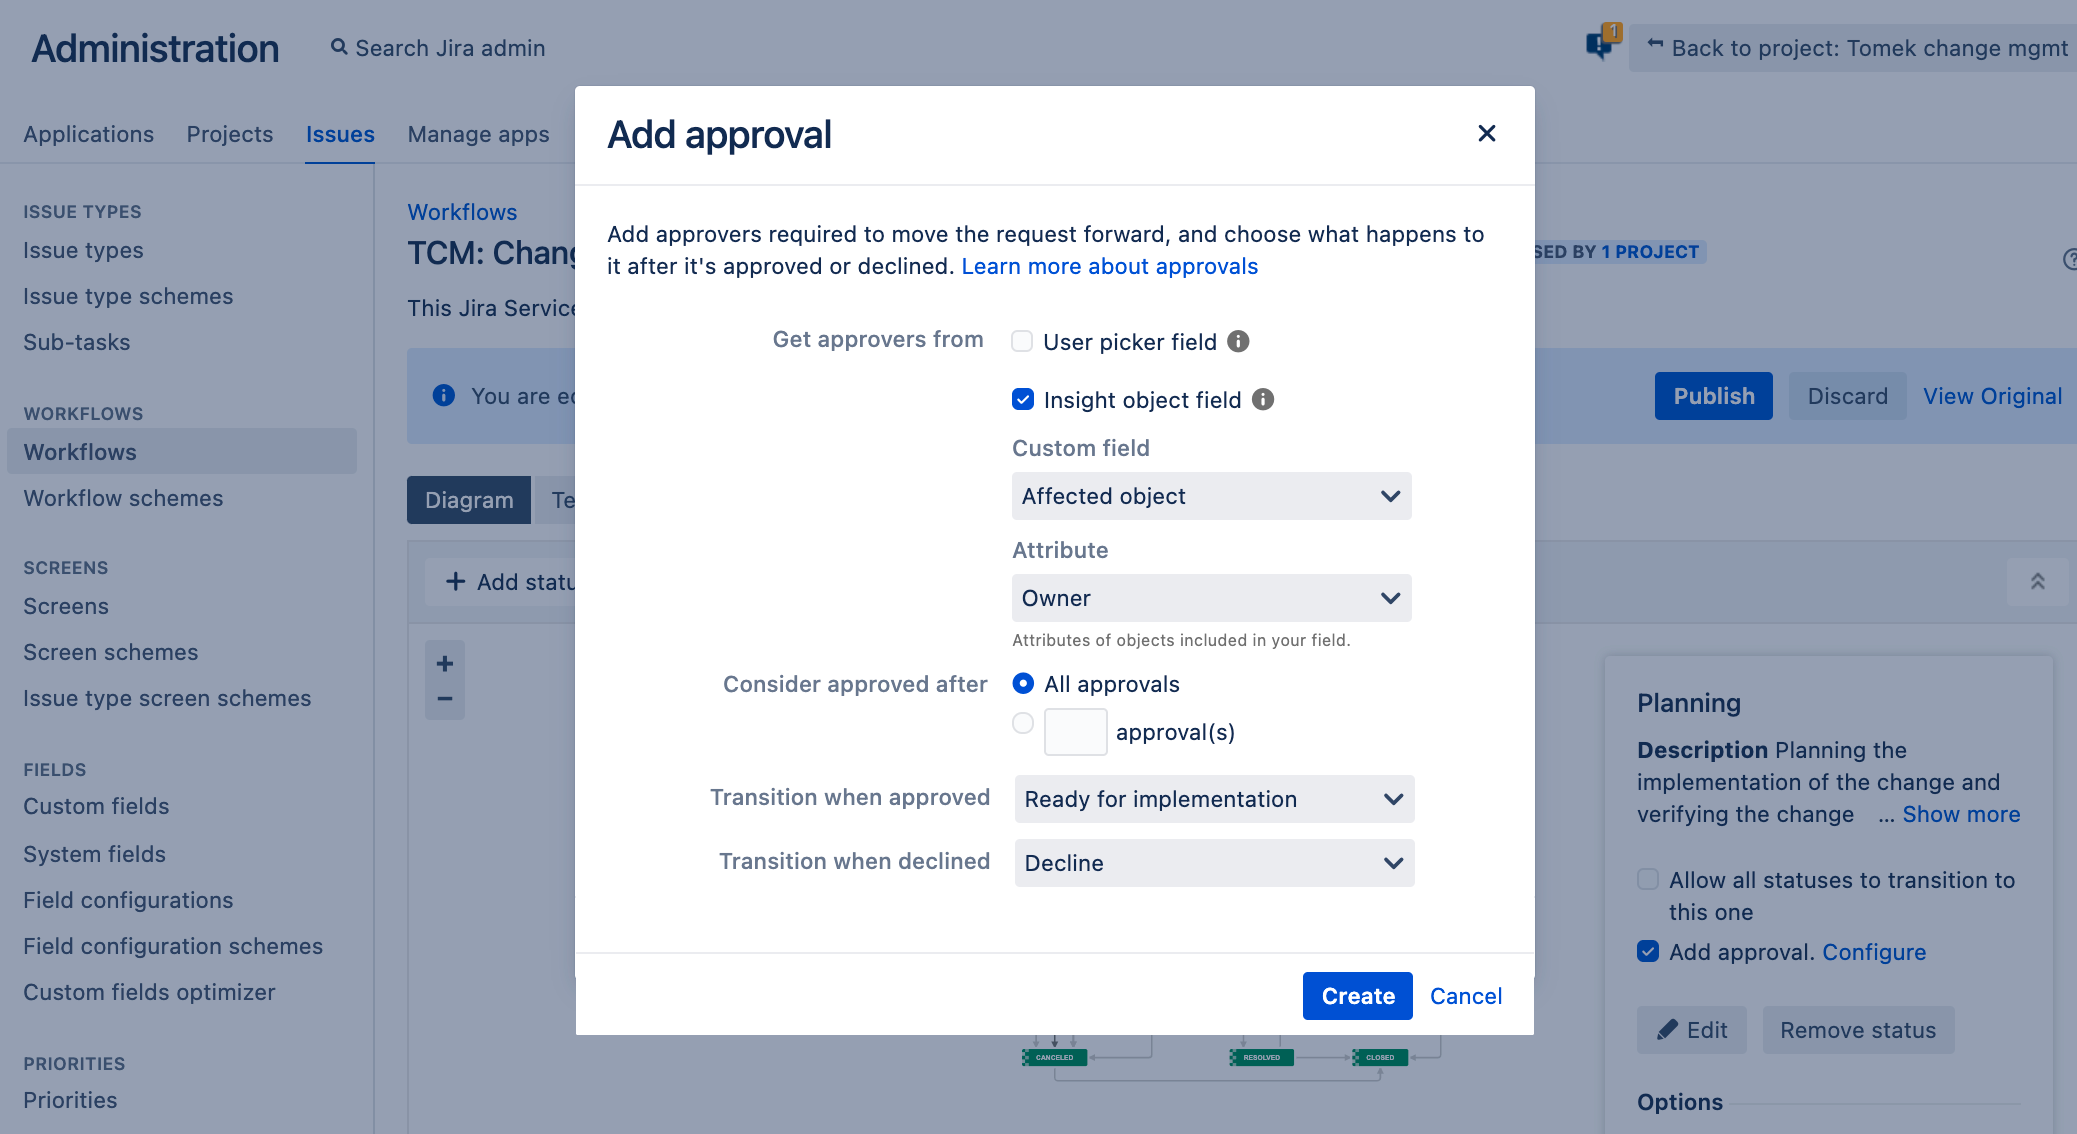
How did we do it? We used approvers who are related to the Insight object. It won’t always be a fixed group of users – they will change based on the asset you select in the change request. Jira will:
| |
Assessing the risk: CAB review After the initial review, the change is moved to the next approval step. Normal changes don’t have established processes so it’s good to properly assess them. Here the change is being assessed by the Change Advisory Board (CAB) that can include additional experts to reduce the risk and avoid any problems. | |
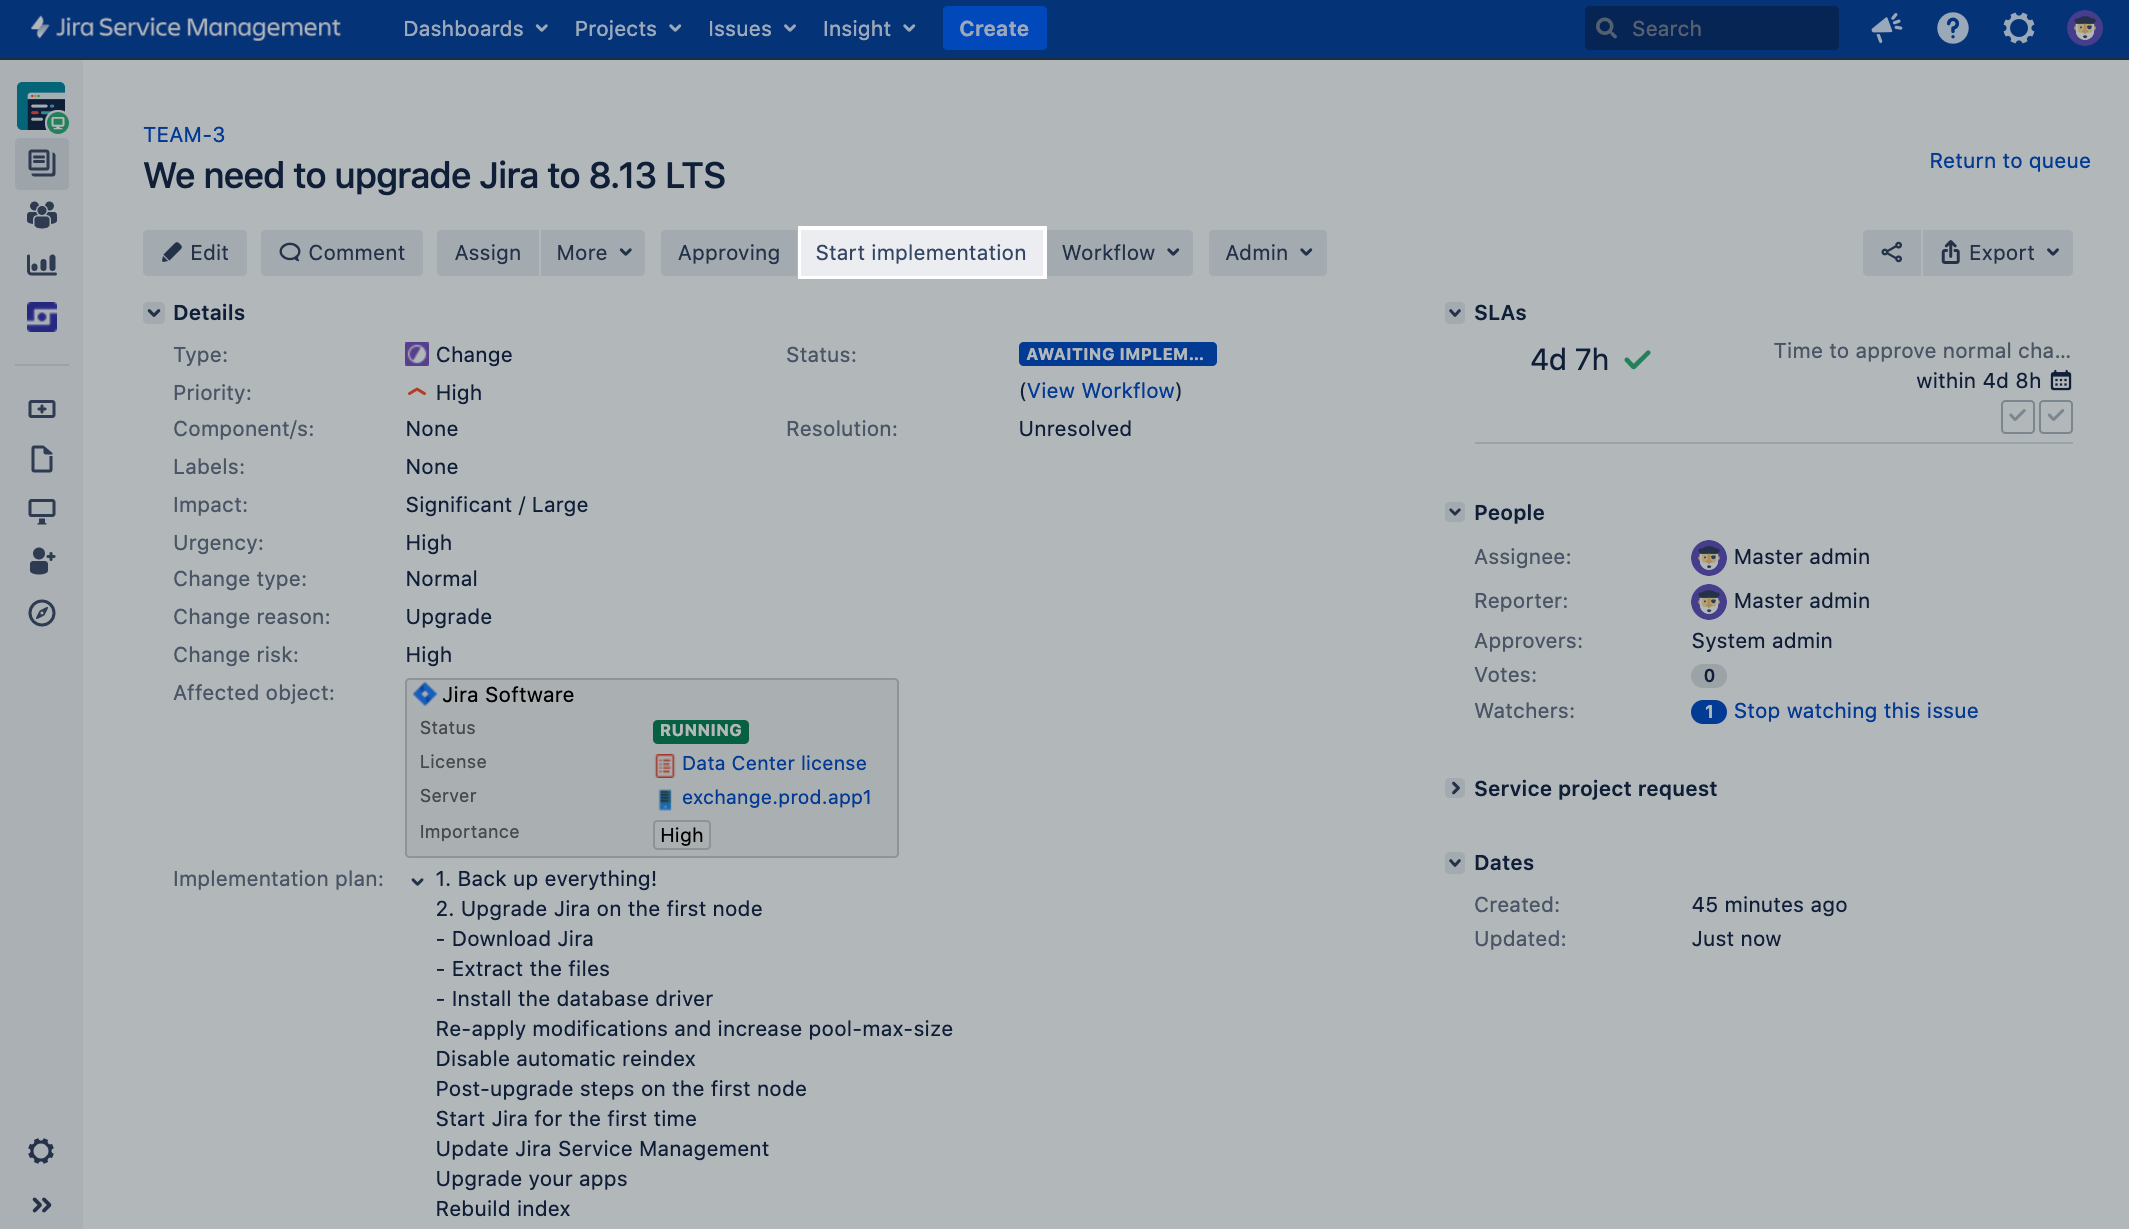
Implementing the change Once the change is approved, we can start implementing it. Let’s assume that all the teams have been informed and we can just upgrade this instance. | |
Optional: Changing the object’s status But, in case someone was wondering what’s going on with this Jira instance, starting the work on it triggered a status change.
This can be done through Insight post-functions added to the workflow. In this case, they change the object’s attribute when the change request is moved through a certain transition. This is not part of change management. If you’d like to use it, see Adding Insight functions to workflows in Jira. | |
Completing and closing the change Once Jira is upgraded and the work is done, we can complete the change, and see how everything is green again. When closing the change request, you can select the resolution: Change successful or Change failed. | |
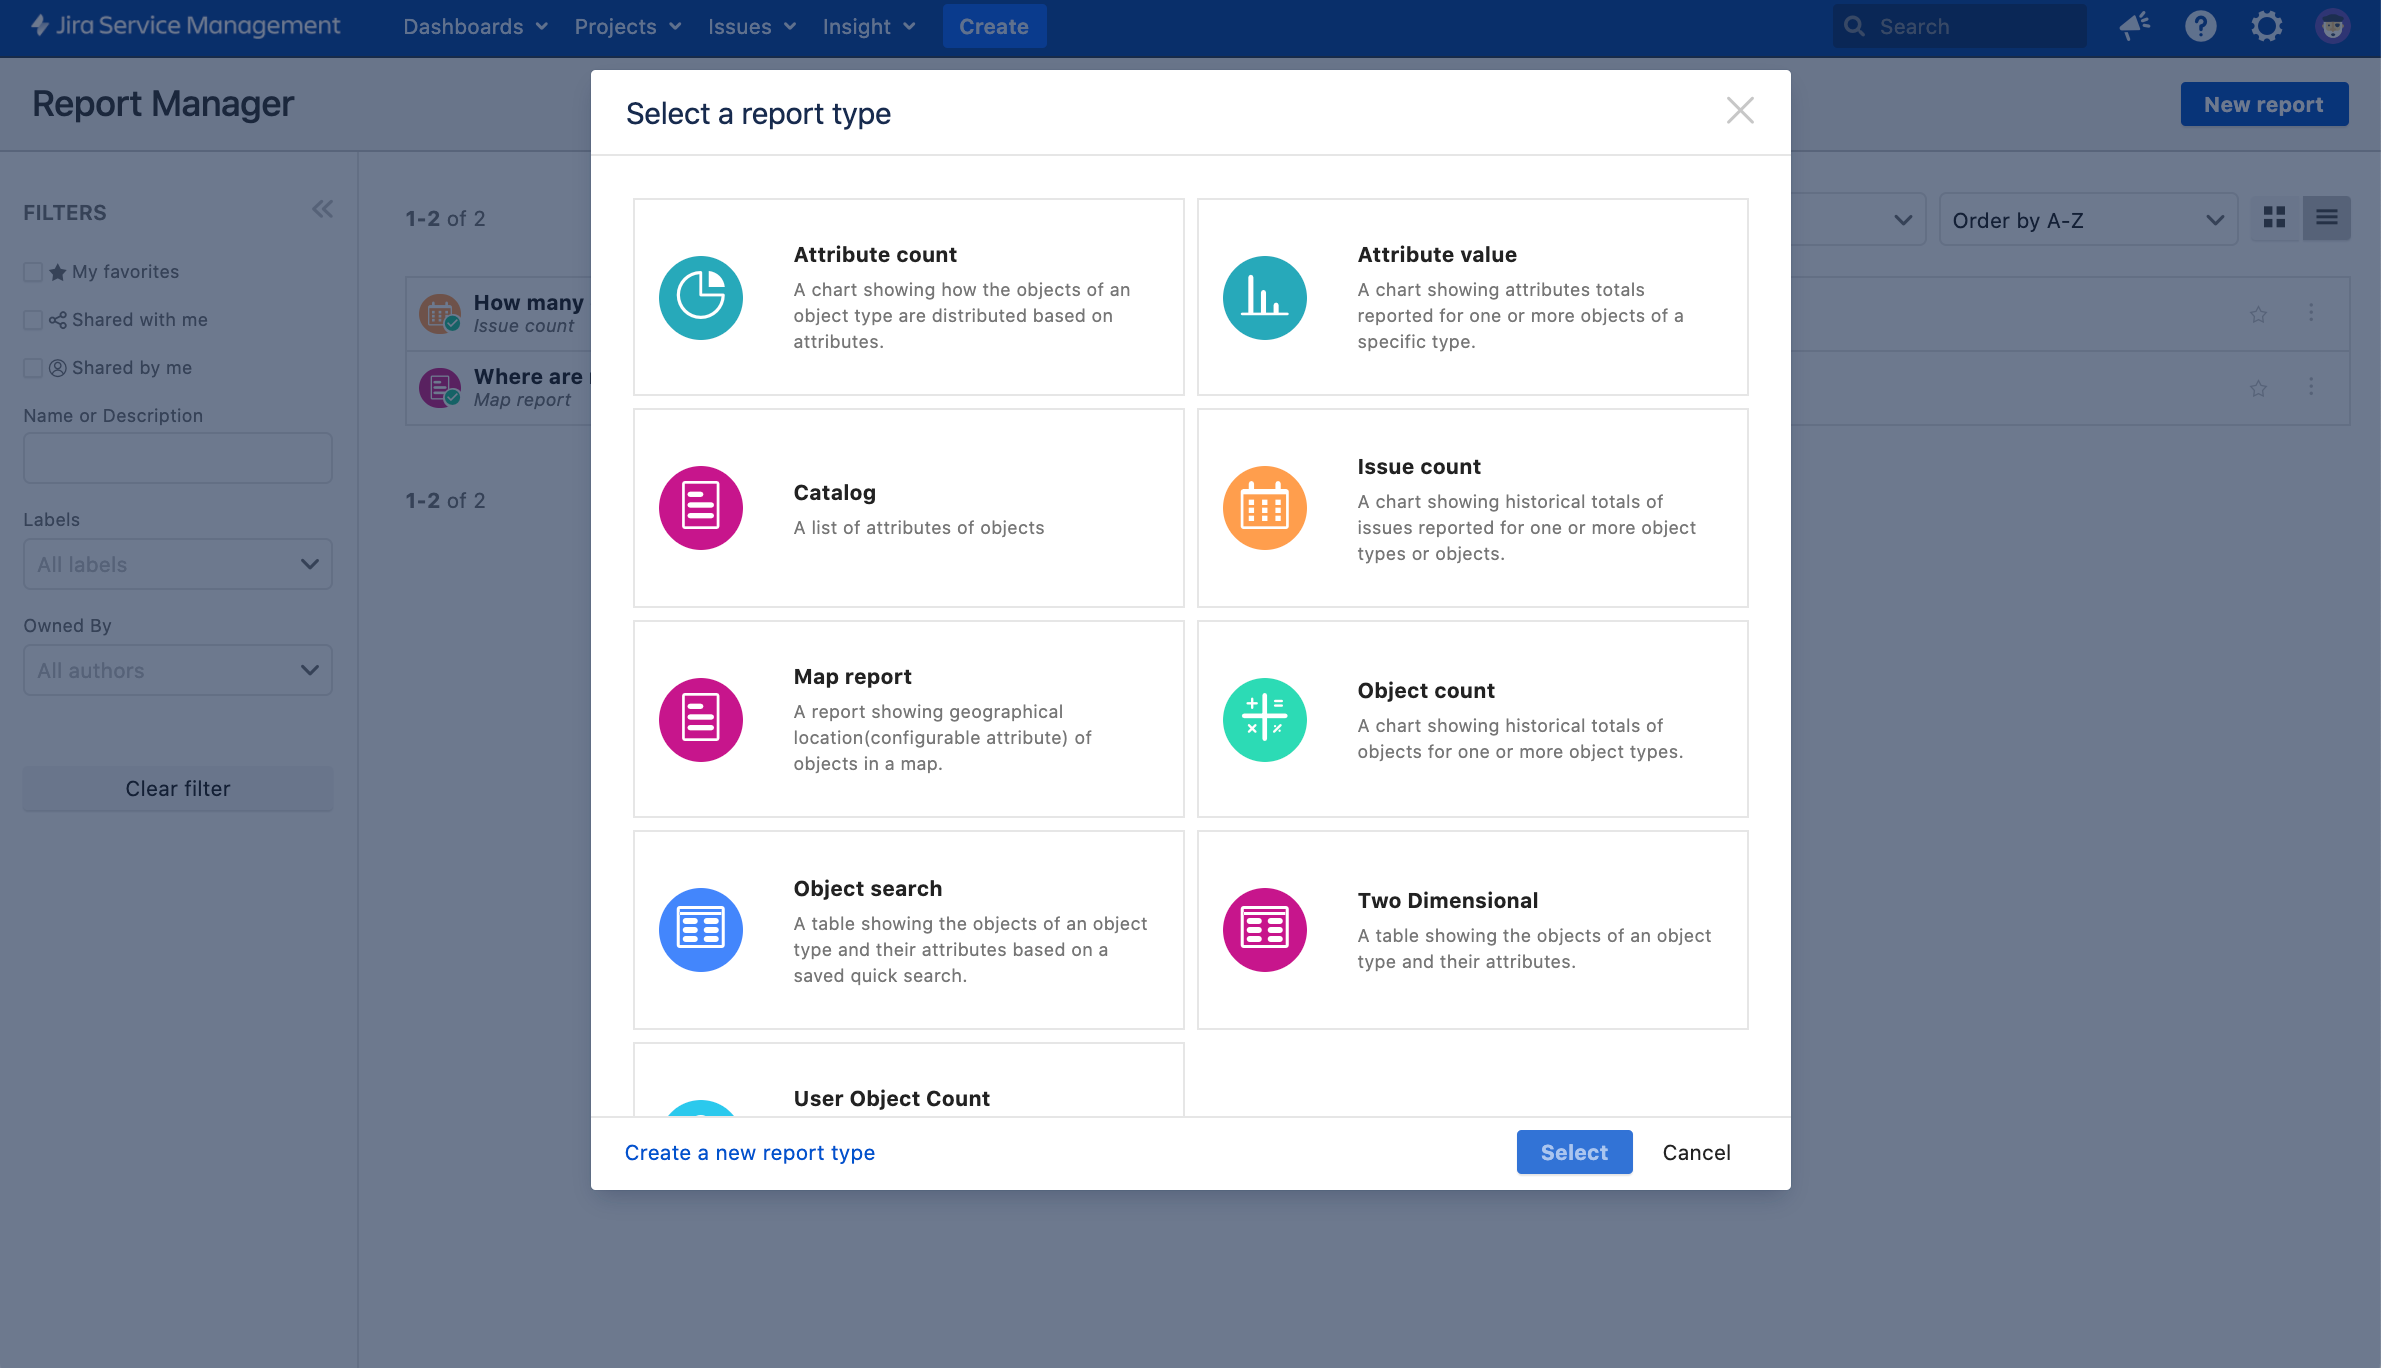
What’s next? Once the change is complete, you can also view some Insight reports for your assets and changes that affected them. | |
For example, you can check how many issues were raised against your assets – how many incidents, problems, or changes. And if there’s too many… Well, this might just mean it’s time to buy a new asset. |
Ready?
If you’d like your changes to use this flow, let’s get started with 1. Update the change management workflow.
