Jira Align Checklists - benefits, types, and how to create them
Summary
This article discusses the benefits of using checklists, the types available in Jira Align, and the steps to create them.
Environment
Jira Align
Solution
Benefits of Using Checklists
Checklists provide a structured approach to managing tasks and processes, ensuring consistency and reducing errors. Key benefits include:
Improved Accuracy and Consistency: Checklists help complete all necessary steps, minimizing the risk of overlooking critical tasks and promoting standardized execution.
Reduced Errors and Rework: By providing a clear guide, checklists help prevent mistakes and the resulting rework, saving time and resources.
Increased Efficiency and Productivity: Streamlined processes through checklists enable teams to work more efficiently and complete tasks more quickly.
Enhanced Collaboration and Communication: Shared checklists facilitate clear communication and understanding of task requirements among team members.
Better Tracking and Reporting: Checklists record completed steps, facilitating progress tracking and reporting.
Onboarding and Training: Checklists are valuable training tools for new team members, guiding them through standard procedures.
Compliance and Auditability: Checklists can be used to ensure compliance with regulations and provide an audit trail of completed activities.
Types of Checklists in Jira Align
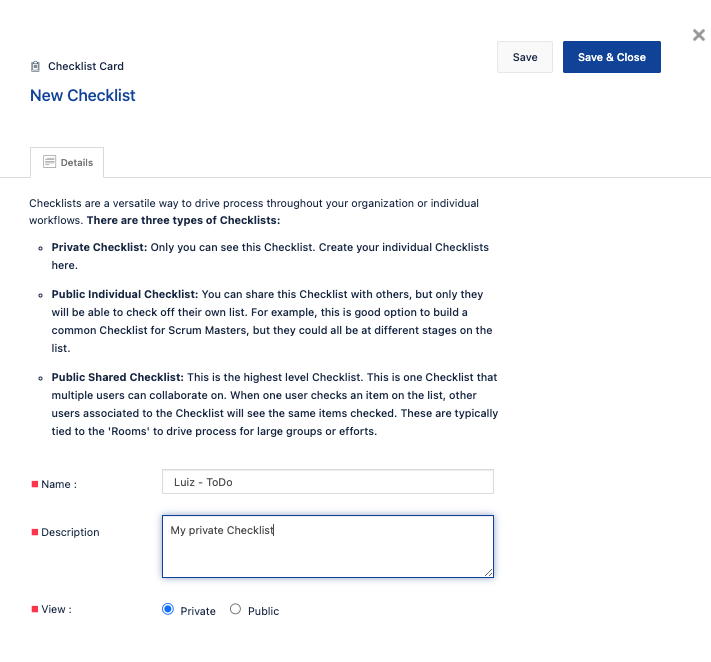
There are three types of checklists:
- Private Checklist: This is your checklist, intended for your use only.
- Public Individual Checklist: This checklist can be shared with others; however, only the individuals receiving it will have the ability to mark their own items as complete. For instance, this presents a viable option for establishing a collaborative checklist among Scrum Masters, even though they may be at varying stages of progress.
- Public Shared Checklist: This is a high-level checklist enabling collaboration among multiple users. When one user marks an item as completed, all other users associated with the checklist will observe the exact item as checked. These checklists are typically linked to the Rooms to facilitate processes for large groups.
Creating a Checklist
To create a private checklist:
- Select the checklist icon on the right of the top navigation bar.
- On the bottom of the list, click Create New.
- Add a name and a description for the checklist in the corresponding boxes, select Private as the checklist view, and then click Save.
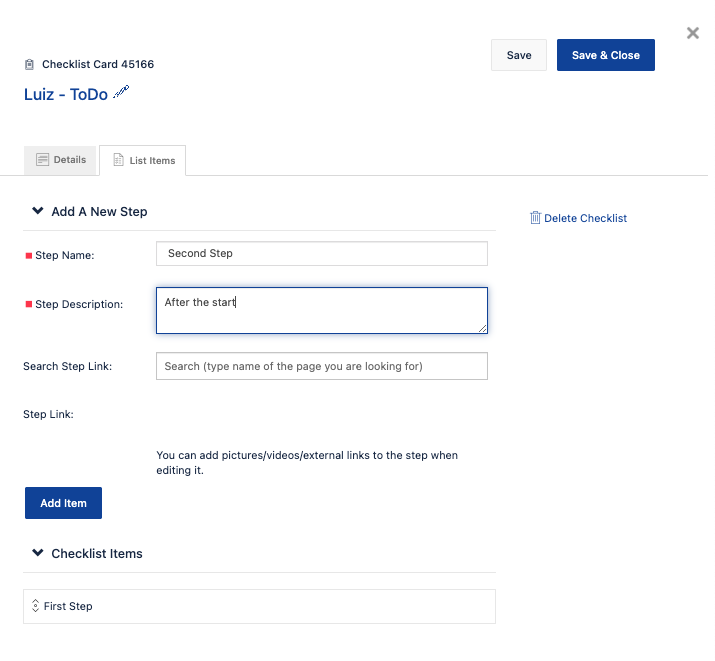
- On the List Items tab, type a name and a description of the first step;
- for example, Step 1: Add epics.
- In the Step Link box, start typing and select a name of the Jira Align page associated with completing the step;
- for example, the Epics page.
- Click the Add Item button. The step is added to a list at the bottom of the window.
- Repeat Steps 4-6 as many times as needed to add remaining steps to the checklist.
- Note that you can click the trash icon next to a step to delete it.
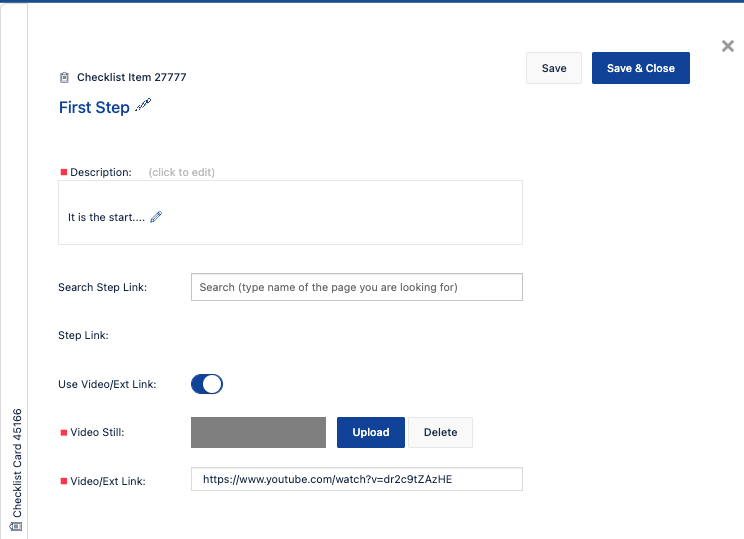
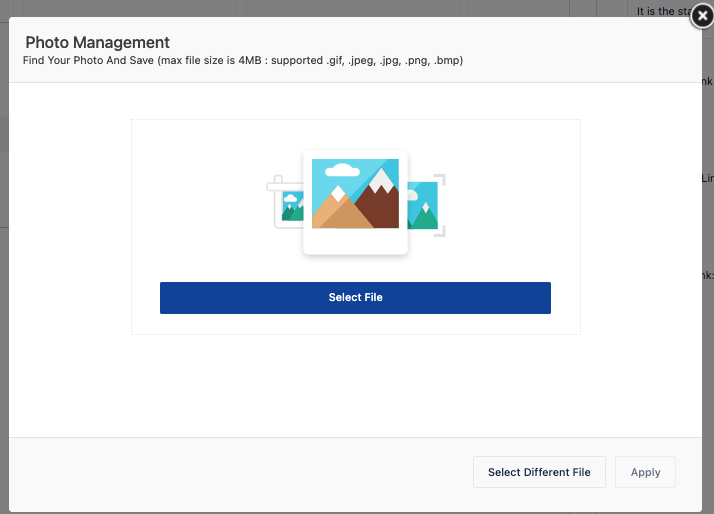
- If you want to add pictures/videos/external links, click the pencil icon next to the step and turn on the Use Video/Ext Link option.
- Click Save & Close after you finished with the checklist.
At the end, the checklist can be visualized like the following when accessing it from the Checklist menu:
To create a public checklist:
- Select the checklist icon on the right of the top navigation bar.
- On the bottom of the list, click Create New.
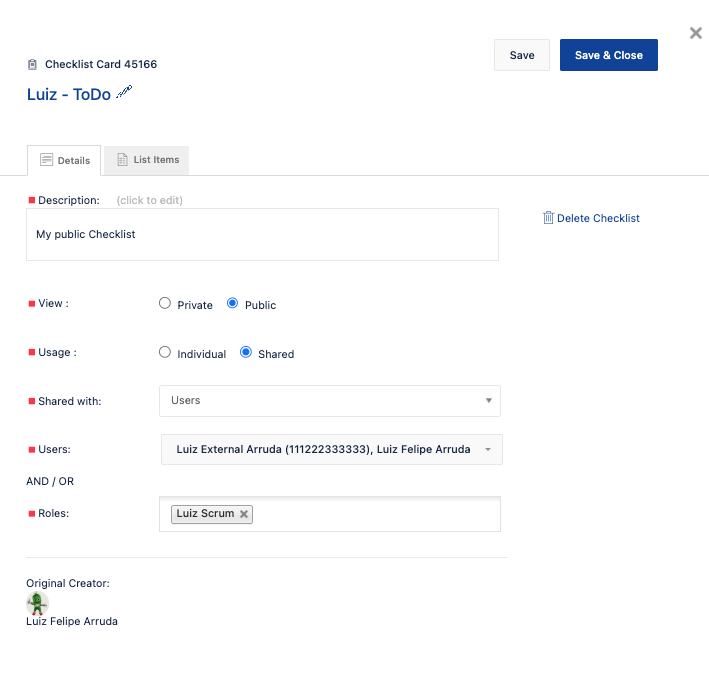
- Add a name and a description of the checklist in the corresponding boxes, select Public as the checklist view, and then click Save.
- Select the usage type of your checklist: individual or shared.
- For the Individual usage, select the users and/or specific roles you want to share your checklist with.
- For the Shared usage, select whether you want to share the checklist with users and/or specific roles, or rooms (for large groups or efforts):
- If you share your checklist with users, select the necessary users and/or specific roles from the drop-down menu, and then click Save.
- If you share your checklist with a room, select the necessary room, portfolio, and users and/or specific roles, and then click Save.
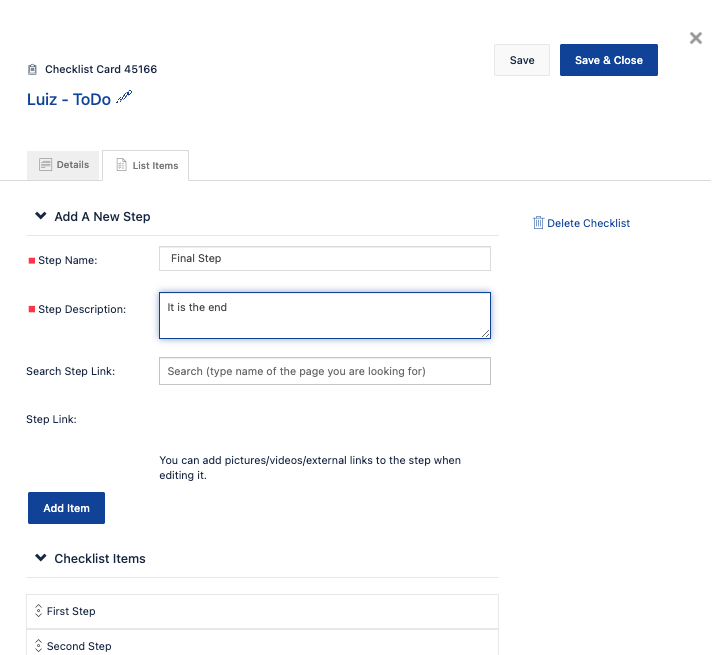
- On the List Items tab, enter a name and a description of the first step;
- for example, Step 1: Add epics.
- In the Step Link box, start typing and select a name of the Jira Align page associated with completing the step; for example, the Epics page.
- Click the Add Item button. The step is added to a list at the bottom of the window.
- Repeat Steps 7-9 as many times as needed to add remaining steps to the checklist.
- Note that you can click the trash icon next to a step to delete it.
- If you want to add pictures/videos/external links, click the pencil icon next to the step and turn on the Use Video/Ext Link option.
- Click Save after you finished with the checklist.
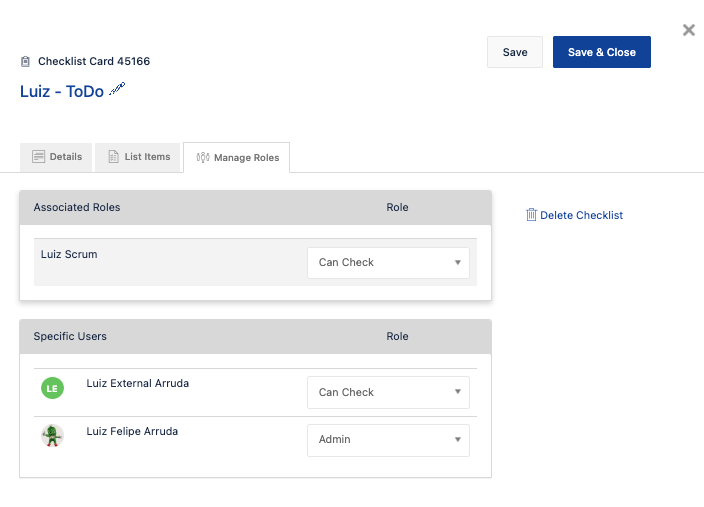
- On the Manage Roles tab, select roles for the roles associated with this checklist and specific users you share your checklist with, and then click Save & Close.
Reference
Create checklists to guide users through tasks
