Retrying anonymization
The anonymization of a user in Jira is not something that can be reversed. Even if it failed or was interrupted, the user will be partially anonymized, so you won’t be able to find and anonymize them like you did before. Here, you can learn how to find the anonymized user and retry the anonymization.
Am I in the right place?
You will need to retry the anonymization in two cases:
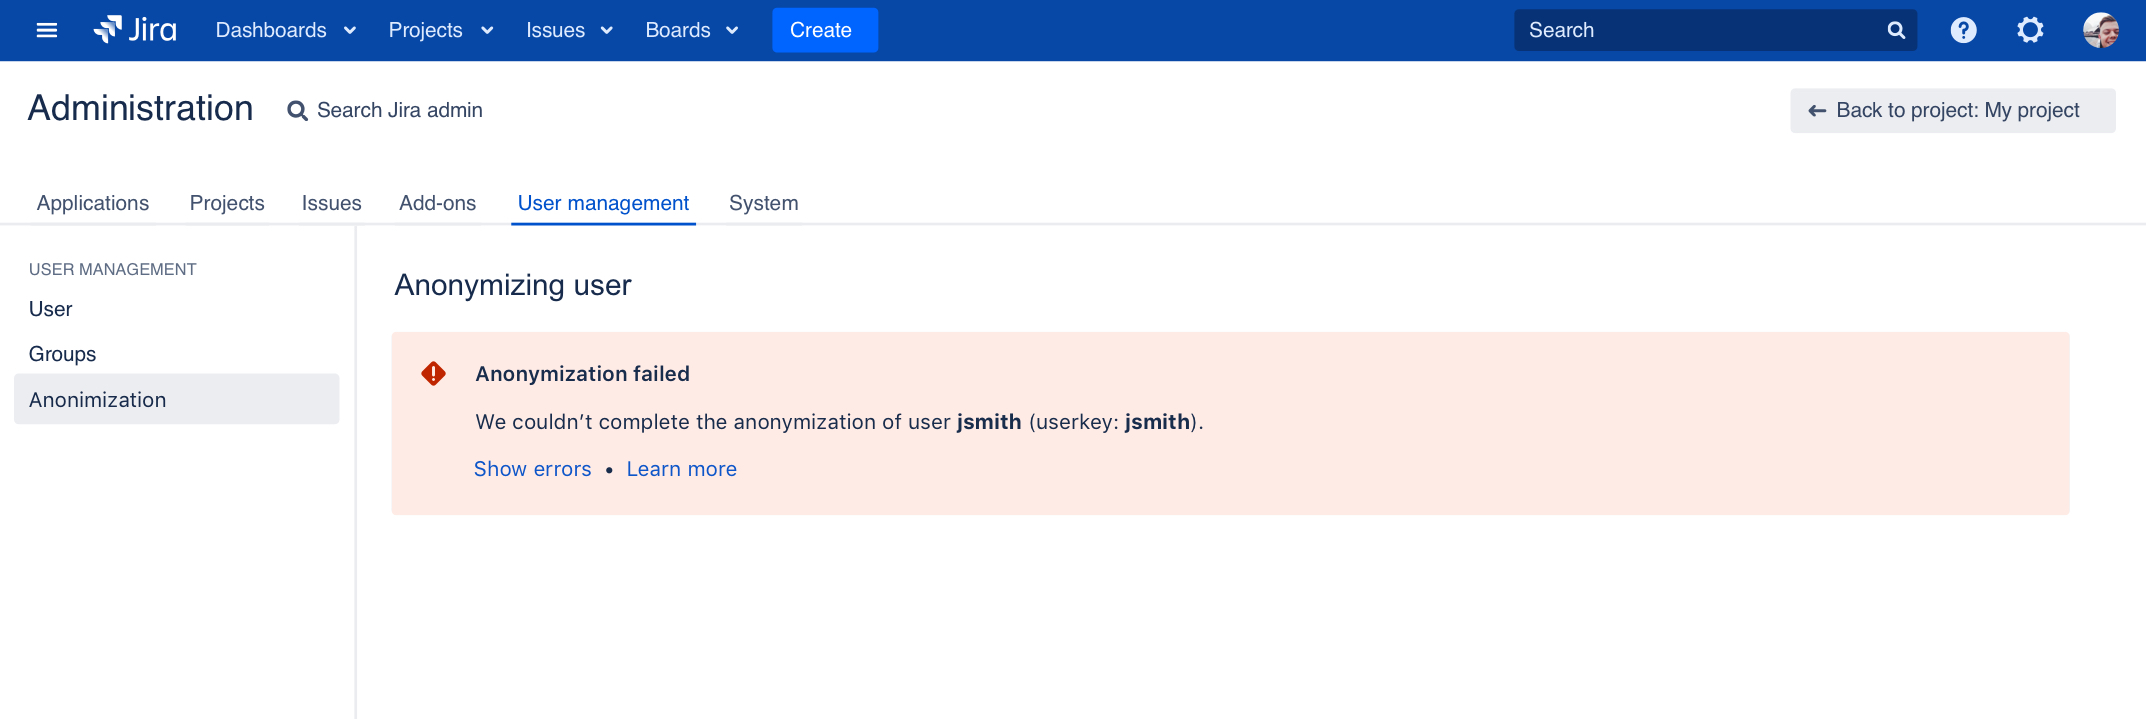
User anonymization finished with an error.
Jira went down while anonymizing a user, and you’re not sure whether it completed successfully
Fixing the problems
Before retrying the anoymization, you need to fix the problems that caused it to fail in the first place.
Logs
If the error message shown in Jira isn’t enough, you can find more details in the Jira application log:
<home-directory>/atlassian-jira.logRetrying the anonymization
To retry the anonymization of a user, you’ll need to provide the following details:
- Current username (might be the same as original, or already anonymized)
- Original username
- Original user key
Getting user details from the audit log
Go to Administration > System > Audit log.
Look for an entry “User anonymization started”. This entry contains the original username and user key.
A. Original username
B. Original user keyLook for an entry “User renamed”. If this entry exists, it means that the original username has already been anonymized. If it doesn’t, the user still has the original username, so you can use it as current username.
A. Anonymized full name. Click it to open the user profile and see the current username.
Retrying the anonymization
Go to Administration > User management > Anonymization.
Click Retry anonymization at the top-right.
Enter the current username, original username, and original user key.
Click Anonymize. The anonymization will look just the same as when you ran it for the first time, but we’ll omit things that have already been anonymized.


