How to send customers a notification with the most recent attachment using automation
Platform Notice: Cloud - This article applies to Atlassian products on the cloud platform.
Currently, it's not possible to send attachments or include Form information in the email notification. We have some open Feature Requests:
- JSDCLOUD-14472 - As an agent, I want to send attachment links visible to customers using smart values
- JSDCLOUD-11195 - Forms Automation: Include Form information in the email notification
As an alternative to the feature requests above, we have the workaround described in this doc: Jira Automation: 403 - Forbidden when opening email attachments sent to Customers.
However, the result of this doc includes a list of all attachments in the ticket in the email notification.
If you want to send just the last attachment included in your tickets, as an alternative solution we can use an automation rule and Jira webhook.
Steps to achieve the alternative solution:
Create a custom field
Create a Custom Field of type Text Field (multi-line). Then name it as you want. In this example, it's called LAST ATTACHMENT:
Create an automation rule
Create an automation rule with the configurations below:
- Open the project > Project Settings > Automation > Create Rule;
- Trigger: Incoming webhook: Copy the URL in the Webhook URL section.

- Add Action: Edit Issue
Select the field Last Attachment (custom field created in the first step), and leave it empty (basically we are clearing the value of this field).
Add Action: Edit Issue
Select the field Last Attachment (custom field created in the first step), and this time we will be using the following values for that field:<a href="{{webhookData.attachment.content}}">{{webhookData.attachment.filename}}</a>
Here we are directly formatting a string that can be used in the Email so that the attachment appears as a Hyperlink with the attachment name.

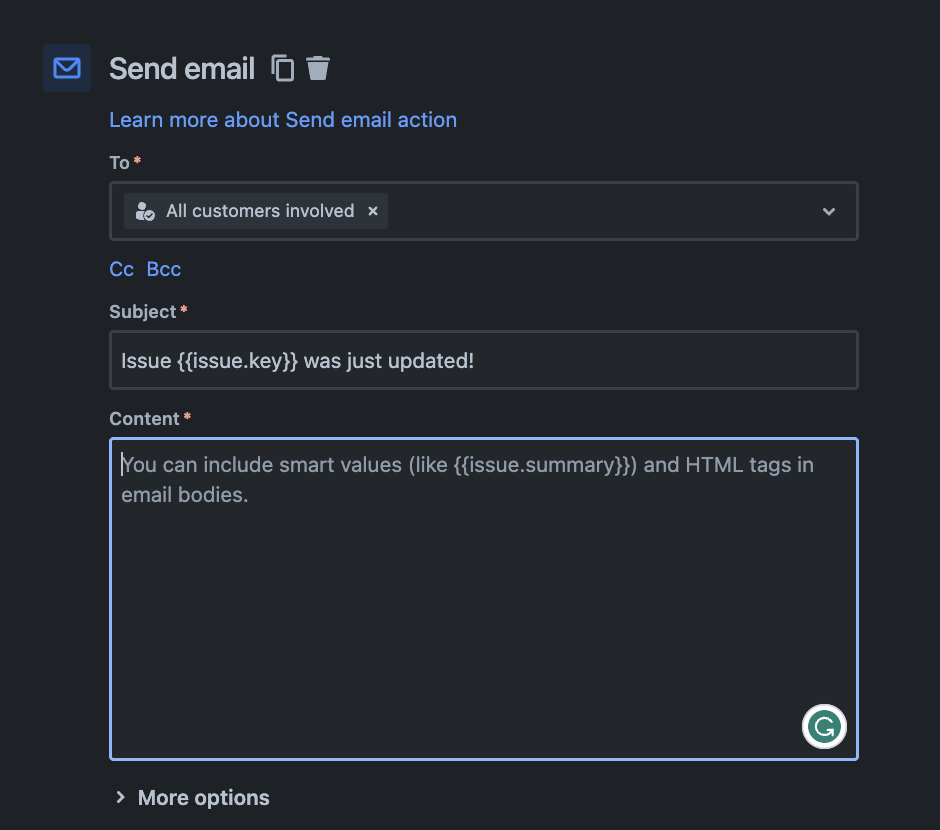
- Include a Send email action to your automation, and configure it according to your use case:
- Save the Rule.
Create a new Webhook
- Navigate to System > Webhooks and click on Create new Webhook.
- In the URL field paste the URL that you copied from Step 2 when configuring the Automation rule and append the following to the link:
/?issue=${issue.id}The link would look something like the following:
https://automation.atlassian.com/pro/hooks/xxxxxxxxxx000001111122233x01x23x34x56/?issue=${issue.id}3. Under Events in the JQL section, you can query for the Project where you have configured this Automation Rule.
Also, select the Created checkbox for Attachments, the Webhook configuration page would look like below:
The above will capture the necessary details of the attachments and store them in the LAST ATTACHMENT field when an attachment is added to an issue.
You already have an Automation configured to send an Email to users with the attachment details. Now you can add the following smart value to send it in the email:
{{issue.LAST ATTACHMENT}}The complete Rule will be similar to below:

The result should be an email with the following structure: