Jira Data Center: How to create dependent Cascading Lists in Jira
Platform Notice: Data Center - This article applies to Atlassian products on the Data Center platform.
Note that this knowledge base article was created for the Data Center version of the product. Data Center knowledge base articles for non-Data Center-specific features may also work for Server versions of the product, however they have not been tested. Support for Server* products ended on February 15th 2024. If you are running a Server product, you can visit the Atlassian Server end of support announcement to review your migration options.
*Except Fisheye and Crucible
Summary
Jira allows for the creating of custom fields of the type Select List (Cascading), and one list can be created to display options that are dependent on the selection chosen within the other. The purpose of this knowledge article is to explain how to use this field type and its limitations.
Cascading level Limitation
- It is important to note that Jira's native Select List (cascading) field type only allows 2 level cascading.
- There is an open feature request meant to allow at least 3 levels of cascading, which is tracked in JRASERVER-7936 - Getting issue details... STATUS
- If having 3 or more levels is necessary for your operations, then you might consider checking the 3rd party add-on Multi Level & Tree Fields.
Note that 3rd party add-ons fall outside of Atlassian Support scope, therefore we advise to reach out to the add-on support team for assistance on how to use it
Solution
- Go to Administration( ) > Issues
- Click on Custom Fields in the sidebar on the left
- Click the Add Custom Field button on the upper right
- Select Select List (cascading) from the pop-up window
- Add a name and description for your field, then click Next
- Select the issue types, which project(s) it should apply to, and click Create
- The pop-up window will close and direct you to a screen that asks you which screens you'd like to associate your field to
- Find your custom field in the list of custom fields that now displays, and at the right side of it click "..." and select Configure
- It should bring up a page that says Default Configuration Scheme for "Your Field Name", you'll want to look to the bottom, where it says Options, and click on the link Edit Options
- Add in the values for the first list options under the Add New Custom Field Option, where it says Add Value
- To add in the second field values, you can either select the option to add the values from the dropdown menu that says "Choose parent list to edit:" or by clicking Configure to the right of the first menu options
- Add in the secondary field values for each parent option, then click the button at the bottom that says Done
- It will bring you back to the Custom field configuration page and display your primary list options with the secondary list options associated with each.
Screenshots:
Creating the parent options:
Creating the child options for each parent selection:
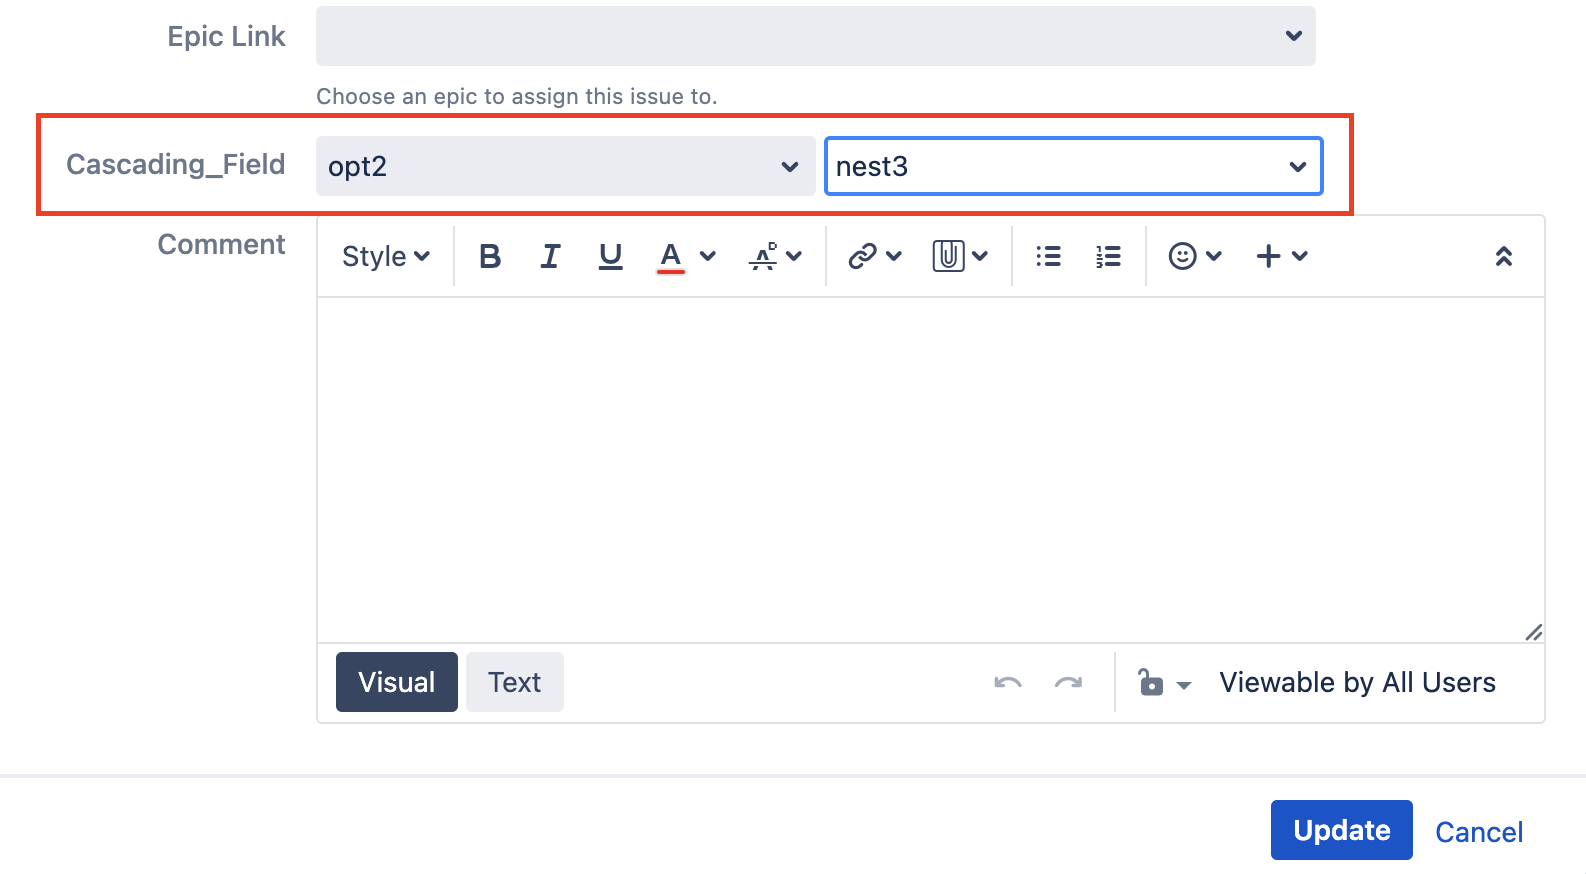
The custom field result, with 2 dropdowns:


