Configure OAuth 2.0 for Jira iOS
Before you begin
The Jira Data Center iOS mobile app acts as the OAuth client, while Jira itself is the OAuth provider API. The iOS app uses an authorization code with the Proof Key for Code Exchange (PKCE) flow.
OAuth 2.0 is compatible with the following Jira versions:
- For Jira 9.12.14 and later, use OAuth plugin 3.1.14 or later.
- For Jira 10.1.0 and later, use OAuth plugin 4.1.0 or later.
Mobile Device Management (MDM) setup
To use the OAuth 2.0 flow with the MDM setup, first you need to configure OAuth, and then integrate it with your instance.
Configure OAuth 2.0
To configure OAuth 2.0 for MDM, create an incoming Application link:
- Go to Settings, then Application, and then Application links.
- Select Create link and use the following properties:
- For Application type, use External application.
- For Direction, use Incoming.
- Select Continue. On the next page, use only these properties:
- Redirect URL:
jira-server://oauth-callback - Permission:
WRITE
- Redirect URL:
- Save the changes.
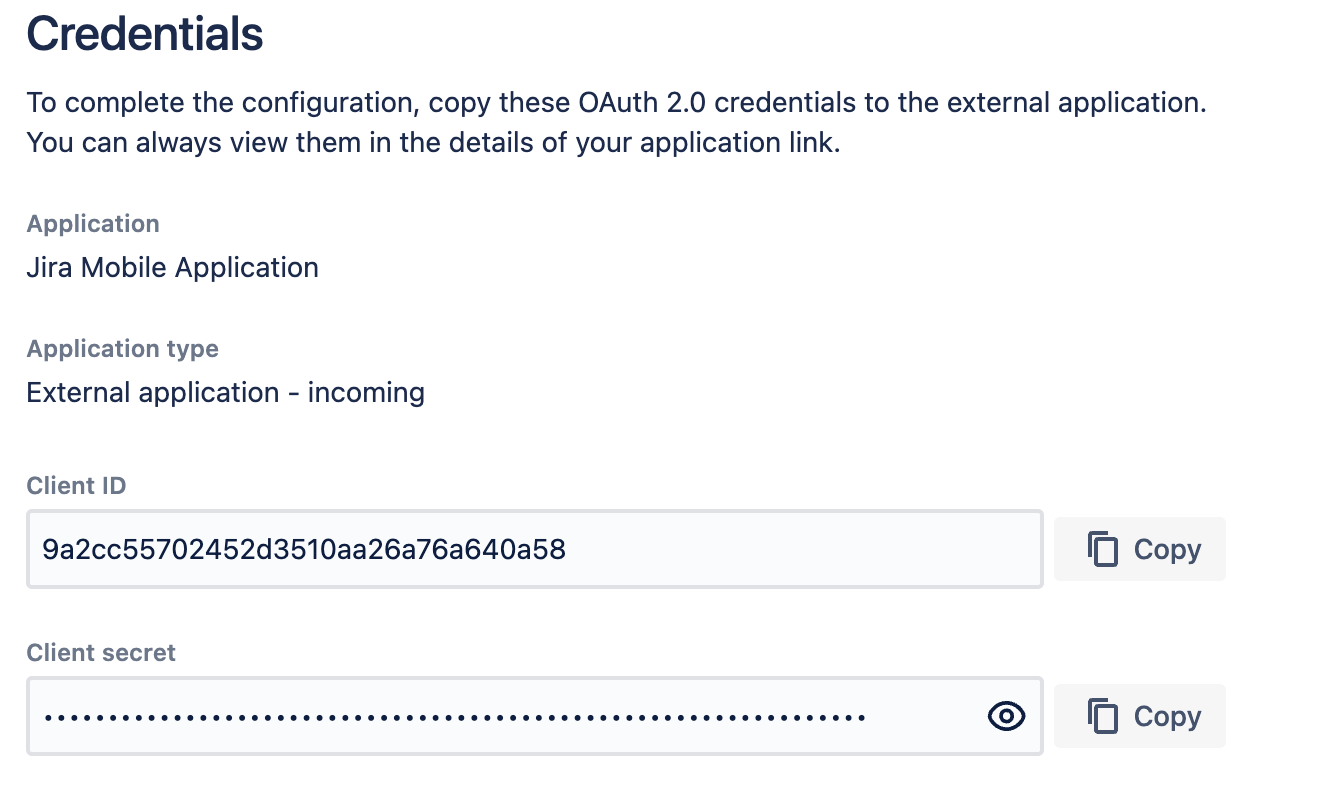
Jira will generate the OAuth credentials that include these details. More about configuring incoming links
After Jira generates the OAuth credentials, pre-populate site URLs on the login screen.
If MDM is already set up for Jira Data Center iOS mobile app, make sure you have the following configuration for the site details.
[
{ "title": "My Jira Site", "baseURL": "https://jira.example.com"}
]
Integrate OAuth 2.0
To integrate OAuth with your instance, use the configuration below:
- For the
clientID, use the Application link you’ve just created. - The value
cacheSessionInMobileBrowseris aBool flag(true or false)indicating whether the mobile browser utilized for authentication should be cached.
[
{ "title": "My Jira Site", "baseURL": "https://jira.example.com", "oauth": { "clientID": "your_clientID", "cacheSessionInMobileBrowser": false } }
]
Save your changes. Before deploying the app configuration updates to your users, we recommend accessing the Jira Data Center mobile app on a device to ensure the details are accurately captured. You'll get an error if the app can't display your sites list.
Non-Mobile Device Management (MDM) setup
In case you want to use the OAuth 2.0 flow without MDM, you can use Jira Mobile plugin for passing client credentials. Make sure you use this feature with the compatible Jira version:
- For Jira 9, use Jira Mobile Plugin 4.2.0 or later.
- For Jira 10, use Jira Mobile Plugin 5.1.2 or later.
Client credentials will be passed via this endpoint: [base-url]/rest/nativemobile/1.1/info/login.
Make sure that the info/login endpoint is unauthenticated in your environment. If your instance has a reverse proxy that redirects unauthenticated requests, you’ll need to use the MDM setup.
In this scenario, you don’t need to create an Application link manually. Instead, Jira Mobile Plugin will do everything by itself. To activate OAuth 2.0 without MDM:
- Go to Settings, then System, and then Jira mobile app.
- Turn on OAuth 2.0.
Now, the iOS devices will use the OAuth 2.0 protocol.

