Translate service project notifications
Add or remove a language
When you add a language, your service project introduces translated notification messages and templates from our default style.
To add or remove a language to your service project:
- Go to Project settings > Customer notifications.
- Under Language support, select Manage languages.
- Select Add languages, the languages your service project supports appear in the table.
- Choose the language(s) you'd like to translate.
- Under the Action column, you can Enable or Disable languages. We disable newly added languages by default, so you can quality check your translation before enabling it.
If a language isn't supported in your service project, your customers receive notifications in the project's default language. You'll see a project default badge beside the default language, and you can change this via the Set project default language link.
Review and translate customer notifications
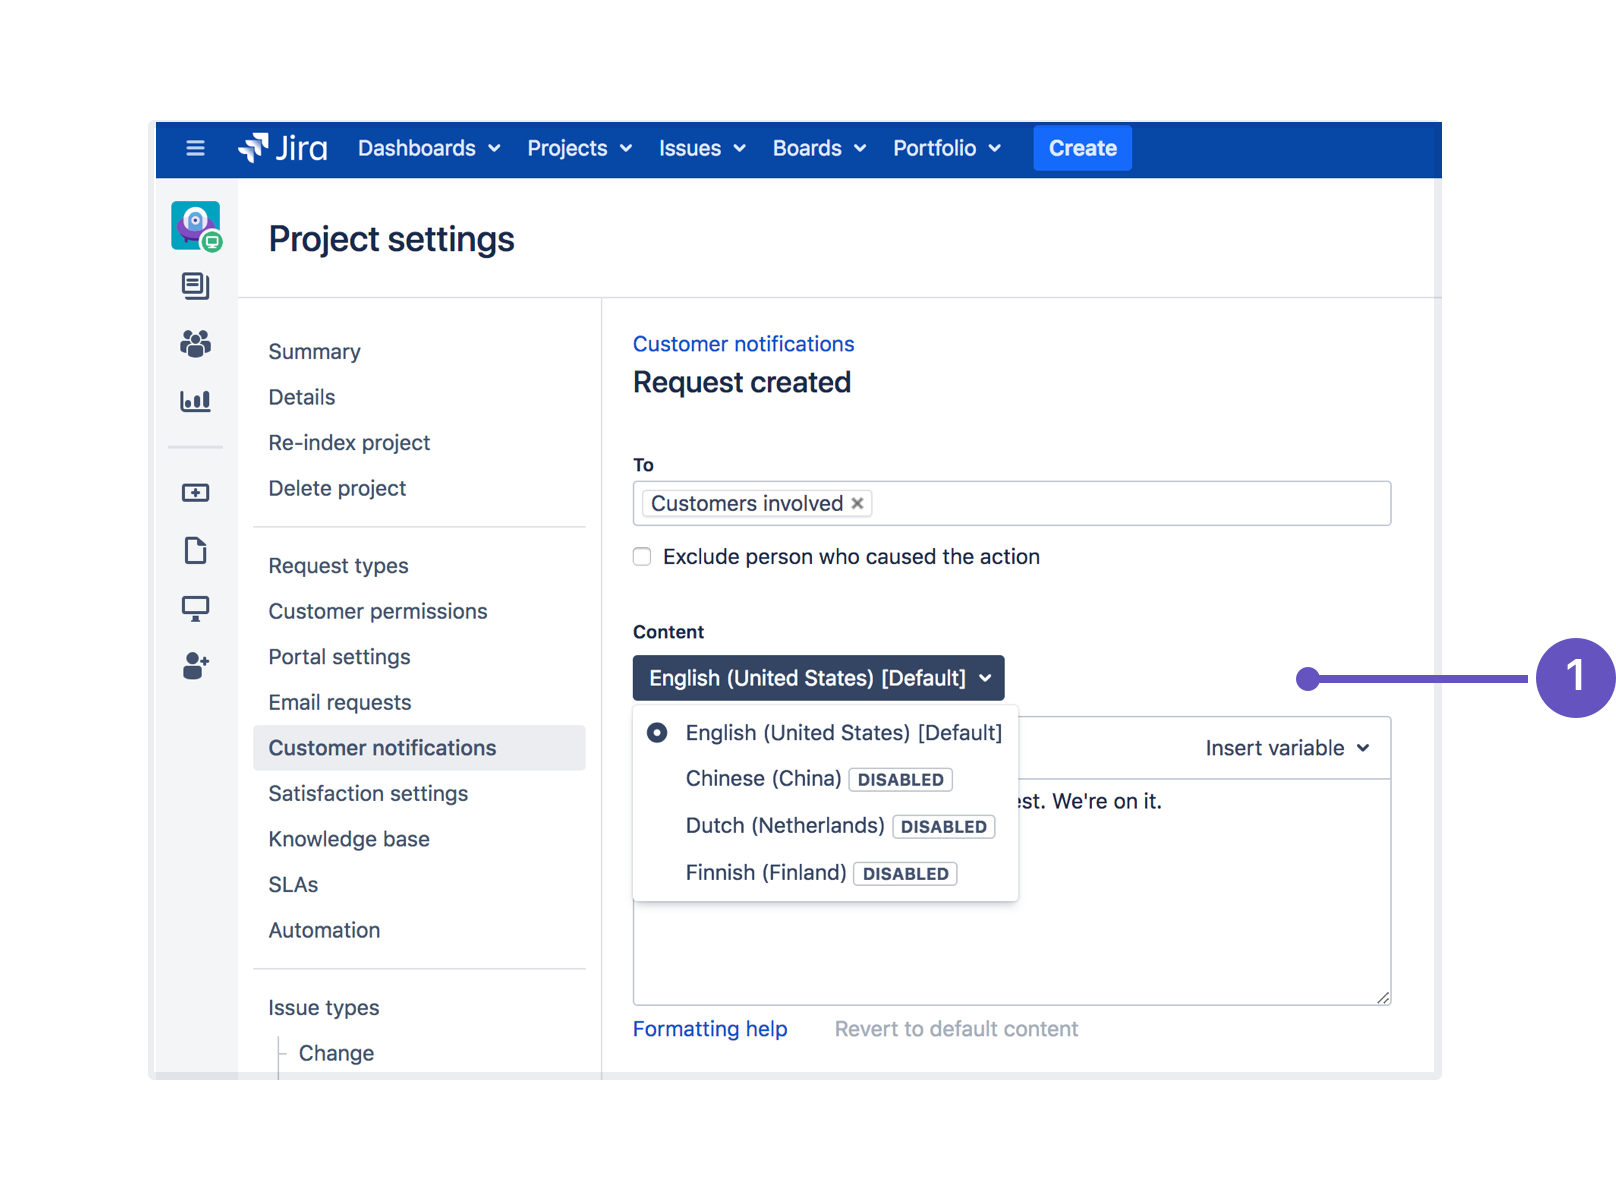
To translate a customer notification:
- Go to Project settings > Customer notifications.
- Under Default rules, choose the notification to translate, then select Edit.
- On the notification screen, under Content, select a language from the drop down.
- Insert any additional variables or custom content. You'll need to add translations for your custom content, otherwise, customers will see that content in the project default language.
- Preview the content, then hit Save.
Last modified on Nov 23, 2020
Powered by Confluence and Scroll Viewport.

