Adding objects to Jira issues
When you add objects to your Jira issues, information about them will be displayed directly on the issues, giving everyone interested enough context. Depending on how your workflows are set up, the added objects can also be affected when an issue is moving through a workflow.
Before you begin
You'll add objects to your issues by choosing them as values of the Insight custom fields. These custom fields needs to be first added to the right screens in Jira, which needs to be done by your Jira admin. For more info, see Adding Insight custom fields to screens Jira.
Add an object to your Jira issue
To add an object to a Jira issue:
- Create or edit a Jira issue, and locate the Insight custom field. It will look just like any other field. In the example below, it's "Affected Server".
- Select your object from the drop-down menu. If you can't find it, try using the object picker that will let you browse available objects.
Select objects with the object picker
The object picker lets you search through Object types (left-side) and Objects (right-side).
- You can expand objects to view their attributes. This should help you make sure you're choosing the right one.
- You can shift-click an object type to select all object types in its tree structure.
View object details on your Jira issues
All objects connected to an issue are shown when you view this issue. The amount of details shown depends on how the custom field (responsible for adding the object) is configured. Some custom fields might allow fewer attributes than others, and that's up to how your Jira admin configured them.
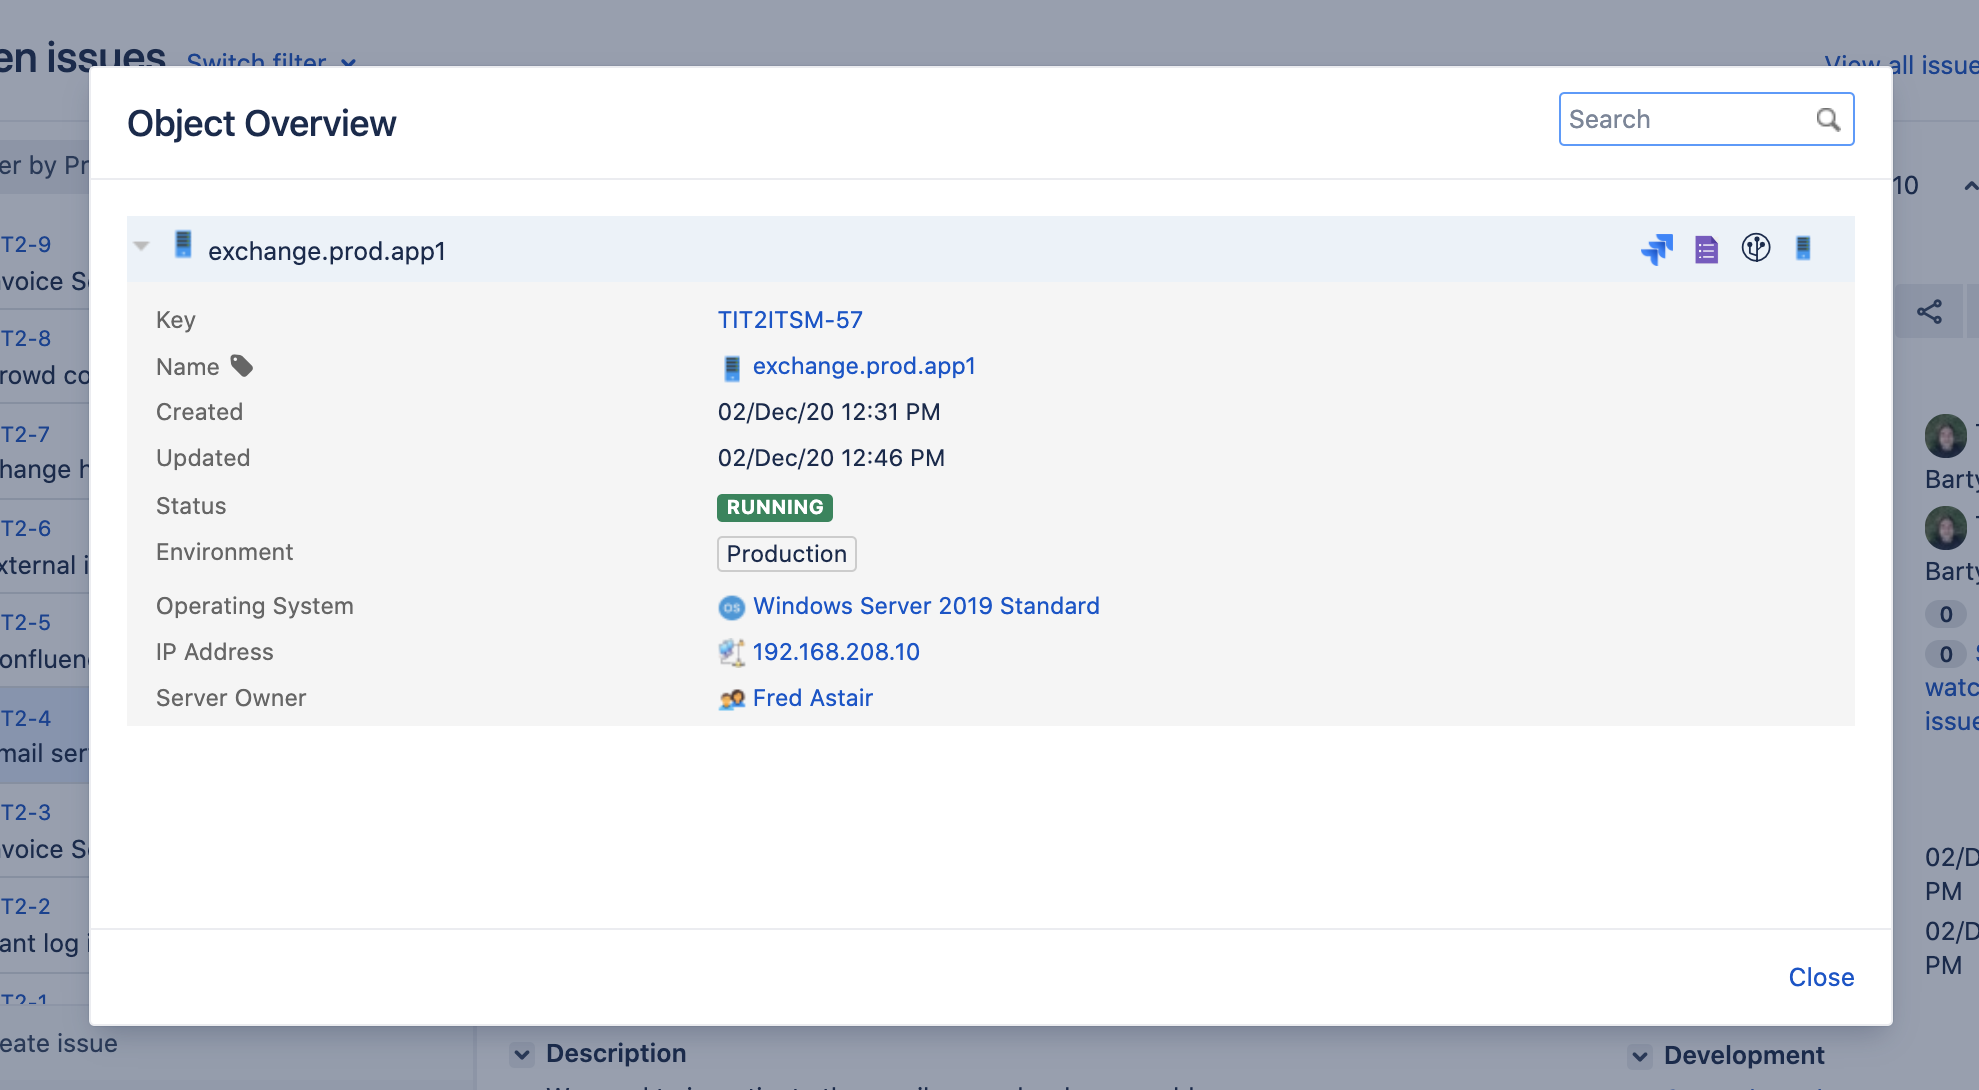
You can click an object to view all details about it. You can then use the icons to switch between overview, attributes, or graph.


