Adding request participants
Request participants are customers and groups and organizations, who can view, comment, and receive notifications about a request. Participants receive the same notifications as the reporter and can turn off notifications at any time. You might add request participants so they can provide more information about a request, or to notify them of a request's progress.
Both agents and customers can add and remove request participants. Who customers can add as participants depends on the project's customer permissions settings. Read Managing access to your service project to learn more.
On this page:
Add participants to a project
To add participants to a project:
- From the sidebar, select Project settings > Users and roles, then select Add users to a role.
- Enter the participant's email address, group, or organization name, choose their role type, then select Add.
Request participants follow issue-level security schemes. For example, if an administrator customizes requests so that only reporters can view them, then request participants won't be able to view the request. Administrators can refer to the instructions in Configuring issue-level security to update the issue security scheme.
Add participants to an issue
Requests participants can only be added if they have access to the project. Change your customer permissions to set who can access your service desk project.
To add a participant to a request:
- Open the issue you want to add a request participant to.
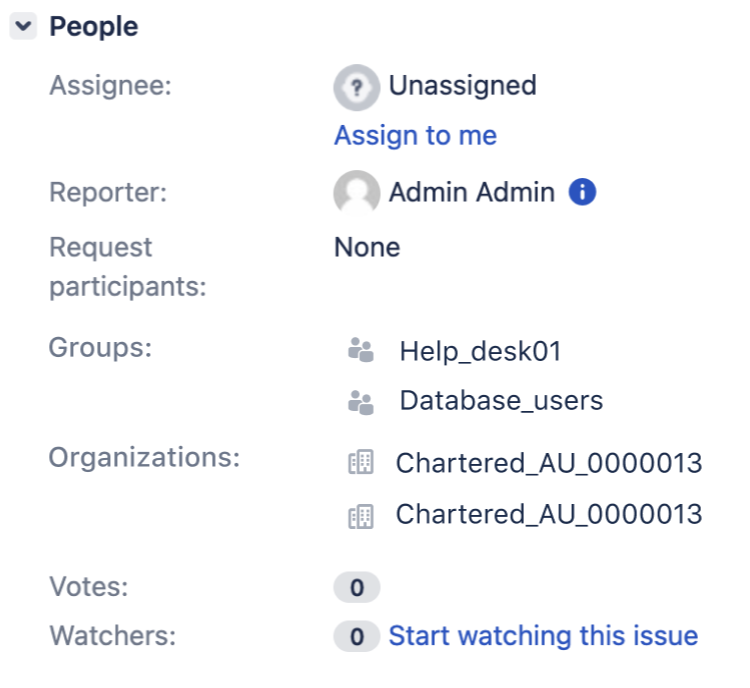
- Select the Request participants, Groups, or Organizations field on the right side of the issue view.
- Enter the participant's details, then click the tick.
When you add a request participant they receive an email notifying them that they are participating in the request, depending on the project's notification settings.
The following image shows the request participants in the issue view:
Add participants in the customer portal
Customers in an organization can share requests when they raise them. If a customer belongs to only one organization, the request is shared with it by default unless you've changed the default settings to keep all new requests private. Requests can be also marked as Private Requests before submitting the request. If the customer is in more than one organization, the request is private by default.
You can choose whether new requests are private or shared by default. To do so, go to Administration > Applications > Jira Service Management Configuration, and change the setting in the Organization management section.
If you want to share a request with only some participants, you can add them to your request.
If you’re an agent, here’s how to add a participant to a request:
- From the sidebar, select Raise a request.
- Fill out the request form, select Create.
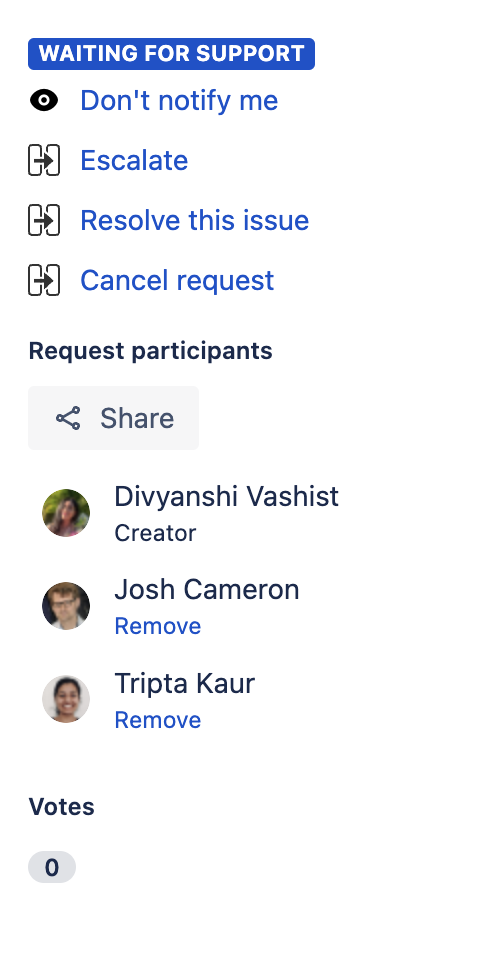
- Select Share from the right side panel, enter the name, email address, or organization in the Share this request field.
- Select Share.
If you’re a customer, here’s how to add a participant to a request:
- Access the customer portal from the link provided.
- Fill out the request form, select Create.
- Select Share from the right side panel, enter the name, email address, or organization in the Share this request field.
- Select Share.
Participants will receive an email notifying them that they are participating in the request depending on the project's notification settings. The participants will appear under the Shared with section in the request.
The following image shows the request participants in the customer portal request view:
Add participants by mentioning them via the customer portal
You can also add participants by mentioning them in the description or comments. They will be immediately added as a participants and will receive a notification about it (if the Participant added notification is enabled).
Agents: You can mention anyone in the project.
Customers: You can mention any user that you're allowed to add as a Request Participant.
Actions via the customer portal won't result in any Jira mention notification emails.
Add participants through email
Customers in an organization can share requests when they raise them. If a customer belongs to only one organization, the request is shared with it by default unless you've changed the default settings to keep all new requests private. Requests can be also marked as Private Requests before submitting the request. If the customer is in more than one organization, the request is private by default.
You can choose whether new requests are private or shared by default. To do so, go to Administration > Applications > Jira Service Management configuration, and look at Organization management.
If you want to share a request with only some participants, you can add them to your request.
To add participants through email:
- Add the participant's email address to either the TO or CC fields.
The participant will receive an email notification that you added them depending on the project's notification settings.
Add watchers
Agents can involve other agents or Jira users to get help with an issue. For example, you might want Jira Software developers to help analyze a bug that a customer has reported.
To involve other users, add them as watchers:
- Open the issue you want to add a watcher to.
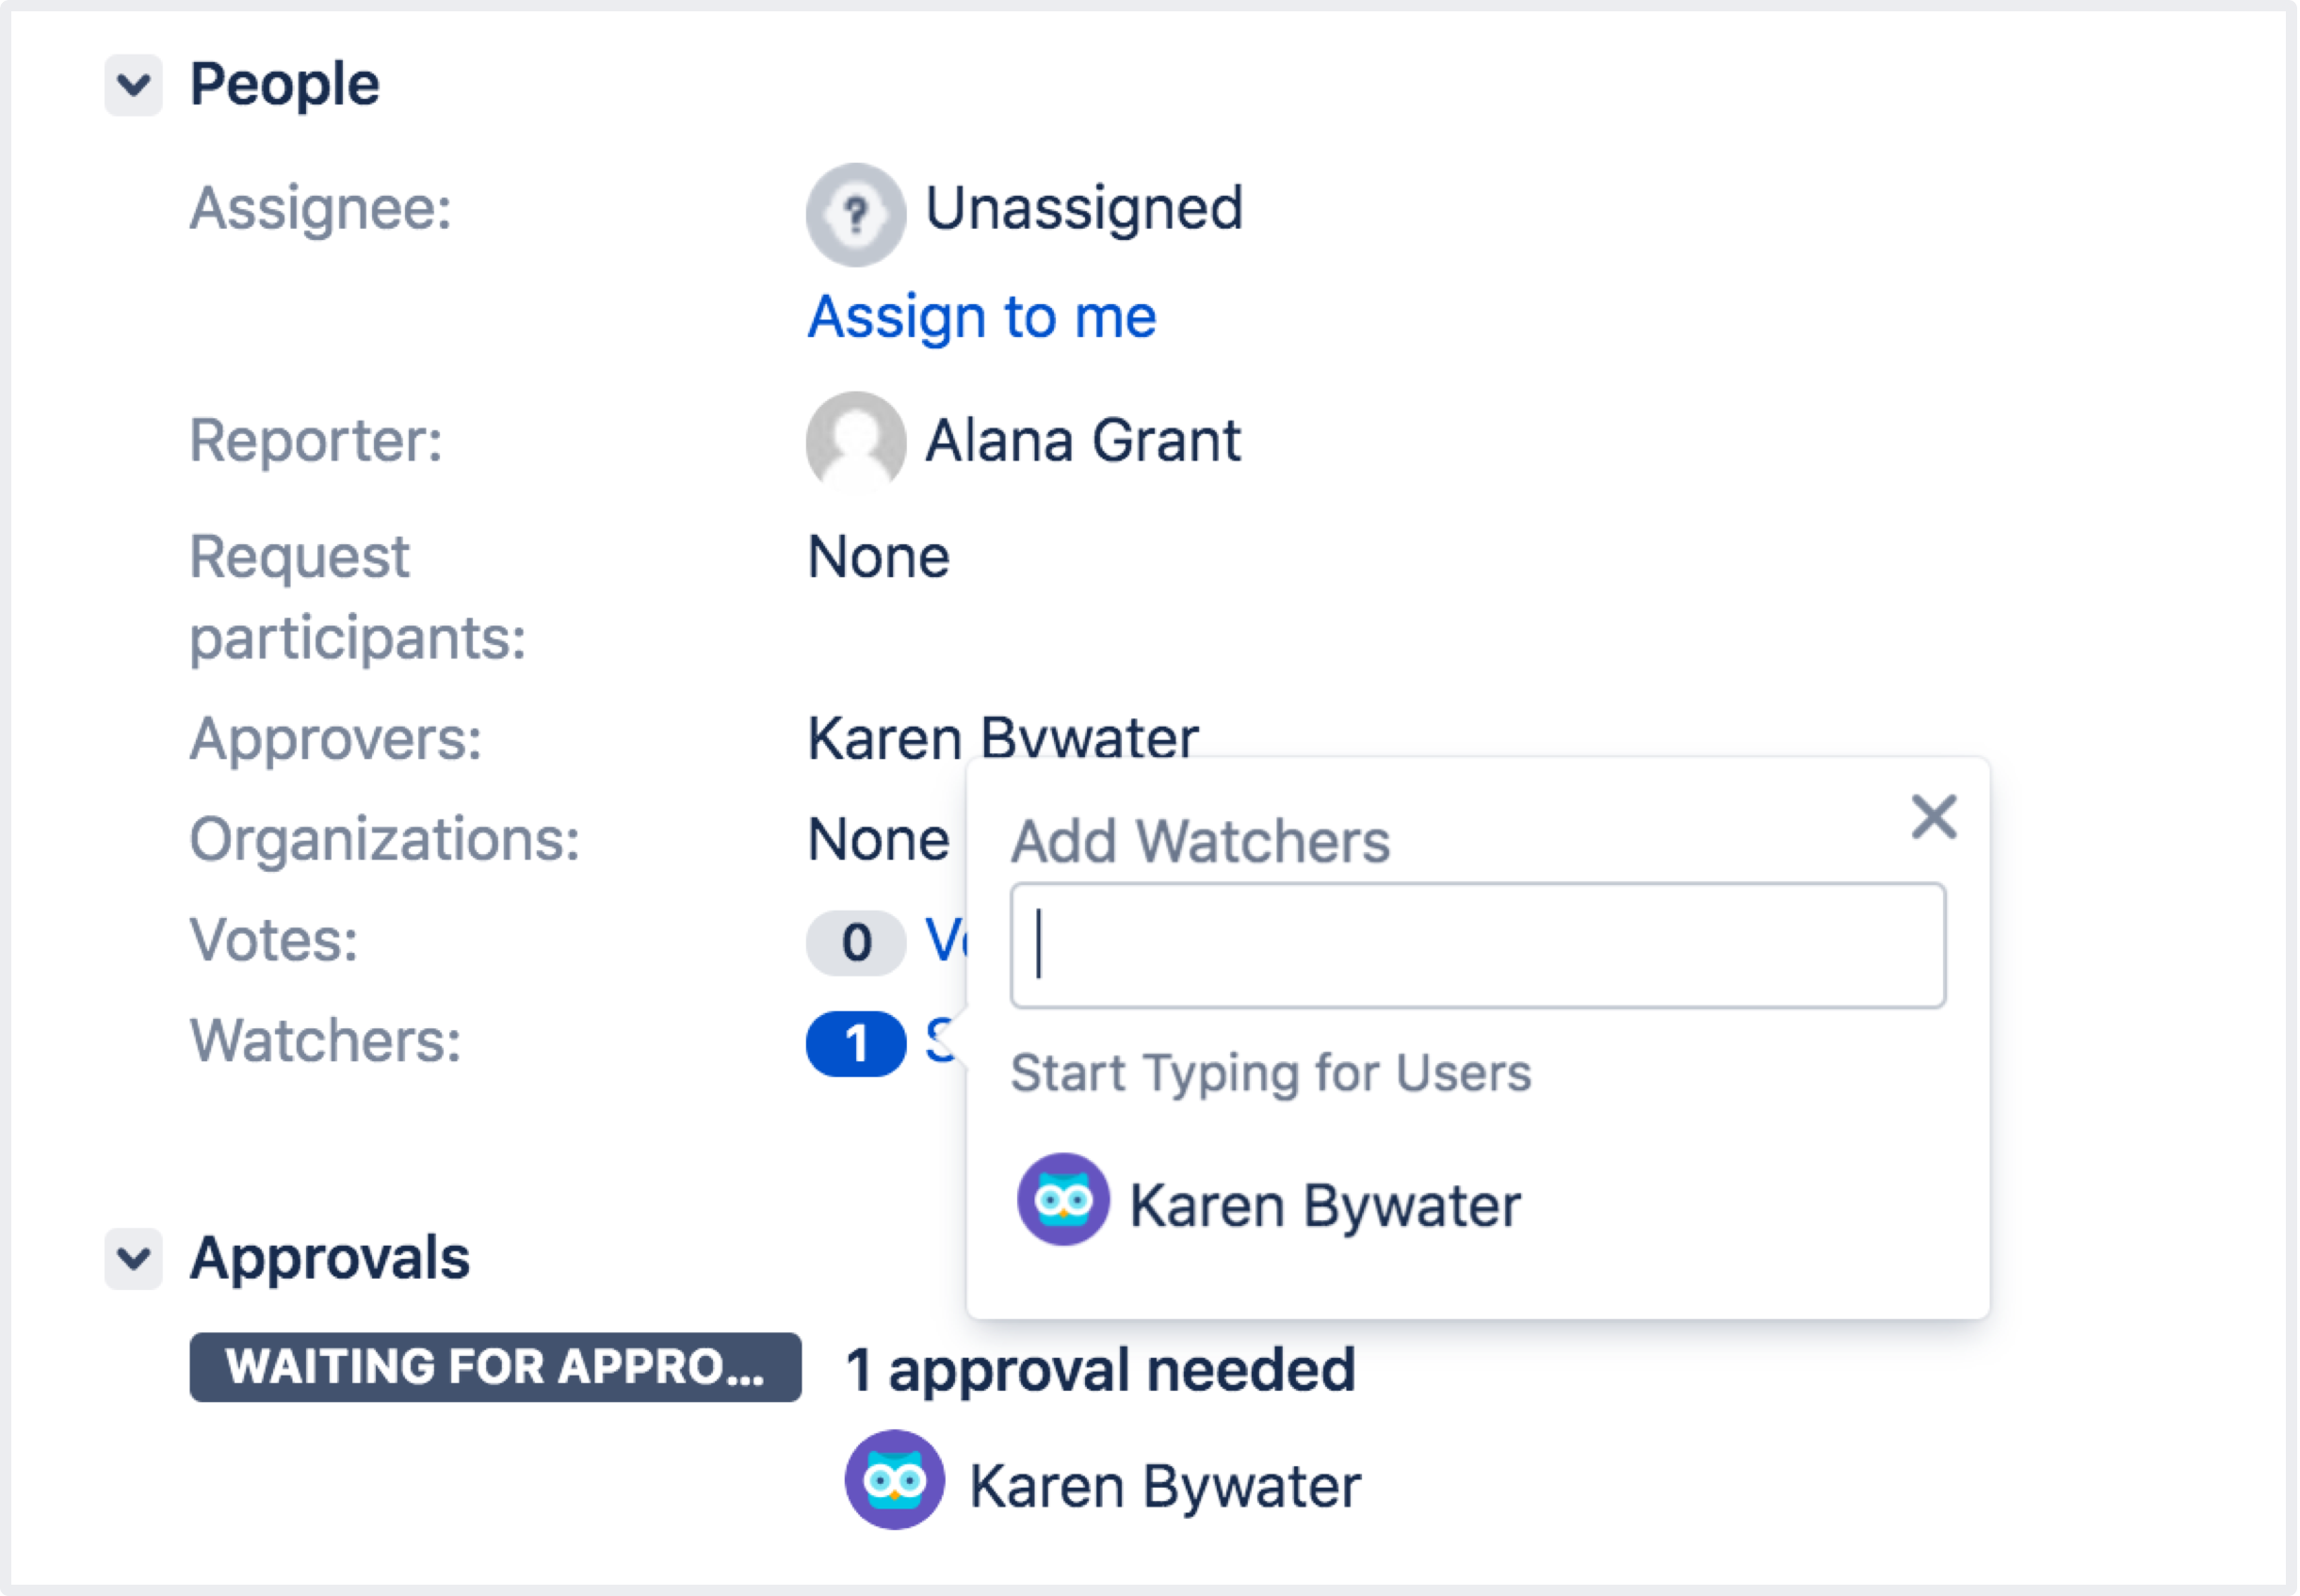
- Select the Watchers field to the right side, under People.
- Select the number count, then enter the name or email address in the Add watchers field.
Watchers are notified about internal activity on an issue, and can communicate with you via internal comments.


