Validating the test migration
These steps are for migrating projects between different instances of Jira Server and Data Center and require a 3rd party app Project Configurator for Jira. If you're migrating from Server to Cloud, see Jira Server to Cloud migration resources.
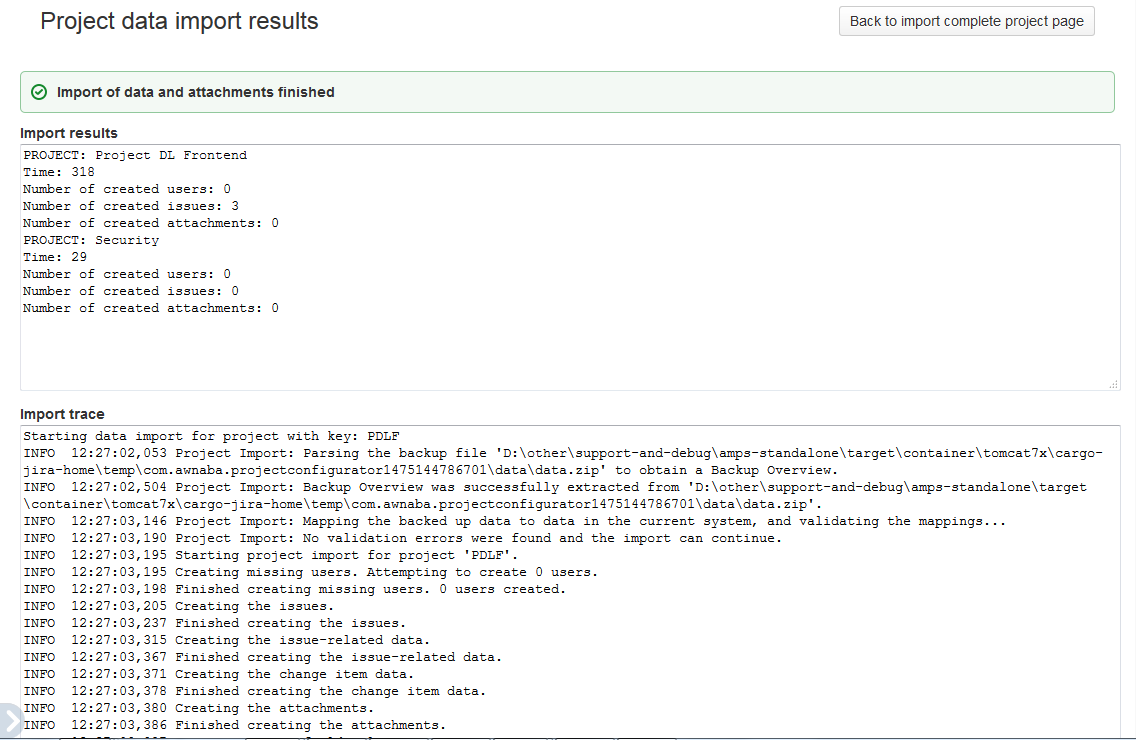
When the test migration is complete, you'll need to review the results and traces before you proceed to migrate your projects to the target instance. You should also check what changes, if any, are needed, and apply them to your source instance.
Import results and import trace
When reviewing the import trace, keep in mind that:
- Data import is carried out in a sequence for each of the migrated projects.
- Warnings – they do not stop the import but might cause some pieces of information to be skipped (e.g. values from some custom fields).
- Errors – these will stop the data import for a project. If you're migrating several projects and some of them fail, retry the import. Project Configurator for Jira will detect the already migrated projects and omit them. If you want to retry the import for a project that already has some data (any issue, version, or component), delete this project at the target instance, and only then retry the import. Otherwise, this project might be detected as the already migrated one.
Configuration changes
To review configuration changes, select Click here to see configuration import trace. It will show configuration changes that were applied to your test instance before the import.
Validate results of test import
After finishing the test import, examine the test instance and validate the migration results. Some suggested checks:
After completing the test import, examine the test instance, and validate the migration results. We recommend to check the following items:
- The projects were migrated, and can be viewed in Jira.
- The projects have the same number of versions and components as in the source instance.
- Role members are the same. If the number of projects is too big to check that, verify a sample of roles and projects.
- The number of issues and attachments is the same.
- Review a sample of migrated issues, focusing on the following items:
- General issue data (including custom field values)
- Sequence of comments
- Change history
- Worklogs
- Attachments (number, name, and content)
User acceptance tests
Finally, select a group of users, so they can work on and test the migrated projects. They should be using the same account they had in the source instance. Check the following items:
- Can you view, and edit issues?
- Can you launch transitions?
- Do you have access to reports, filters, dashboards, or Agile boards?
- Can you access the same information you were using in the source instance?
Record any changes required for a successful migration
During the test migration, you might need to make some changes to the source and target instances, or even files created during the export process, so that the final migration completes successfully. It's also possible that the reviews and tests described on this page detect some other issues, which require changes in both instances. It's important that you record all these changes and fixes so that you can repeat them before the final migration.


