How to use Automation for Jira sample rules in your project
The best way to start using Automation for Jira Server is to dive right in. For this reason, we’ve introduced sample rules into your projects so you won’t have to start from scratch.

Automate a sample project
Click on ‘automate sample project’ and we’ll create a new project with a few rules ready to go. Now you can play around with Automation without affecting your Jira instance. Depending on the type of project you select, we’ll import different rules that are useful in those environments. For example, in a software project, we’ll start you off with ‘Close story when epic is completed’.
Automate existing project
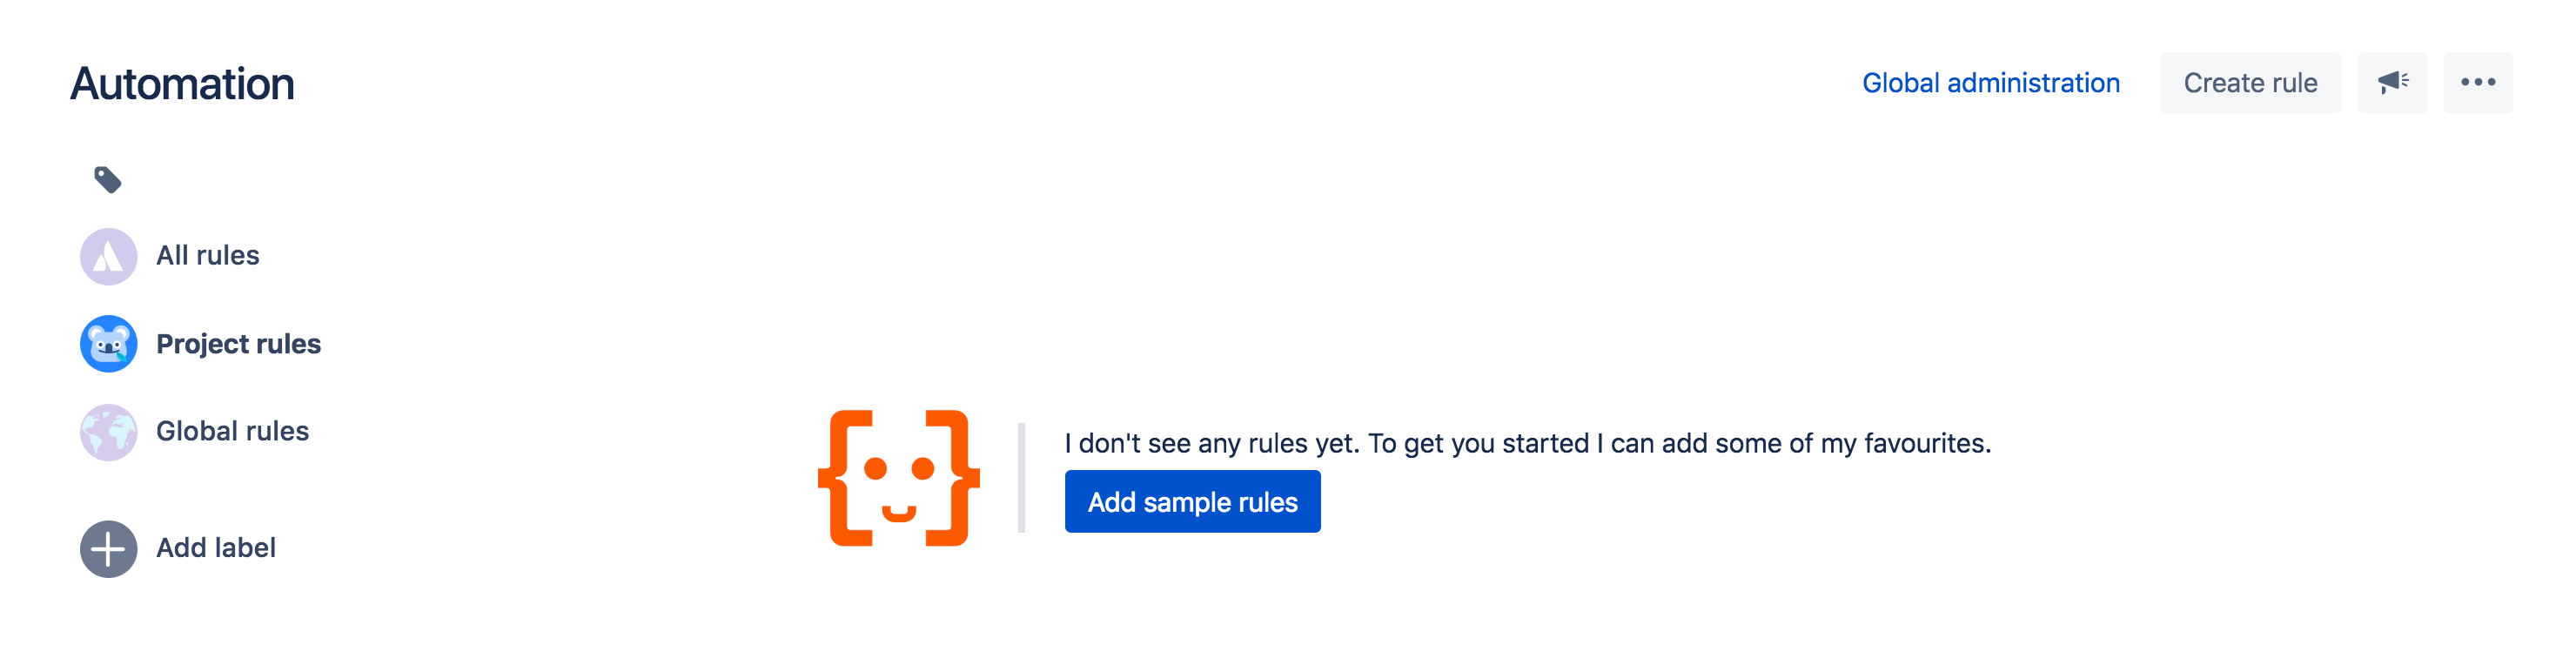
If you want to start automating existing projects, we’ll kick you off by importing sample rules (but disabled) into your existing projects — provided they don’t already have rules in them. We’ll also add rules automatically for you if your project is empty.
Most importantly, once a project has added the sample rules, it won’t add them again. If you see sample rules in your project and you don’t want them, you can safely delete them and they’ll be banished to the Third Realm, never to return.
Editing your first sample rule
In the video below, I decided that this sample rule will be really handy in my project. However, I needed to make a small edit. Instead of status = ‘done’, I change the to status = ‘In Progress’ and publish the changes.
 Now if I enable this rule, it will start to fire automatically. It is a great way to learn Automation for Jira if you are a beginner, but even for those who know the product well — it’s a quick way to learn best practices.
If you’ve been wanting to try Automation for Jira, now’s a great time to get automating within minutes. Give it a spin here and let us know what you think!