Running the Setup Wizard
When you launch Bamboo for the first time, the Bamboo Setup Wizard will display. The Wizard will lead you through the Bamboo settings that you need to configure before you can start using it.
Before you begin
If you are currently using Atlassian's Crowd with Bamboo and wish to import existing data into Bamboo (see Step 5. Starting Data below), you will need to disable Crowd before starting the Setup Wizard. To do this, select Administration > Security > User directories.
You can then re-enable Crowd and restart Bamboo at the completion of the Setup Wizard.
Step 1. License Details and Setup Method
You must have a valid Bamboo license (evaluation or commercial) to use Bamboo. You can generate your own Bamboo evaluation license from your MyAtlassian self-service account here.
Once you have entered a valid license key, you can choose which setup method you prefer for your Bamboo installation:
- Express installation — use this method if you are evaluating or demonstrating Bamboo.
- The Express installation method requires only a minimum of configuration information. It sets up Bamboo with default settings and an embedded database (H2).
- If you choose the Express installation method you can skip to Step 6. Set Up Administrator User below.
On this page:
Custom installation — use this method if you are setting up a production instance of Bamboo.
- The Custom installation method takes longer, but allows you to configure Bamboo with an external database, customize the default settings, and/or initialize the server with your own data.
- If you choose the Custom installation method, proceed to Step 2. General Configuration below.

Step 2. General Configuration
This step applies to the custom installation method only.
On this page you specify a number of Bamboo server settings, such as the address of the server, where data is stored and the message broker used to communicate with remote agents.
![]() You may find it simplest to keep the default settings for the three directory settings in the table. For more information please see Locating important directories and files.
You may find it simplest to keep the default settings for the three directory settings in the table. For more information please see Locating important directories and files.
| Setting | Details |
|---|---|
| Name | See Specifying Bamboo's Title |
| Base URL | See Specifying Bamboo's URL |
| Configuration Directory | The location for Bamboo configuration files. |
| Build Data Directory | The location for Bamboo project data files. |
| Build Working Directory | The location of project files checked out from source control. |
| Broker URL | Only visible if you are permitted remote agents under your Bamboo license. The URL of the embedded messaging broker that Bamboo sets up to communicate with its remote build agents. This URL will be written to
|
| Broker client URL | The URL used by agents to connect to the broker. This URL will be written to bamboo.cfg.xml as a property. You can update this file if you want to change your Broker URL. The default includes an actual IP of the Bamboo server. Specify if the default IP is not reachable from the agents. |

Step 3. Choose a Database Configuration
This step applies to the custom installation method only.
Picking a database configuration is an important choice. If you pick the Embedded database configuration, you do not have to set up a database. However, the embedded H2 database is only suitable for evaluation purposes. You will need to move to an external database if you decide to deploy Bamboo in production at a later stage (as described in Move data to a different database).
Choose one of the following:
- Embedded — Choose this for quick and easy first-time installation of Bamboo. This option is suitable for evaluation purposes only. Skip to Step 5. Starting Data.
- External — Choose this if you wish to use an external database. Proceed to Step 4. Database Configuration below.

Step 4. Database Configuration
This step applies to the custom installation method only.
If you selected External database in Step 3, you will need to provide the configuration details for your database. Please see Connect Bamboo to an external database for further instructions.

Step 5. Starting Data
This step applies to the custom installation method only.
On this page you specify how Bamboo will populate the home directory that you set up when you installed Bamboo.
Choose one of the following:
- Create a new Bamboo home — choose this if you are performing a normal installation or upgrade.
- Import existing data — only choose this under exceptional circumstances, e.g. if you are connecting Bamboo to a different database, or moving your pre-existing Bamboo installation to a different server. Avoid importing backups from different versions of Bamboo.

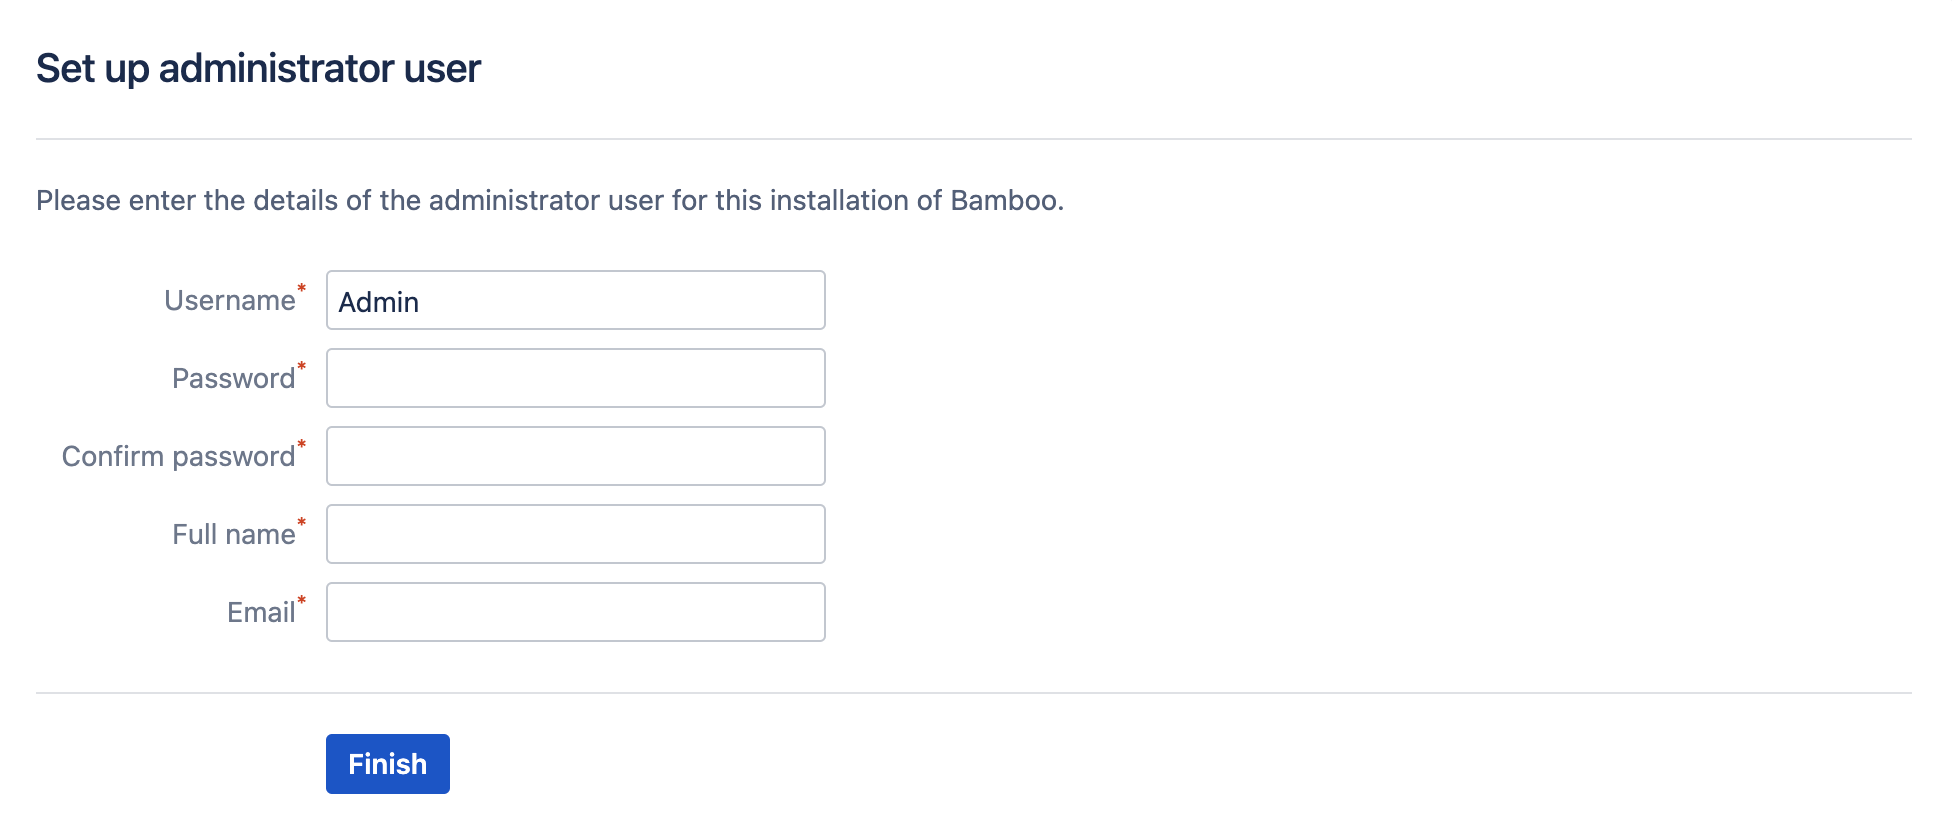
Step 6. Set Up Administrator User
The final step of the Setup Wizard is to enter the details of the first registered user for the Bamboo system. This user will have global administrative privileges over the entire installation of Bamboo and should not be removed.
Once you have entered the details for your administrator user, select Finish. The Bamboo dashboard will be displayed.
Congratulations, you have successfully set up Bamboo!