Attaching files and screenshots to issues
Before you begin
A Jira admin must enable specific user permissions so that you can add attachments and screenshots to issues. The most common permissions are described below. To learn more about this check out Configuring file attachments.
Jira admin set permissions
- You can attach files and screenshots if your Jira admin has enabled file attachments.
- You need the Create attachments permission in the appropriate projects.
- If your Jira admin has disabled thumbnails in Jira's attachment settings, the image files will appear as a list.
- If your Jira admin has disabled ZIP support in Jira's attachment settings, the attachments feature will not be available. You must download the file to your computer before accessing its individual files.
- To remove attachments from an issue, you need one of the following project permissions in that issue's project:
- Delete own attachments—to delete files that you have added to the issue.
- Delete all attachments—to delete files that anyone has added to the issue.
Add attachments
You can add files and images to any issue in your service desk project. When working on an issue, simply drag and drop a file onto the issue, or select More > Attach files. You will then have the option to add a comment with more information about the attachment, and then share the file and comment with your customer or with your internal team only.
When adding or editing a comment, you can also select ![]() to add attachments. In this case, you'll see wiki markup added to the comment field. As soon as you share your comment, you'll see the file preview.
to add attachments. In this case, you'll see wiki markup added to the comment field. As soon as you share your comment, you'll see the file preview.
You can add file and image attachments to any issue. To add an attachment when you first create an issue, copy a file from your computer and paste it directly in the Create Issue dialog.
To add attachments to an existing issue, open the issue and follow these steps:
- Click More > Attach files.
- Add a file(s).
- Click Attach or Open.
You can also drag and drop files onto an issue to attach them.
Some considerations for attached files:
- File formats: GIFs, JPGs, PNGs
- File names can't contain any of these characters: '\', '/','\"', '%', ':', '$', '?', '*'.
- By default, the maximum size of any one file is 10MB, although this limit can be customized by your Jira admin.
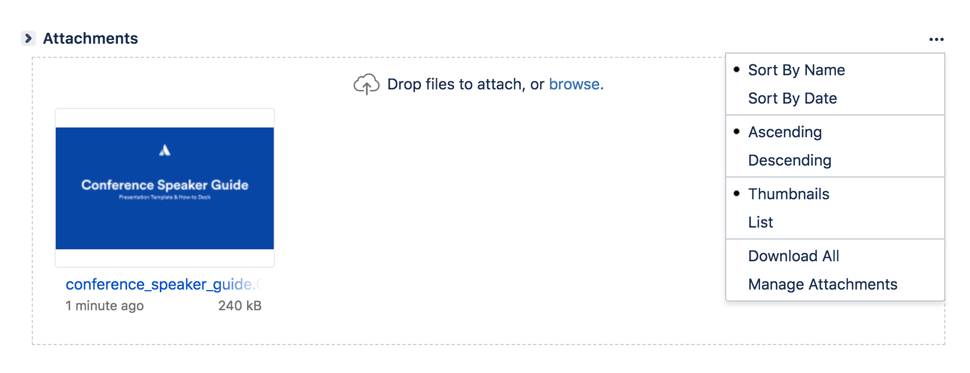
Sort and manage attachments
The attachments section of the issue displays a list of options to sort, manage, and download attachments.
- Select the three dots to the right of the attachments section to open the menu.
- Reorder the attachments according to a selected criteria. This criteria will be applied to all issues in your project, and will be lost once you log out.
- To remove attachments from the issue, select Manage attachments or hover over the attachment and select the bin icon.
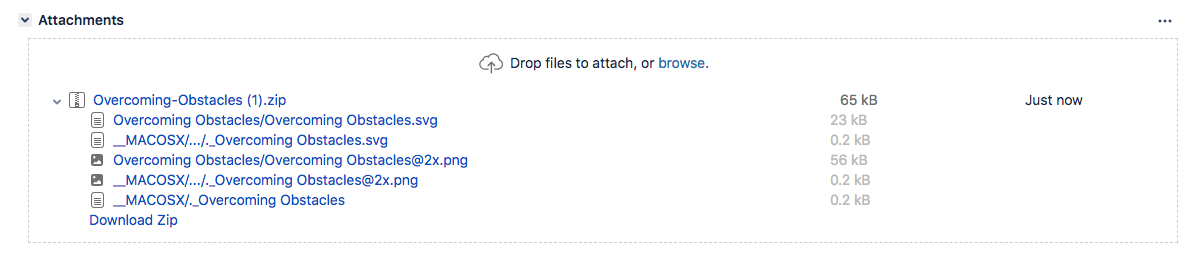
Access ZIP file contents
You can view the contents of a ZIP file (including '.zip' or '.jar' file name extensions) in the attachments section.
- Click the three dots and select List.
- In list view, click the arrow icon in front of the zipped file's name to view and download its individual files.
- To download the entire zip file, click Download Zip.
Capture and attach screenshots
You can capture a screenshot to the system clipboard and paste it directly onto an issue.
- Capture a screenshot using your system keyboard shortcut.
- Paste the image from your clipboard onto the issue using your system keyboard shortcut or right-click menu. The Attach screenshot dialog will display.
- Enter a unique filename for each file.
- Select Upload.