Customize your service project channels
Service project customers can send you requests in two ways:
- through an online portal
- to an email account you've linked to your service project.
Let's customize the portal and add an email account, so customers can get in touch.
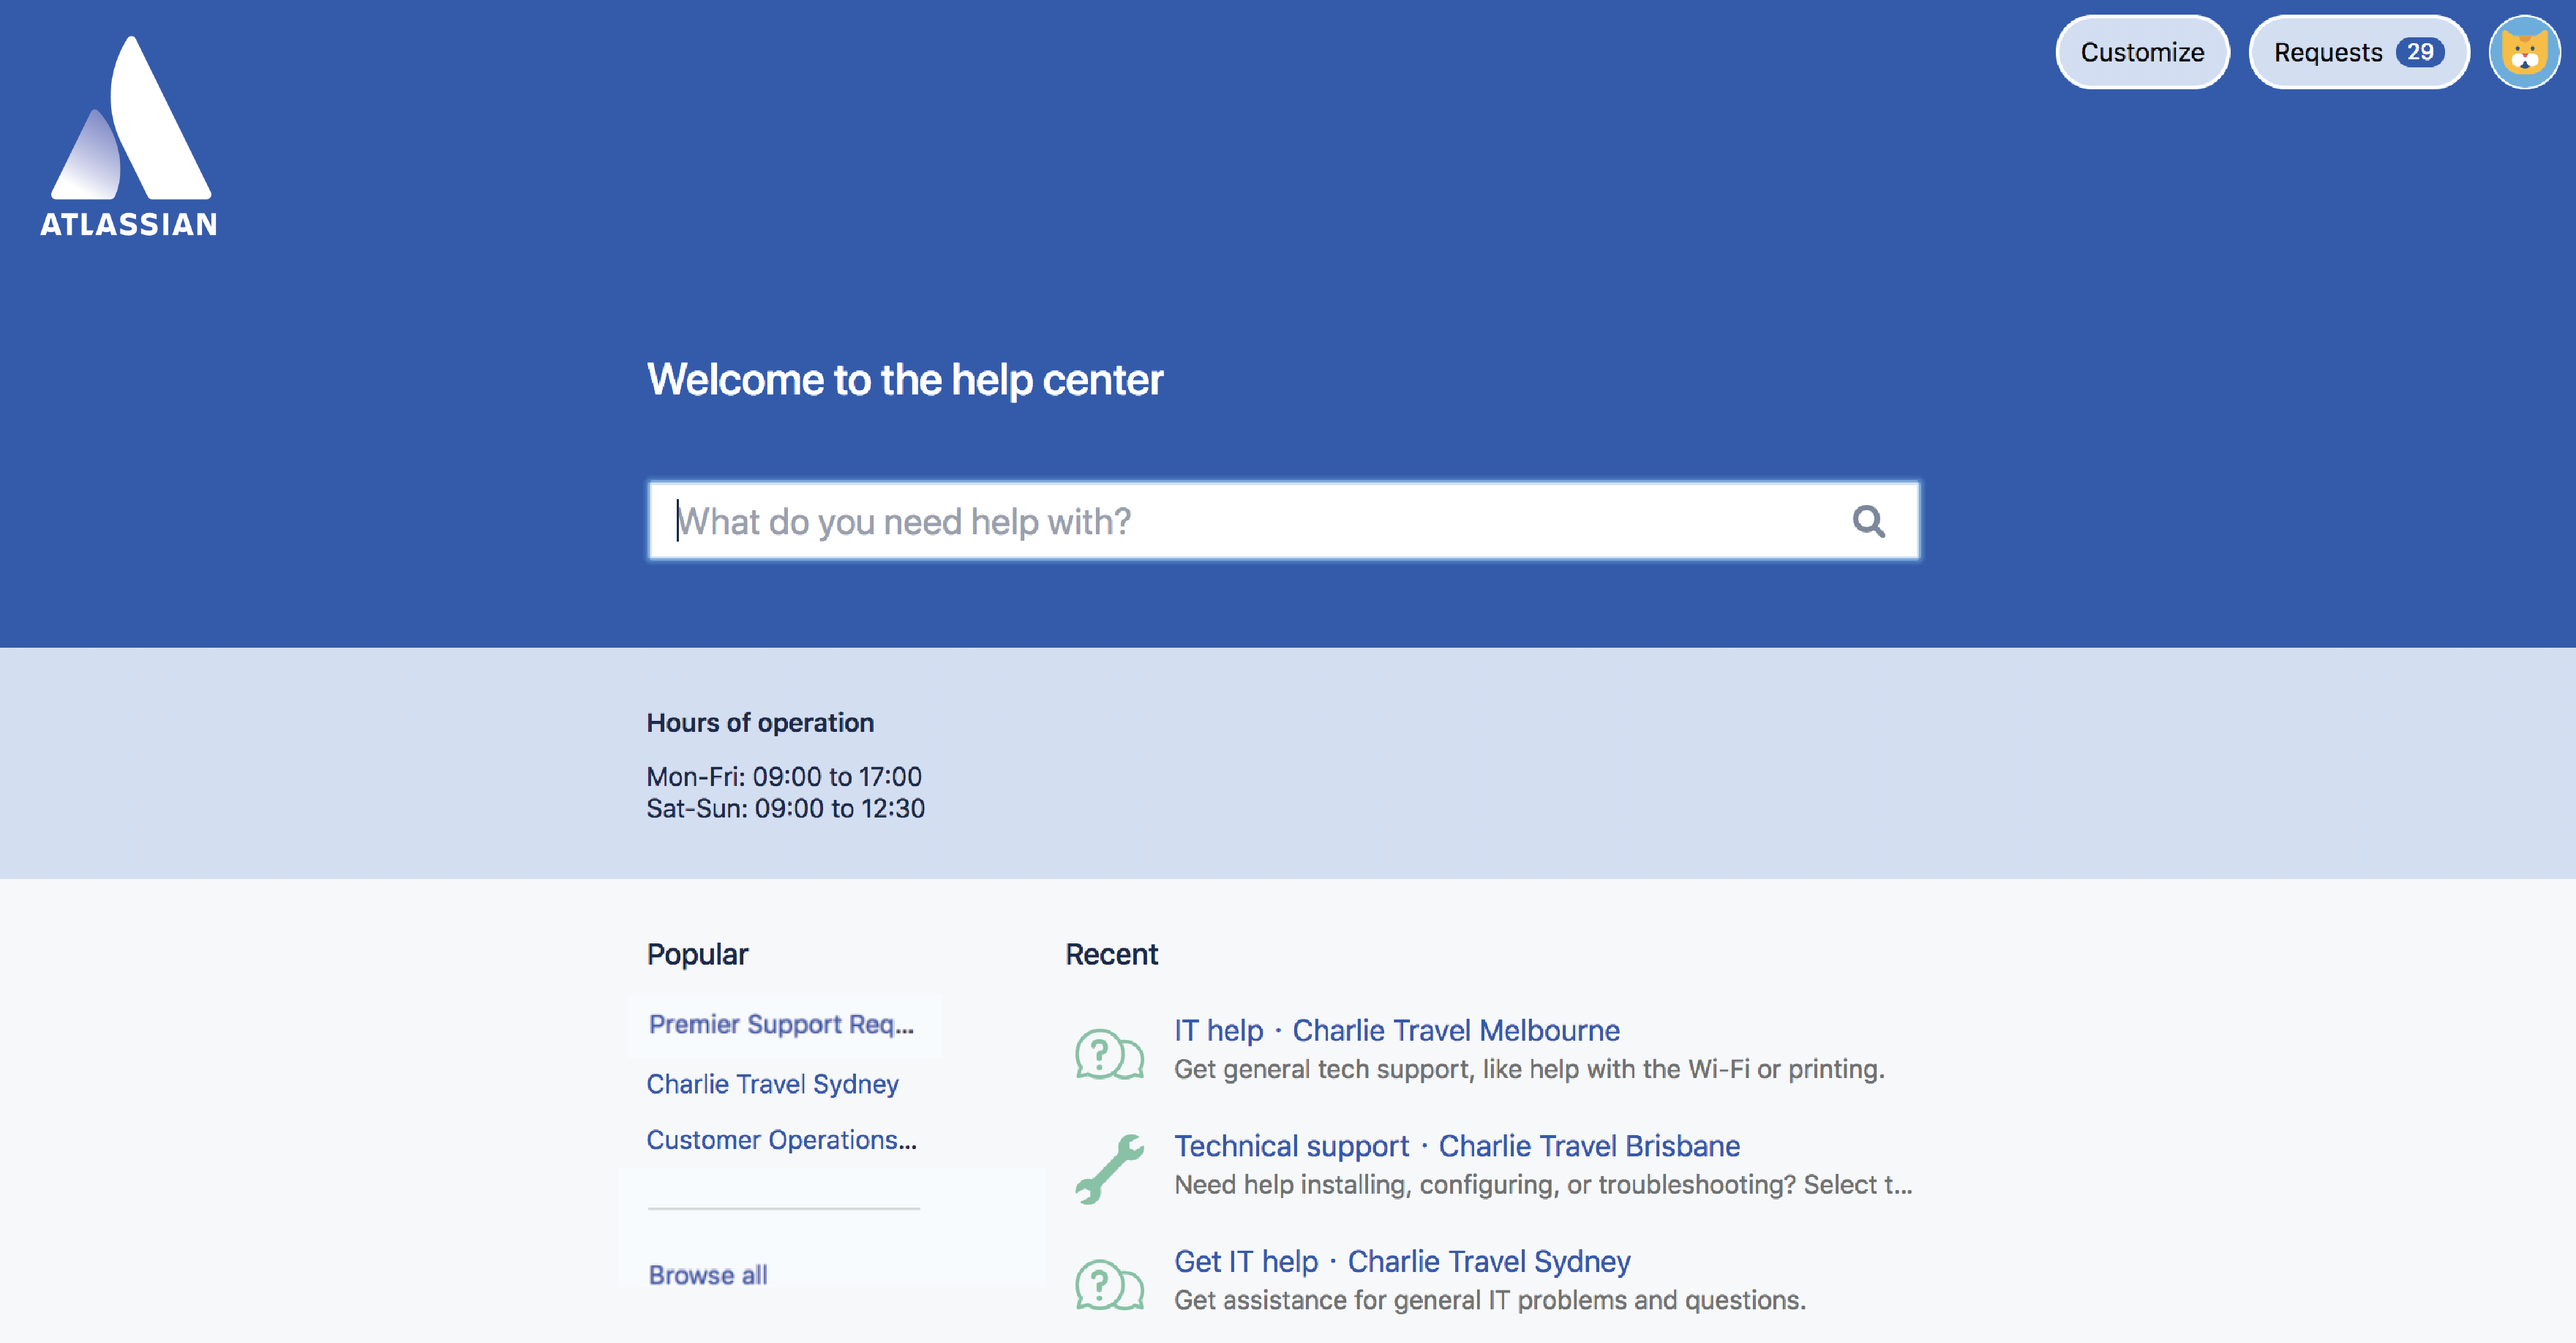
Customize the help center
Your service project comes with an online help center for your customers. From the help center, customers can browse all the service projects they have access to.
It will look something like this:
Jira admins, project admins, and agents with permission can brand the help center in a number of ways. Here's how:
- Go to Jira administration > Applications > Jira Service Management > Configuration.
- Below Help center, click the link View and customize.
- In the customize panel on the right hand side, do any the following:
- Add a help center announcement
- Add an announcement to the login screen
- Give your help center a name
- Add a logo
- Add a banner image or banner background color
- Change the color of some components
- Choose Save changes to publish your announcement.
To learn more about the help center check out Using the help center.
Customize the customer portal
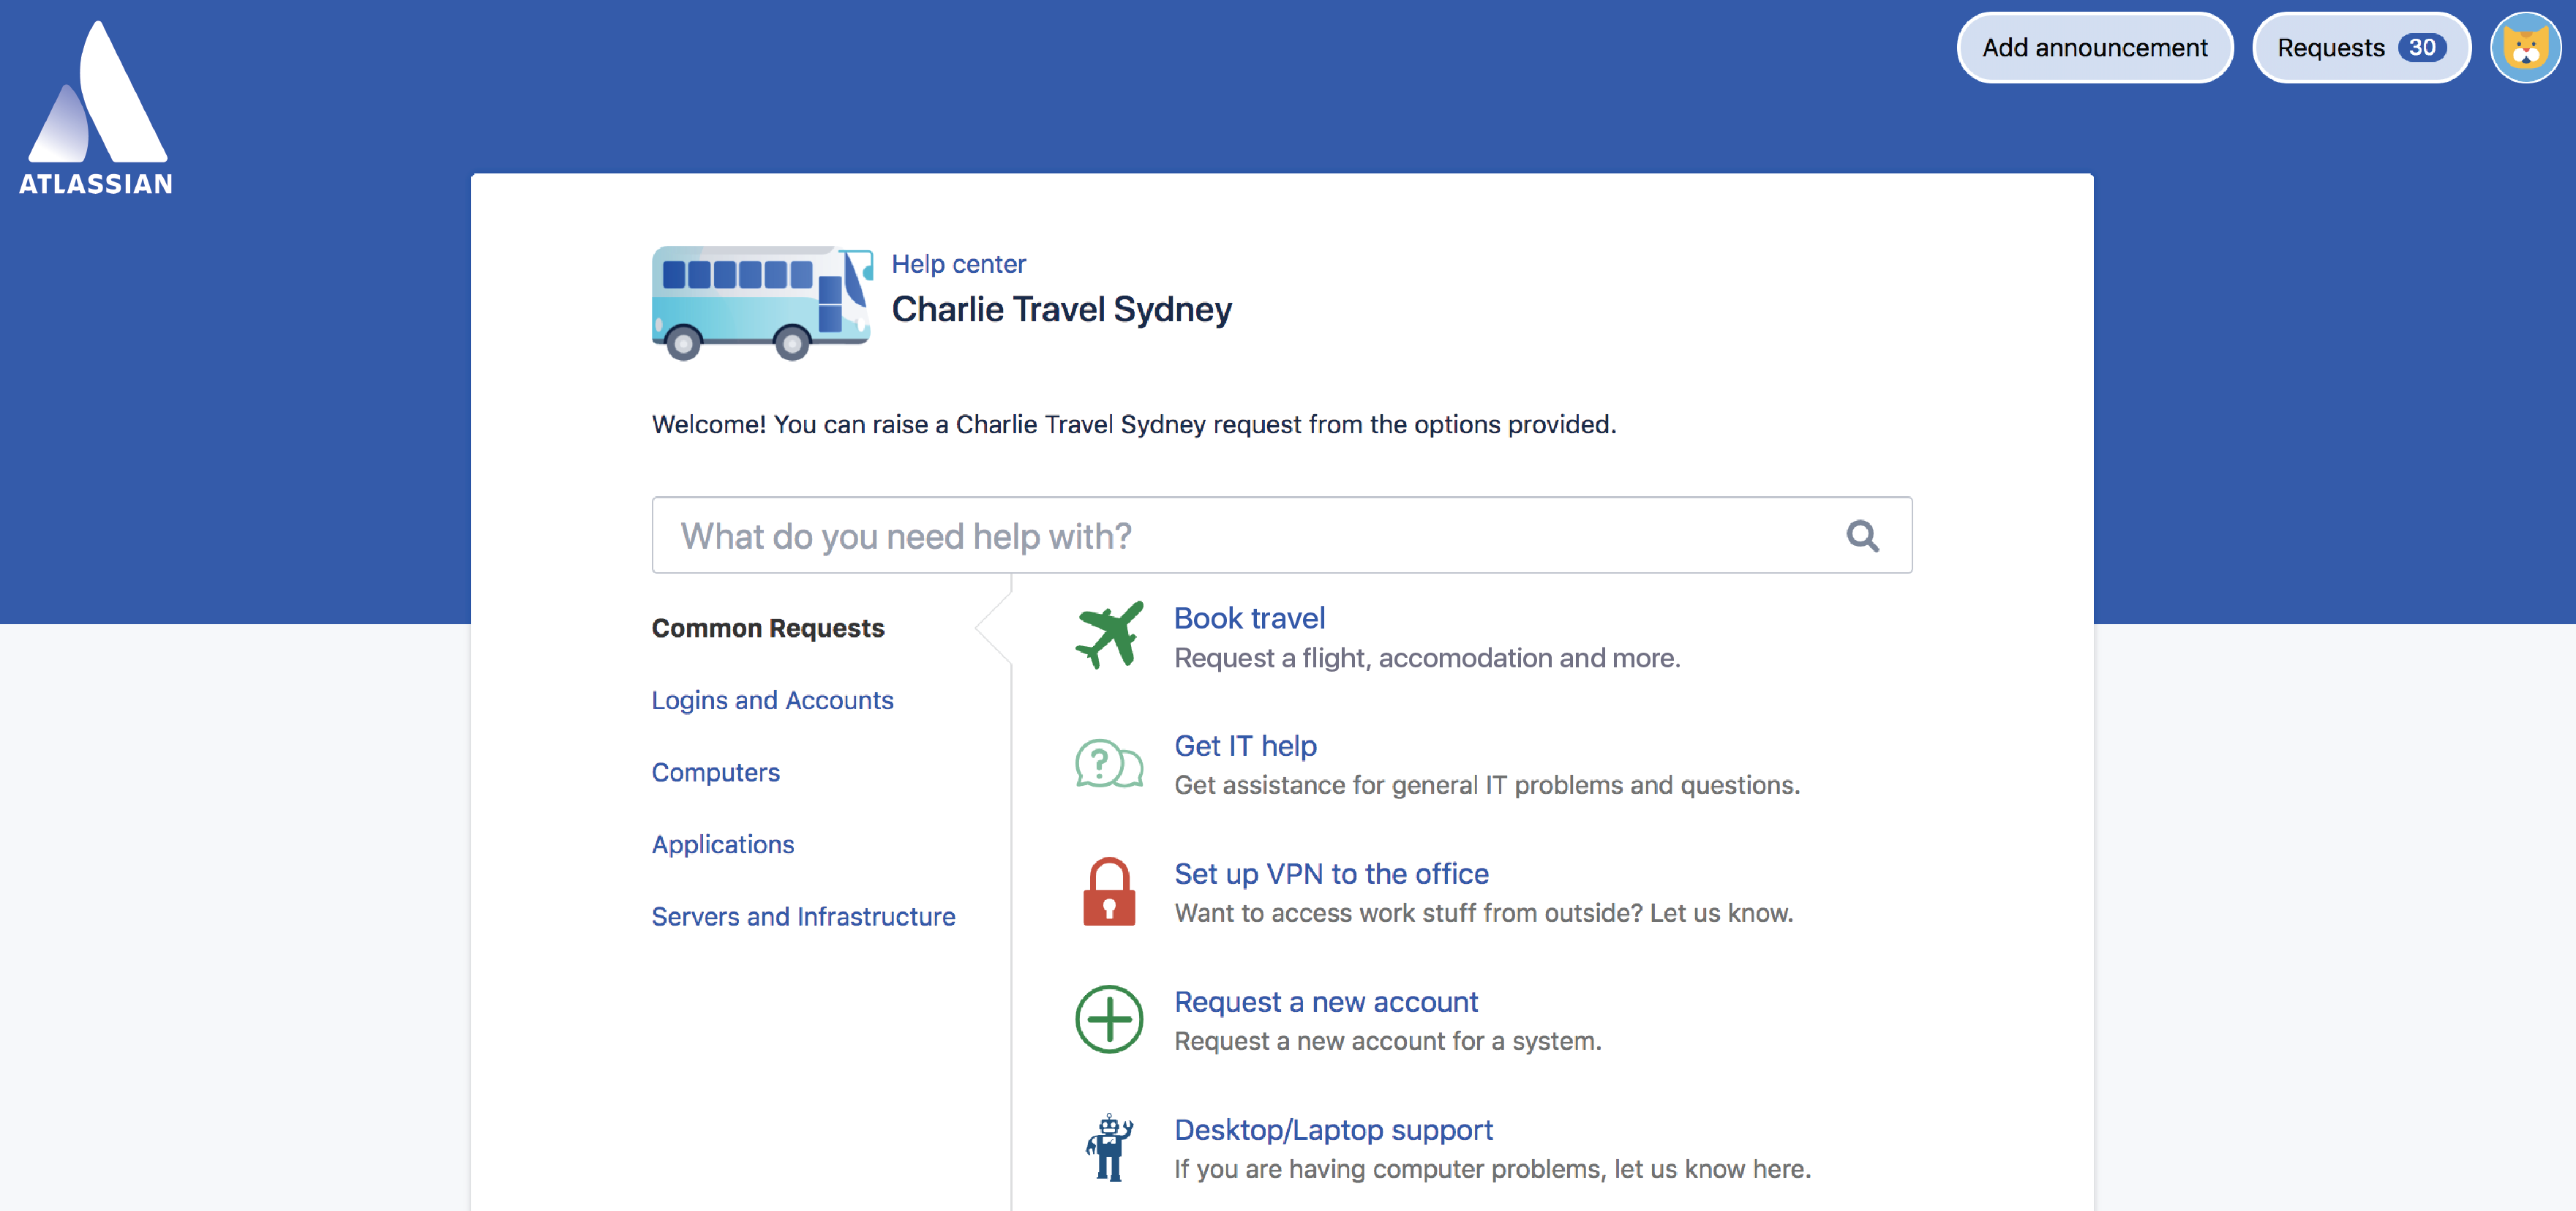
Now that your help center looks inviting, you can customize the customer portal for each of your service desks. Add a name and logo to your customer portal so that people know they're sending requests to the right team. The banner, links, and button colors are all inherited from the help center.
It will look something like this:
To customize your customer portal:
- In your service project, go to Project settings > Portal settings.
- Edit your customer portal name and intro text by typing in the fields.
- Save any edits by clicking the tick icon in the field you're editing.
- Add a customer portal logo by selecting Use a custom logo.
- Select Save logo, once you've uploaded your image.
To learn more about the customer portal check out Configuring the customer portal.
Link an email account
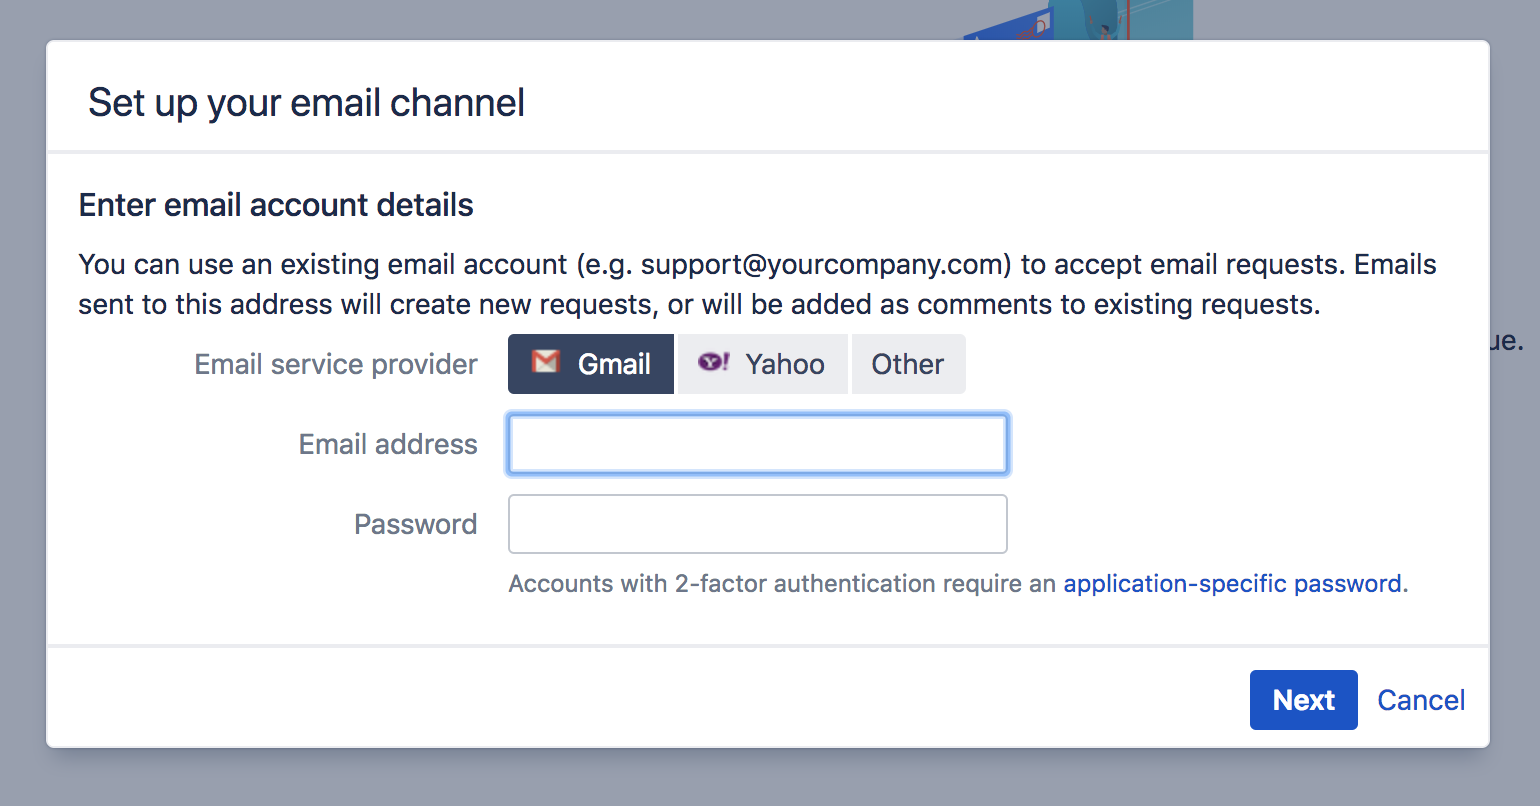
Customers can also create requests and communicate with your team by email. If you haven't already, create an email address that you'd like your team to be contacted on.
To link an email to your service desk project:
- Go to Project settings > Email requests.
- Select Add email address and fill in the details. If you use 2-step-verification for Gmail, generate an application-specific password when adding your email account details.
- Once you've linked an email to your service project, we'll send a test email to your inbox and create a test request in your service project.
To learn more linking an email to your service project, check out Receiving requests by email.
If you use POP, make sure the email account you choose for this channel has an empty inbox so you do not lose any existing emails.
Tell customers about your service project
Now that your service project is ready to receive requests, share the project's email address (for example, helpdesk@example.com) with your customers or give them a direct link to the customer portal.
You can give either, or both, of the following URLs to your customers, depending on your setup:
- URL to a customer portal – give this URL to your customers if you've enabled public signup and want them to sign up for accounts on their own.
- URL to the help center – here they will see all the service projects they have access to. The URL is:
http://<computer_name_or_IP_address>:<HTTP_port_number>/Jira/servicedesk/customer/portals
Here are other ways that some customers promote their service project:
- post a link on the intranet or other communication channels
- email their customers to tell them there's a new way to get help
- put posters up in communal areas around the office.
You've now finished setting up your service project! Continue to learn more advanced tips on tracking your team's progress and supporting your customers.


