Configure cloud connectors
This guide explains how to connect your Atlassian cloud organization to your Data Center instance via cloud connectors. Configuring cloud connectors is a prerequisite step to using Rovo or Portfolio Insights connectors in your Data Center instance.
These steps are applicable to Jira 11.3 and later and Confluence 10.2 and later. If you’re using earlier versions, check other connection options via application links or in-product integrations.
Before you begin
Before you can connect your Data Center to cloud, make sure you’ve completed these requirements.
Common requirements
To set up cloud connector, you'll need:
- Atlassian cloud organization. If you don’t have one yet, you can create it for free.
- Organization admin permissions in Atlassian Cloud.
- System admin permissions in your Data Center instances. You can have different admins between Cloud and Data Center. When connecting to Data Center, they’ll be able to share the connection details between them.
- Configure the allowlist:
- Add the
https://api.atlassian.comdomain to the allowlist of your Data Center instance. Details on Configuring the allowlist in Jira and Configuring allowlist in Confluence
- Add the
- Configure your firewall:
- Create a new rule to allow TCP connection to
api.atlassian.comon port 443.
- Create a new rule to allow TCP connection to
Step 1: Install or upgrade Portfolio Insights app (Portfolio insights only)
This step is applicable if you’re planning to connect Portfolio insights.
Install or upgrade the Portfolio Insights App to a version compatible with your Data Center product version.
Alternatively you can just install Cloud Companion or check other connection options via application links or in-product integrations. This may limit some functionality on Portfolio Insights (Instance Health and Performance Insights), so install the Portfolio Insights app to get the full experience.
Step 2: Set up an application tunnel (Rovo only)
This step is applicable if you’re planning to connect to Rovo and your Data Center instance is hosted on private networks.
If your Data Center instance is available over the public internet or you’re only planning on connecting Portfolio Insights, skip this step.
If your Data Center instance is hosted on private networks (behind a firewall), cloud connections won’t reach it. To bypass this limitation, do one of the following:
- Create an application tunnel
- Use an existing tunnel:
- Find the HTTP connector you created in your
conf/server.xmlwhen you set up your tunnel. - Update the HTTP connector to include the attribute:
secure="true".
- Find the HTTP connector you created in your
More on required connections and upstream ports
Step 3: Set up organization connector
In this step, you'll create a connector between your cloud organization and Data Center instance. This connector will later be used to connect your Data Center instances to apps (Rovo or Portfolio Insights).
- In your cloud Admin Hub, go to Data Management, then Data sources, and then Connected sources.
- Select Connect data source.

- On the Agree to connect screen, check the data you’re about to share, and then select Next.
- On the Add details of your instance screen, provide the following information:
- Base URL – to find the base URL, log into your Data Center instance and go to Administration, and then General Configuration.
- Instance name – the name of your instance.
- Select Next.
- To complete the connection, on the Complete connection screen, under the Client credentials field, select Copy.
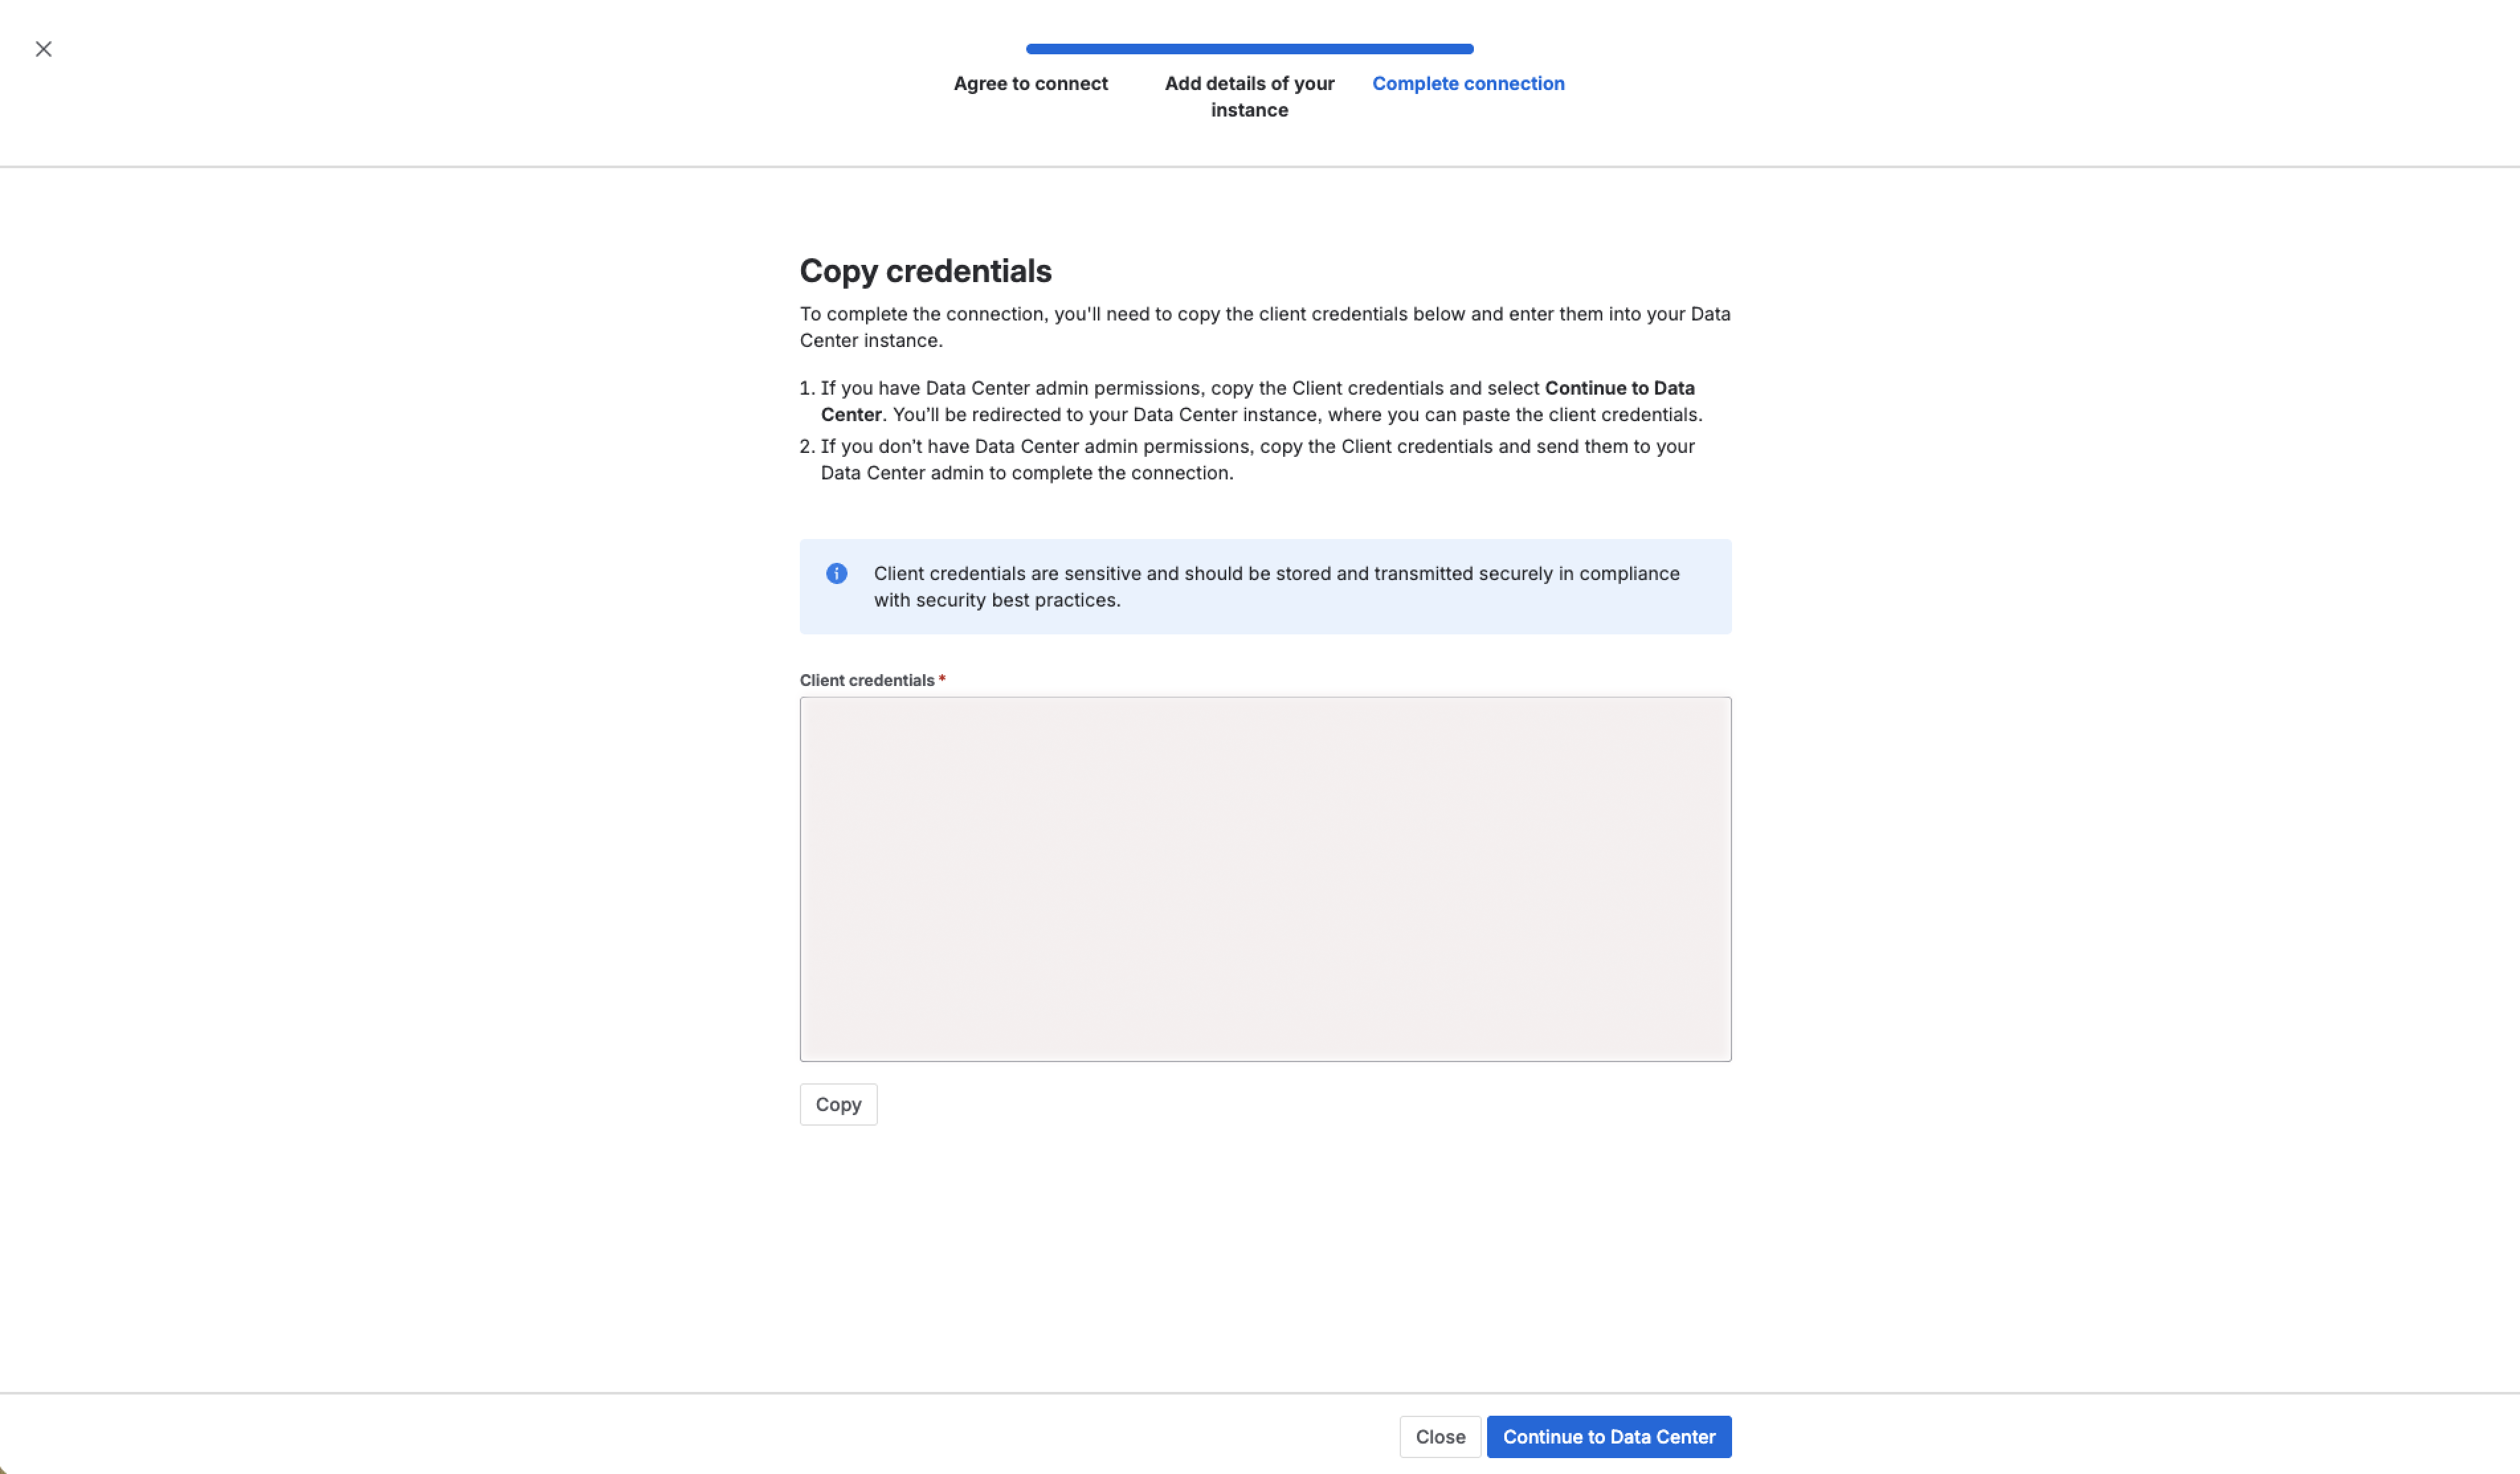
- The next step depends on whether you have the Data Center system admin permissions:
- If you have Data Center admin permissions:
- Select Continue to Data Center. You'll be redirected to the admin settings of your Data Center instance to complete the connection. Otherwise, go to your Data Center instance, go to Administration, find Application links, and then go to Cloud connectors.
- Paste the security key into the Client credentials field, and then select Connect. Your new cloud connector will appear.

- If you don't have Data Center admin permissions, copy the client credentials and send them to your Data Center admin to complete the connection.
- If you have Data Center admin permissions:
Client credentials are sensitive. Store and transmit them securely following the security best practices.
You have now established the connection from cloud to your Data Center instance.
Step 4: Connect apps
To connect apps, on the Cloud connectors page in you Data Center instance, select Connect cloud apps.

You'll be redirected to your cloud instance. Follow the steps based on the app you want to connect:
- Connect Jira Data Center to Rovo
- Connect Confluence Data Center to Rovo
- Connect Portfolio insights to Data Center instances
Connection status
Each status tells you what's happening with your connection and plays an important role in managing and monitoring the connection.
| Status in cloud | Status in Data Center | Description |
|---|---|---|
INITIALIZED | N/A | Connection started but is not yet complete in Data Center. |
CONNECTED | CONNECTED | Connection successfully established. |
DISCONNECTED | DISCONNECTED | Connection has been manually terminated. |
INTERRUPTED | INTERRUPTED | Connection was active but has unexpectedly stopped working. If the cloud to Data Center connection is interrupted, some product connectors might keep working, but they cannot be deleted or updated at that moment. |
Rotate connector credentials
When you rotate credentials, your existing security key will be replaced with a new one. You'll need to update the key in your Data Center instance to continue linking to cloud.
There are several use cases when you can rotate organization connector credentials:
- there’s a chance that existing credentials were exposed and are no longer safe
- organization connector was disabled and you want to re-connect your Data Center instance to cloud.
To rotate credentials:
- In your cloud Admin Hub, go to Data Management, then Data sources, and then Connected sources.
- Select More actions
 , and then Rotate credentials.
- On the Rotate credentials screen, select Next.
- On the Copy credentials screen, under Client credentials, select Copy.
- Select Continue to Data Center. You'll be redirected to the admin settings of your Data Center instance to complete the connection. Otherwise:
- Go to your Data Center instance, go to Administration, find Application links, and then go to Cloud connectors.
- Select More actions
 , and then Apply new credentials.
- Paste the security key into the Client credentials field, and then select Connect.
Disable connector
Once you set up the organization connector, you cannot remove it. You can disable the connector, and then enable again by applying new credentials. You can disable the organization connector only after you delete all connected apps.
To disable the connection:
- In your cloud Admin Hub, go to Data Management, then Data sources, and then Connected sources.
- Delete app connectors associated with the organization connector. You can delete app connectors from cloud or Data Center.
- Select More actions , and then Disable connector.
- Confirm your action by selecting Disable.
