Connect your cloud org to the Atlassian Guard Premium integration for Data Center (beta) app
Connect Atlassian Guard Premium integration for Data Center (beta)
When you’ve connected a Data Center instance to your cloud organization, Guard Detect will receive the past six months of alerts from your Data Center instance.
The detailed steps below will show you how to:
enable the feature flag in your Data Center instance
connect your Data Center instance to your cloud organization and share the right data
test that your Data Center alerts are being displayed in Guard Detect
To connect Guard Premium for Data Center to your cloud organization, make sure you’re logged in as an administrator on both your cloud organization and your Data Center instance before starting these steps.
- In your Data Center instance, enable the feature flag
plugin.lighthouse.guard-detect-integration.enabled(see the Confluence knowledge base page to learn how to enable feature flags in Confluence, and our Jira knowledge base page for Jira). If you’re using Confluence Data Center, also enable the feature flag:
confluence.permissions.override.extensions
It’s now time to head to your cloud organization.Go to Atlassian Administration. Select your organization if you have more than one.
Select Settings.
- In the left panel, select Connected sources to display the Connected sources screen.
If you don’t see a Connected sources option, make sure you’re part of the beta (see the prerequisites for how to register).
Select the Connect data source button in the top right corner of the screen to display the Prepare to connect screen, which contains some introductory information.
Select the Next button to display the Select a Data Center instance screen.
Copy and paste the base URL for your Data Center instance into the Base URL field, making sure you include https:// at the start.
For more information on base URLs, see Configuring the Server Base URL for Confluence, and Configuring the base URL for Jira.- In the Instance name field, type the name of your Data Center instance: this name will be used to identify your Data Center instance.

Select the Next button to display the Copy security key screen.
Make sure you’re logged into your Data Center instance, then select the Copy and proceed button. This button will copy the key and open a dialog from your Data Center instance so you can conveniently paste the key.
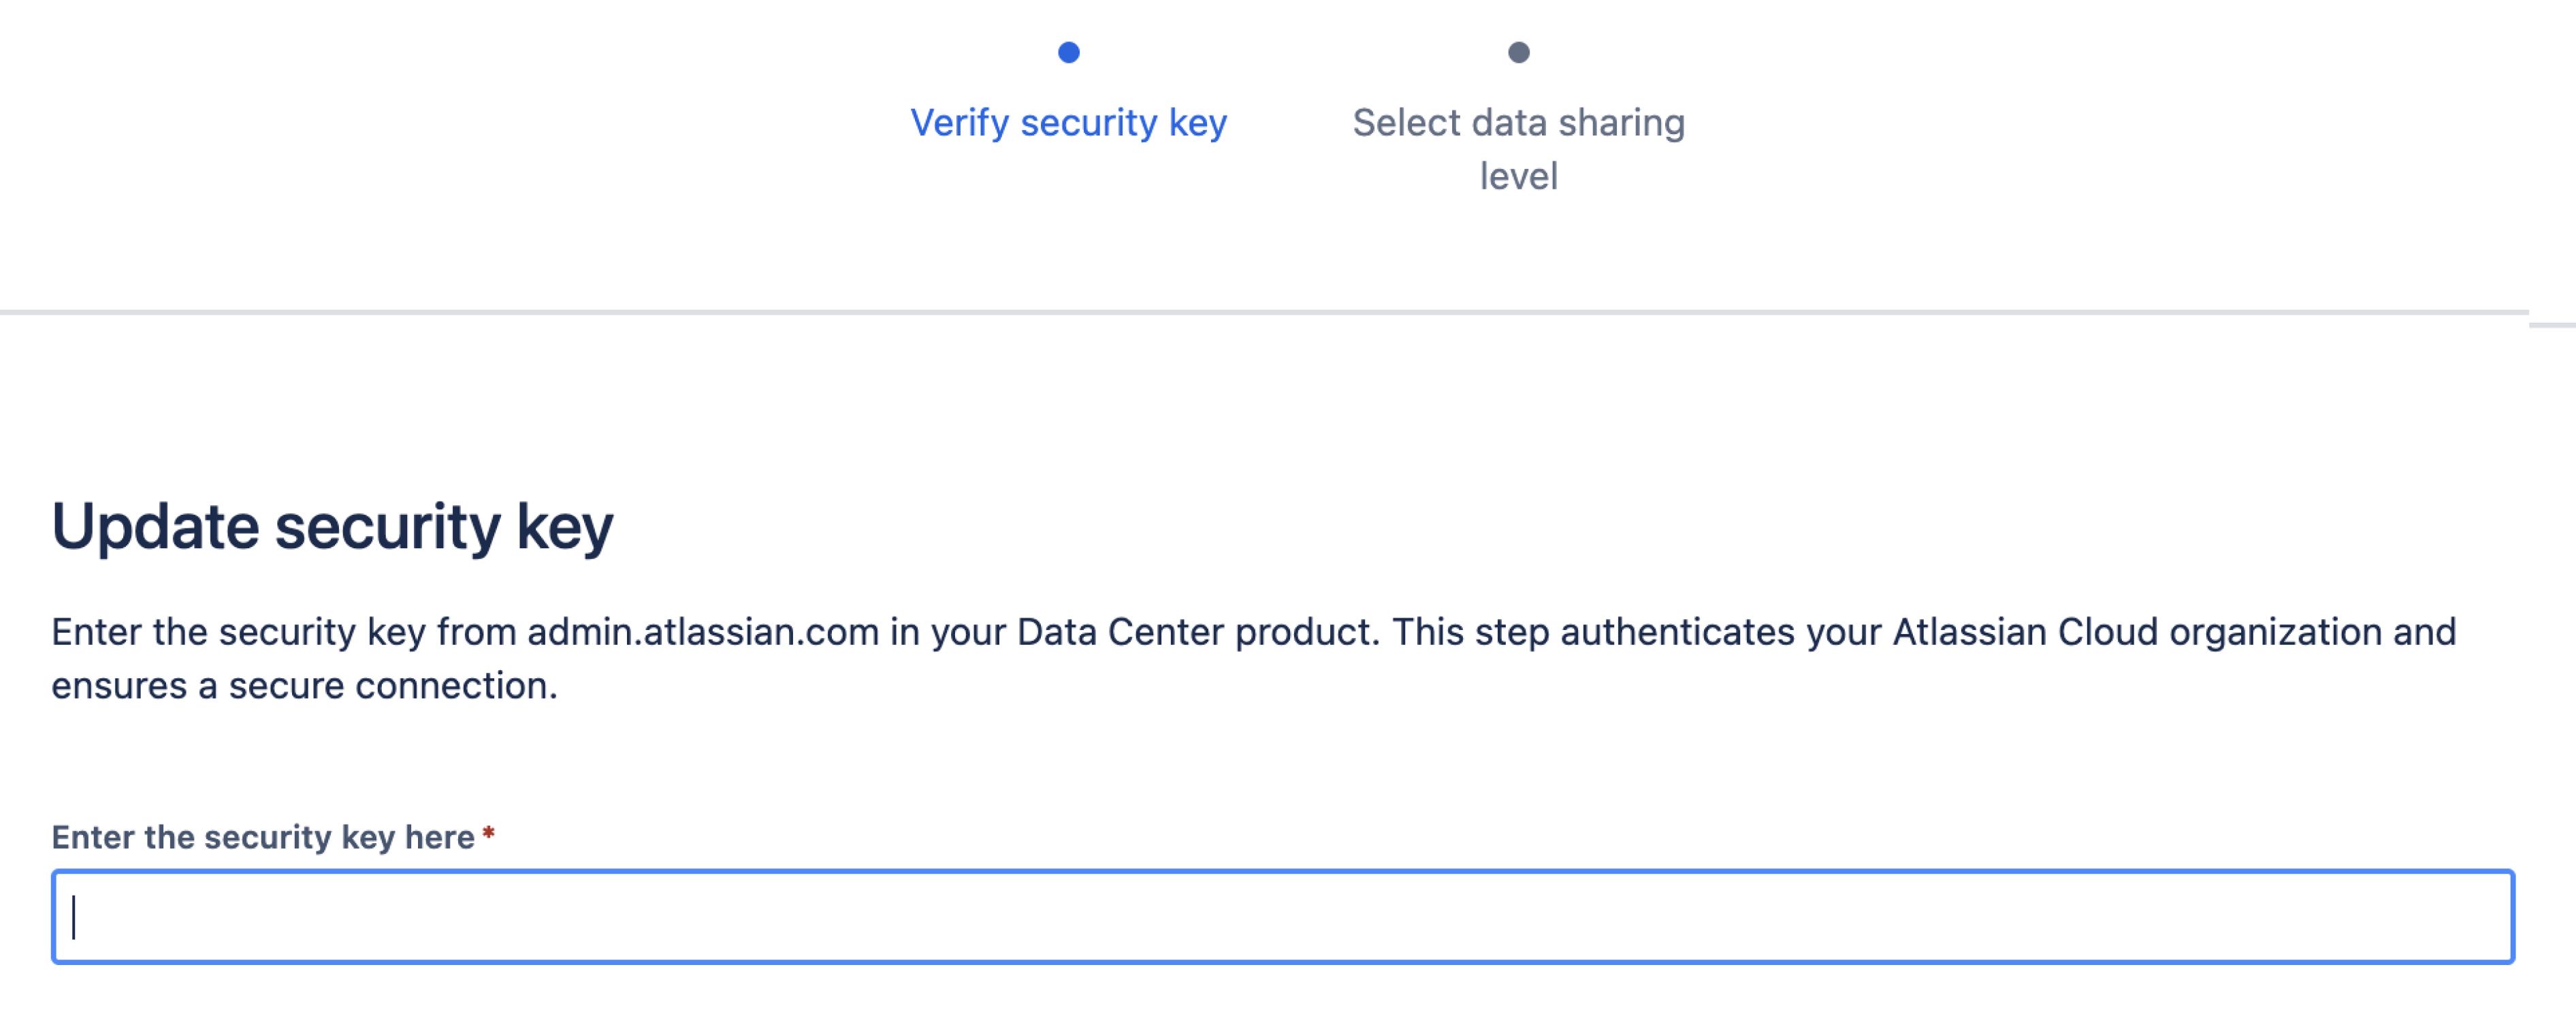
If the Update security key dialog does not appear, check that you’ve covered all the prerequisites listed above, and that you’re logged in, then try again.
Paste your cloud security key into the empty field in the Update security key dialog.
This key is a credential which allows access to parts of your cloud organization, so it should not be shared. You can regenerate the key later if you need a new one.Select the Next button to display the Choose your data sharing level screen.
Select Share instance and user data from the options displayed. This ensures your Data Center data can be shared to your cloud organization.

Select the Finish button.
You will now see your new connection in your list of connected sources.
NOTE: You can change this setting at any time from the More actions (•••) menu, then Change data sharing level.To confirm Data Center alerts are being sent to your cloud organization, go to your Data Center instance admin area and select Security alerts.
Check that the blue banner message appears at the top of the Security monitoring and alerts screen.
It may take a few minutes before an alert appears in Guard Detect. To test everything is working correctly, trigger an alert in your Data Center instance and check again. The alert should appear within 5 minutes.
Next, learn how to:
Or skip back a step: