Starting to use Fisheye
This page will guide you through the basics of using Fisheye. By the end of it you should be able to:
- Create accounts for your collaborators, and organize them into groups.
- Add repositories that need to be indexed and setup permissions.
- Use the Commit Graph to trace the history of your code
This page assumes that:
- You have installed and started the latest version of Fisheye. See Installing Fisheye on Linux and Mac or Installing Fisheye on Windows for details.
- You are using a supported browser.
Create users in Fisheye
Fisheye doesn't have any user accounts after you have installed it for the first time. You need to go to the Administration interface to add the first users of the system.
Click on the Administration link in the footer:

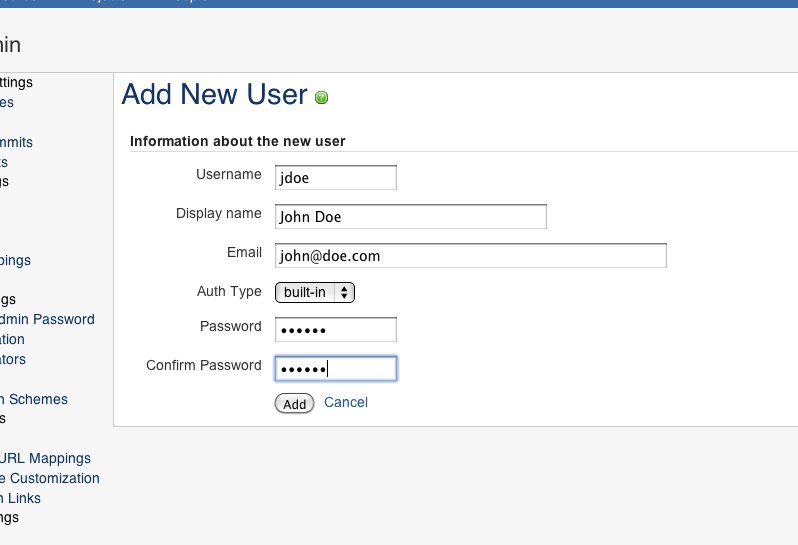
In the Users listing page click Add user to go to the user creation form:

Fill in the form and create your user:
From the User page you can click on Create another user to repeat this operation:

Add a repository
In this section we're going to add a repository to Fisheye.
Click on Add repository in the Repositories listing of the Administration.
Now choose the repository type and fill in the name and description:

In the repository configuration, add the location of your repository. Fill in the authentication details if necessary.

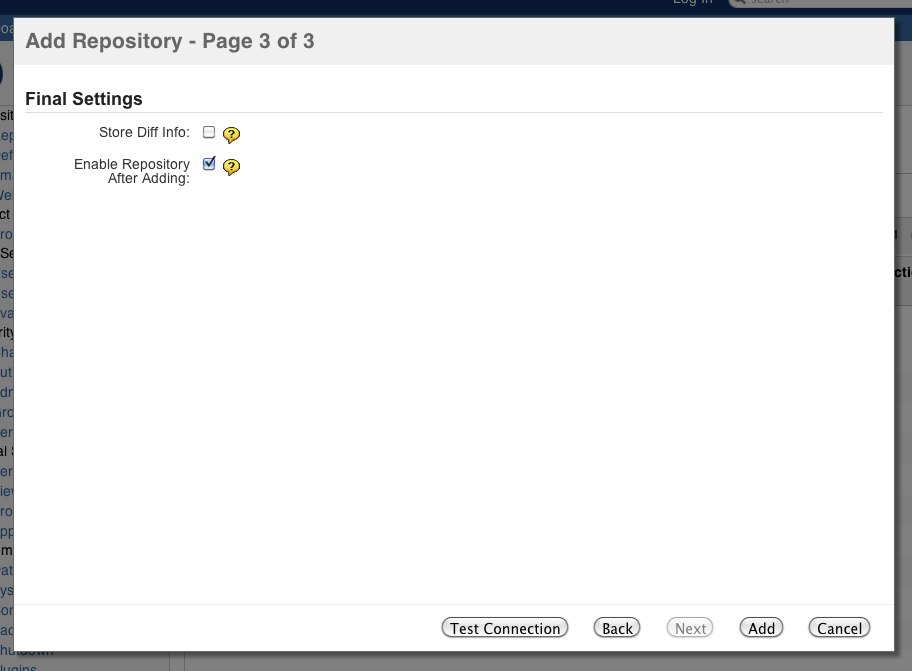
Finally indicate whether or not you would like diff indexing should be turned on and if the repository should not be indexed right away.
Click Add to finish the process.
Move forward
Once it's created you can click Browse, in the repository options menu, to access your repository.
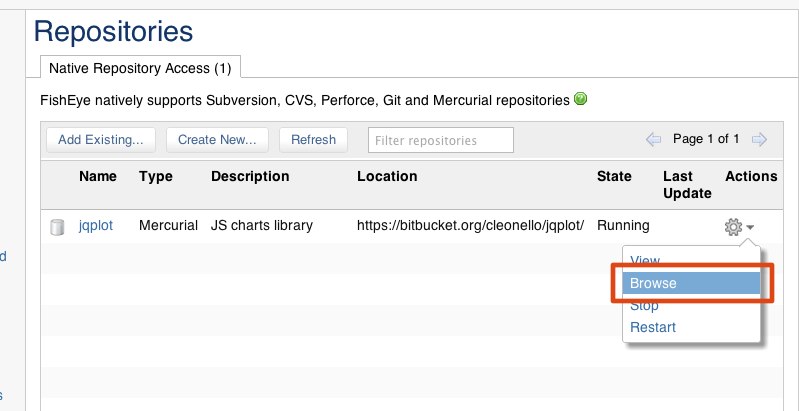
You can now browse your files in Fisheye, search through your code or track modifications via the commit graph.
