Showing Advanced Roadmaps custom fields in Jira
You can make certain Advanced Roadmaps custom fields display in your Jira issues. This is very handy in providing two-way communication between both Advanced Roadmaps and Jira.
The following custom fields in Advanced Roadmaps can be configured to display in Jira:
| Parent link | You can define arbitrary parent-child relationships between issues, and then show the parent link field in both Advanced Roadmaps and Jira. In a Jira issue, you can see and edit the 'parent link' field in your Jira issues.
|
|---|---|
| Team | When you assign a team to an issue in Advanced Roadmaps, the team is reflected in the Jira issue as well. You can also change the assigned team in Jira, and that change is reflected in Advanced Roadmaps.
Team in the People section of a Jira issue |
| Target start and target end dates | Target start and target end dates are directly communicated to your team via Advanced Roadmaps plans. The team, however, may be updating dates of their own on Jira issues, since they work directly on these issues in Jira. By having these fields display in both Jira and Advanced Roadmaps, target start and end dates will then display in Jira issues.
Target start and target end dates in the scope table of a plan in Advanced Roadmaps
Target start and target end dates in the dates section of a Jira issue |
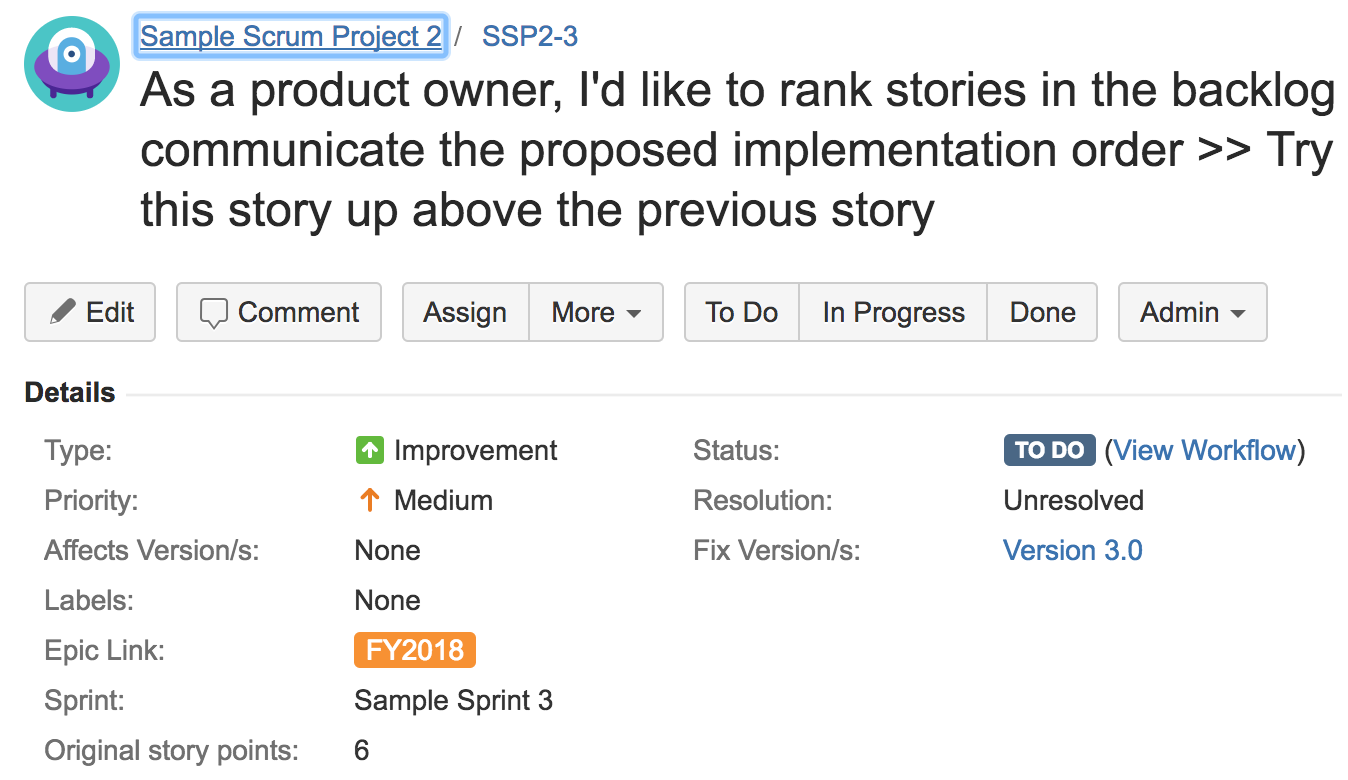
| Original story points | If you're using story points as the estimation unit for your plan, you can use original story points in the scope table of your plan. You can input initial estimates for the work you're planning — these are rough estimates of the amount of work that's needed to get your projects delivered. When original story points are set, you can then use these estimates as reference, as you start breaking down and providing more detailed estimates for your work. This lets you compare the accuracy of your original estimates against your current ones. Original story points in the scope table of a plan in Advanced Roadmaps
Original story points in the details section of a Jira issue |


Displaying custom fields in Jira issues
- Go to your Jira application >
 > Issues.
 - Click Custom fields, and then find the custom field you want to display in your Jira issues.
- Select
 for the custom field > Screens.
 - Select the screens you want to add the custom field to, and click Update.
- To add target start and target end dates, perform the following steps:
- Go to your Jira application > > Issues.
- Click Screens, and then find the screens that you're using in your Jira project.
- For each of the screens, click Configure. This will display the fields in the order that these fields are being used in the selected screen.
- Enter Target start for the field name, and then click Add.
- Enter Target end for the field name, and then click Add.
- If necessary, drag and drop the target start and target end fields in the order that you want these to appear in the selected screen.