Configuring print labels
You need to create at least one print labels template before you can print labels for your objects. Templates are created for each object scheme separately.
To create a template:
- Open your object schema.
- At the top-right, select Object schema > Configure.
- Switch to the Label templates tab.
Template configuration
Here's the explanation for fields that you see when creating a new template or editing an existing one.
Responsive height
You can select this option to give your template responsive height, allowing it to expand to fit the content.
Border
You can select this option to add a border to your template. Here's an example of a template with and without a border:
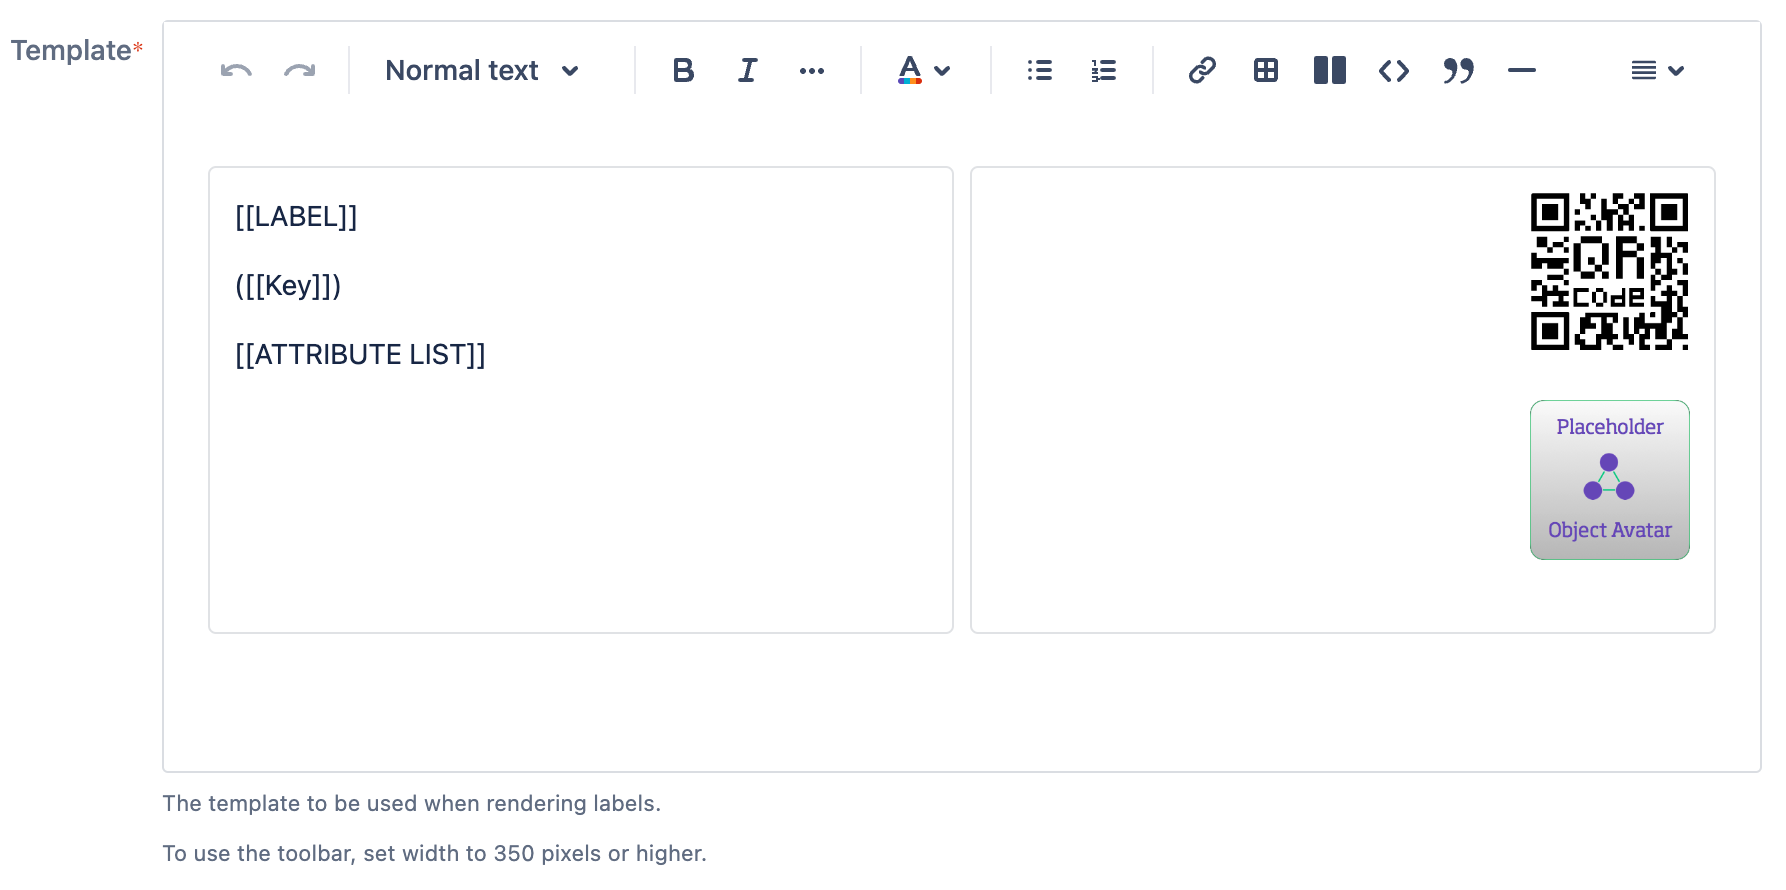
Template
This editor allows you to create a customized template. It supports placeholders and images, and comes with some styling options. When you create a new template, the editor will already include a default template.
The template editor is not visible when you set a width less than 350 pixels. You can can use the editor shortcuts to format when the toolbar is not visible, or you can increase the width while you’re editing the template and then decrease the width to create labels smaller than 350 pixels.
Adding images
You can also add images to your templates. This can be pretty much anything you need in your template – from QR codes to logos or icons. We've added some default images for you, so feel free to play around.
Printing labels and QR codes
Once you're ready with the template, you can try printing some labels. For more info, see Printing labels and QR codes.
