Configuring the availability of team members
This page discusses the usage of Advanced Roadmaps live plans. If you're using the redesigned planning interface, see this page instead.
You have full flexibility when configuring the availability of team members in your plans. You can also see which member is available to work, on which team, and for how long.
There are two types of availability to consider in Advanced Roadmaps:
- Global availability, which defines the working hours and dates of each person across all the teams the person belongs to
Team availability, which defines the working hours and dates of a person in a particular team
Viewing shared teams
Note that any configured weekly hours will not have any effect on capacity in plans with the improved interface.
Configuring global availability
Before you begin, make sure that you have the shared team management permission in Advanced Roadmaps.
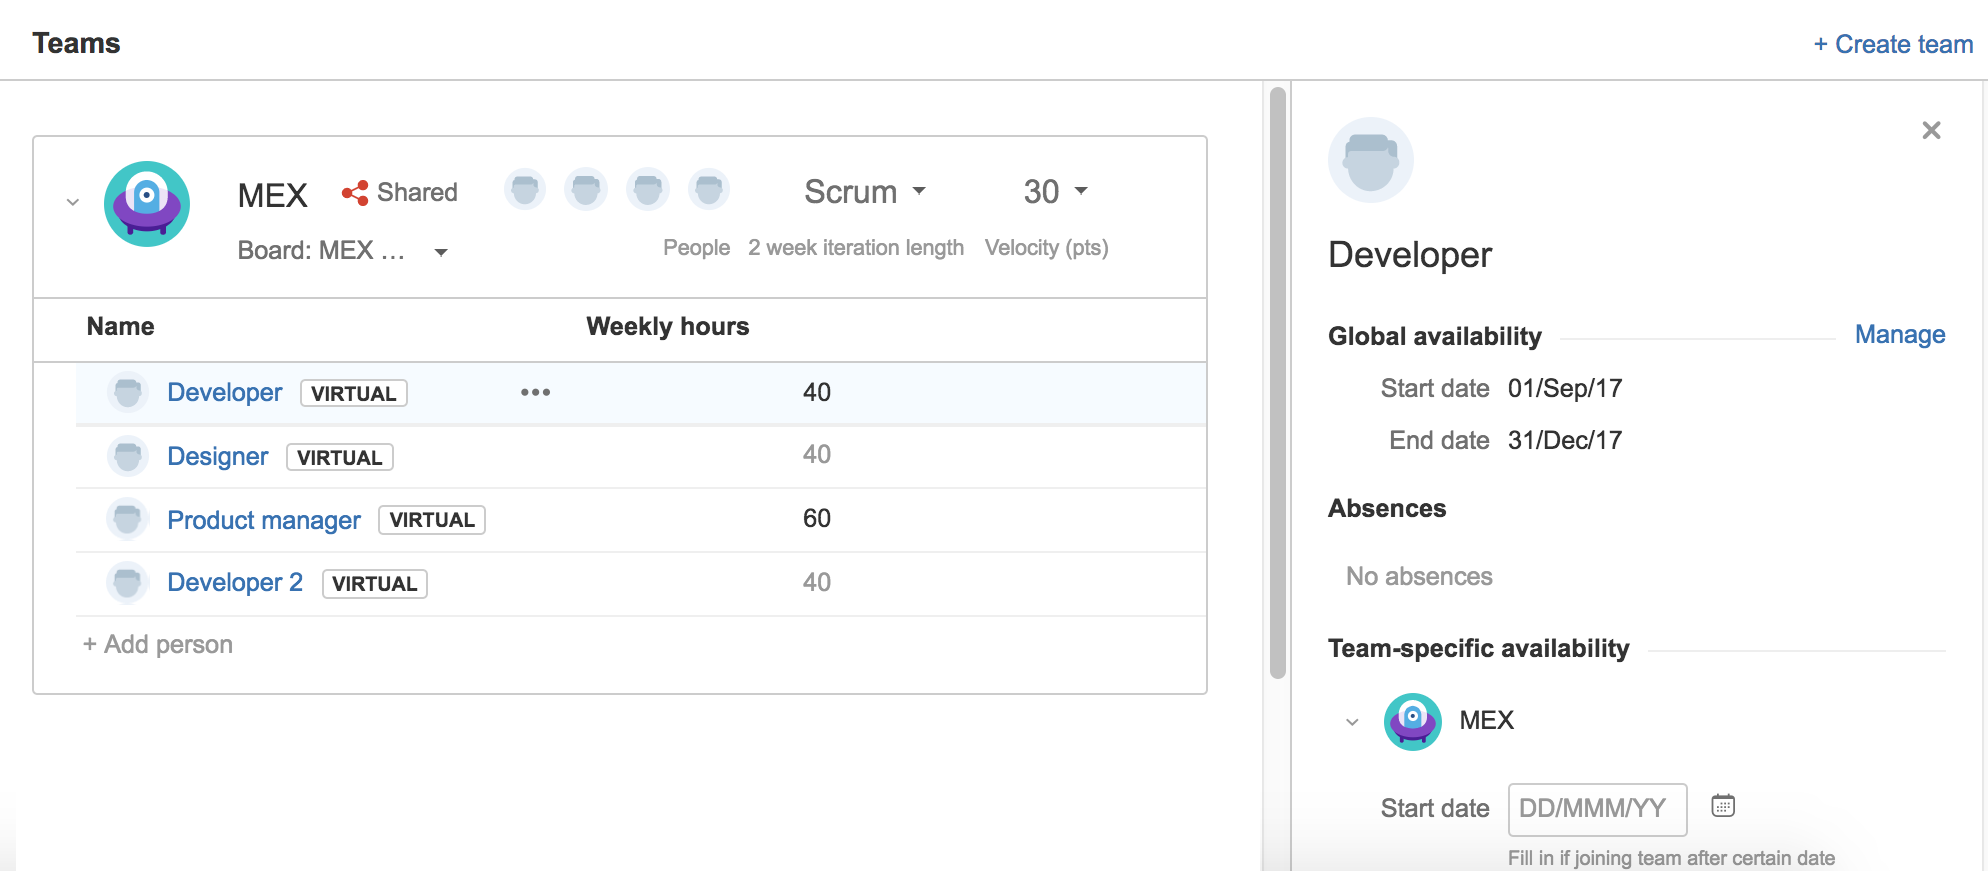
Once you've configured the global availability of a person, this is also displayed in the teams section of your plan:
Go to your plan > click the Teams tab > click the person whose global availability you want to view.
Note that you can also configure global availability directly from here.
- Go to the shared team you want to view.
- Click the member whose global availability you want to configure. The availability details will display.
- In the Global availability section, specify the following:
- Start date, for when the person starts to be available to work
- End date, for when the person will stop working
- In the Absences section, create an absence as necessary, by providing the following:
- the start and end dates for when the person will be absent from work
- an optional description indicating the reason for the absence
Configuring team-specific availability
You can configure the dates and working hours that team members are available to work on specific teams.
- When configuring the availability of a team member who belongs to multiple teams, you will see these teams in the Team-specific availability section. Expand each team to configure the dates and hours that the member is available to work for each team respectively.
- When configuring the availability of a member of a shared team, you will see the shared teams that the person belongs to in the Shared teams and people page.
- In your plan, click the Teams tab to display the teams section below the timeline.This will display the teams associated with the plan.
- Expand the team you're looking for. This will display the members of that team.
- Click the member whose availability you want to configure for that team.
- In the Team-specific availability section, specify the following:
- Start date, for when the person starts to be available to work for the team
- End date, for when the person will stop working for the team
- Weekly hours, which is the total number of hours in a week that the person can work for the team
Configuring exceptions
You can configure the dates and hours in a week during which a member will not work for a specific team. This is especially handy when you have a person who works in multiple teams.
For example, let's say you have a developer who works in Team A and Team B, and during the month of September, the developer needs to prioritize work in Team A for a particular release. By configuring exceptions in Team B, it is then made clear that the developer won't be assigned any work for Team B during that period.
To configure exceptions:
- In your plan, click the Teams tab to display the teams section below the timeline.This will display the teams associated with the plan.
- Expand the team you're looking for. This will display the members of that team.
- Click the member for whom you want to configure exceptions > click + Add exception.
- Specify the following:
- Start date, for when the person will not be available to work for the team
- End date, for when the person will not be available to work for the team
- Weekly hours, which is the total number of hours in a week when the person will not work for the team
- Description (optional), which you can use to describe the exception that you're setting
- Click Add.


