Configuring swimlanes
Choosing a different type of swimlane
You can choose to set up your swimlanes in a variety of ways, as shown in the following table.
| Base your swimlanes on... | Explanation |
|---|---|
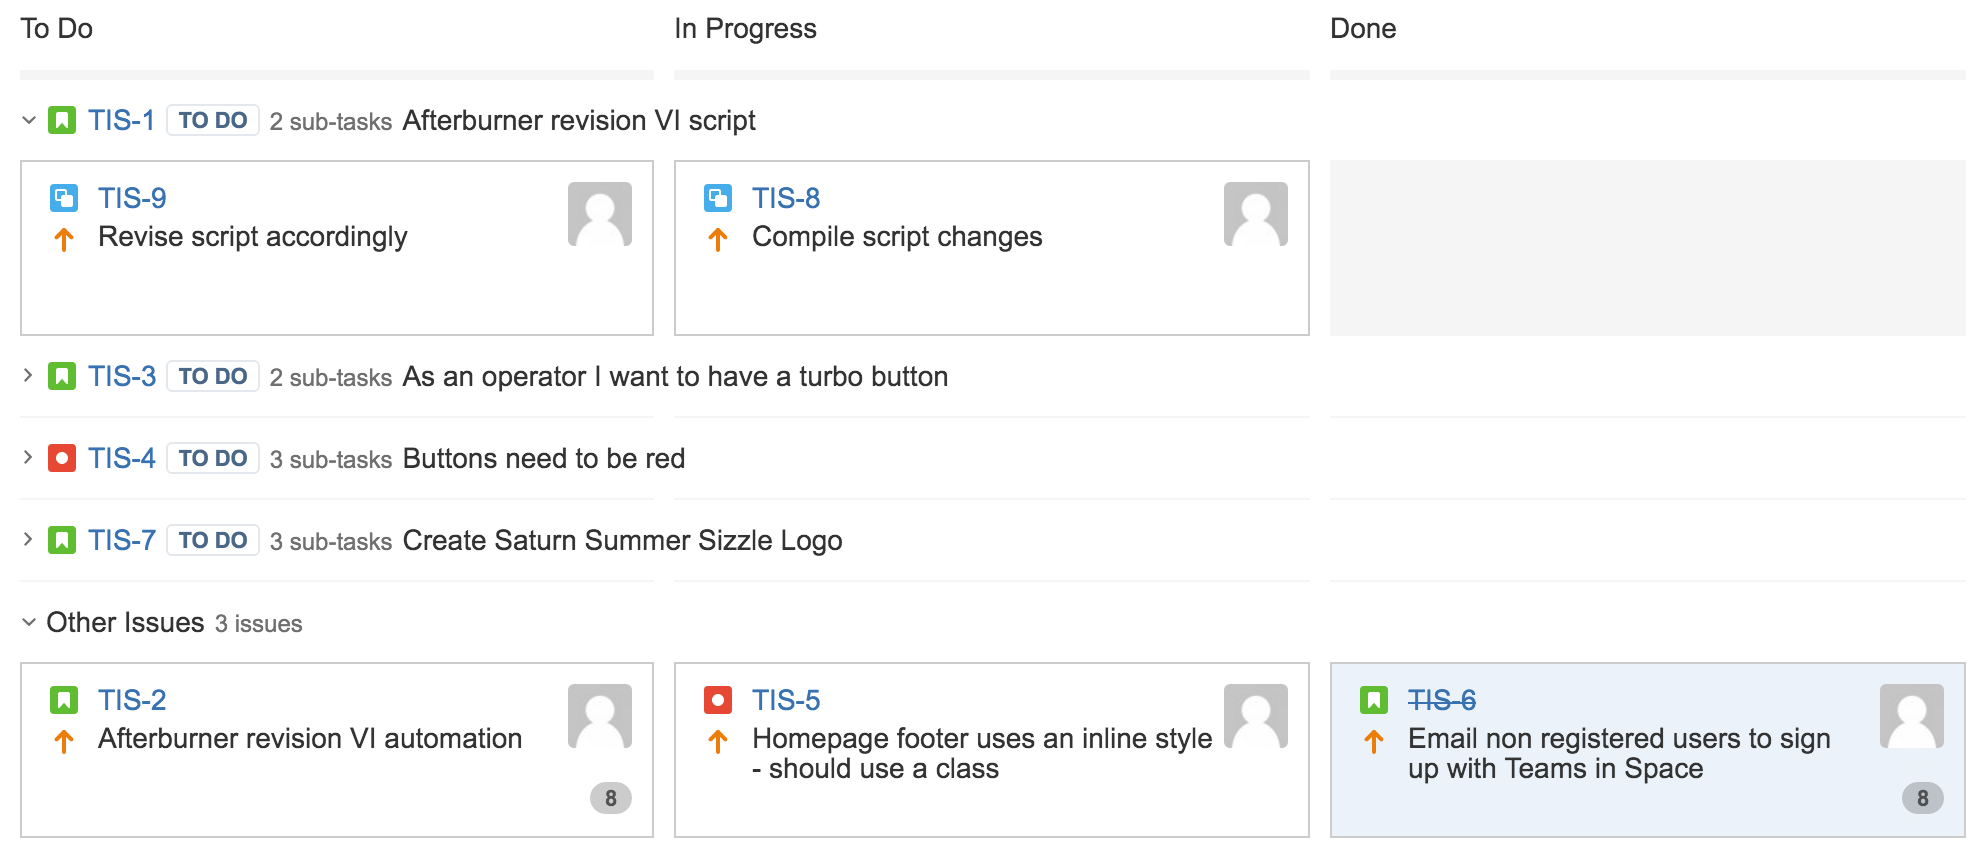
| Stories | One parent issue per swimlane (i.e. each swimlane contains all of the parent's sub-tasks), with issues that have no sub-tasks appearing below. |
| Queries | One JQL query per swimlane (see below for examples). By default, two swimlanes will be created:
You may want to create additional swimlanes that map to other values of your JIRA 'Priority' field, or use a different field to categorize your swimlanes. |
| Assignees | One assignee per swimlane, with unassigned issues appearing either above or below the swimlanes (your choice). |
Epics | One epic per swimlane, with issues that don't belong any to epics appearing below the swimlanes. If you want to change the order of the swimlanes on your board, navigate to the Backlog of the board and drag and drop the epics as desired. |
| Projects | One project for each swimlane. Issues will display below their respective projects. |
| No Swimlanes | No horizontal categorization of issues in the Active sprints of a Scrum board, or on a Kanban board. |
Screenshot: issues in Active sprints when swimlanes are based on stories
To choose a different type of swimlane:
- Navigate to the desired board, then click Board > Configure.
- Click the Swimlanes tab.
In the Base Swimlanes on menu, select either Queries, Stories, Assignees, Epics, Projects or No Swimlanes, as described above.
Screenshot: the 'Board configuration' screen — 'Swimlanes' tab
Modifying your Query-based swimlanes
If your swimlanes are based on JQL queries (rather than on stories or assignees), you can create, delete, or change them:
- Navigate to the desired board, then click Board > Configure.
Click the Swimlanes tab.
If your swimlanes are based on Queries, you can edit your swimlanes, as described in the following table and the screenshot above.
Add a new swimlane
In the blue area, type the Name, JQL, and optional Description, then click the Add button. Your new swimlane is added in the top swimlane position.
Change the name of a swimlane
Click in the Name area of the swimlane, modify the existing name, and click the Update button.
Change the JQL of a swimlane
Click in the JQL area of the swimlane, modify the existing JQL, and click the Update button.
See the examples below for some suggestions. For information on JQL syntax, see JQL (JIRA Admin documentation).
Note, the JQL 'ORDER BY' clause is not used by the swimlane, as it defaults to order by rank.
Delete a swimlane
Click the Delete button at the right of the swimlane.
Move a swimlane
Hover over the vertical 'grid' icon, then drag and drop the swimlane up or down to its new position.
Some example JQL queries for your swimlanes:
Show all issues that belong to a particular component, e.g. 'User Interface':
project = "Angry Nerds" AND component = "User Interface"Show all issues that are due in the next 24 hours:
due <= "24h"Show all issues that have a particular priority, e.g.:
priority = "Minor"and
priority = "Major"
Next steps
Need help? If you can't find the answer you need in our documentation, we have other resources available to help you. See Getting help.


