Customizing your project

Getting started as a project administrator

On this page

Still need help?

The Atlassian Community is here for you.

Ask the community

  1. Customizing your project
  2. Adding users to your project

As a project administrator, you have the ability to edit project role memberships, project versions and certain project details (project name, project description, project lead and URL). In this step, you'll customize your project by changing the name, the URL and the avatar.

If you're continuing from the Getting started as an administrator tutorial, you'll already have a project called Dragon Design Tees. For this tutorial, use the Dragon Design Tees project or another project to which you have been given project administrator access.
Access your project's administration page 

  1. Select Projects > Dragon Design Tees (or the project you wish to administer).
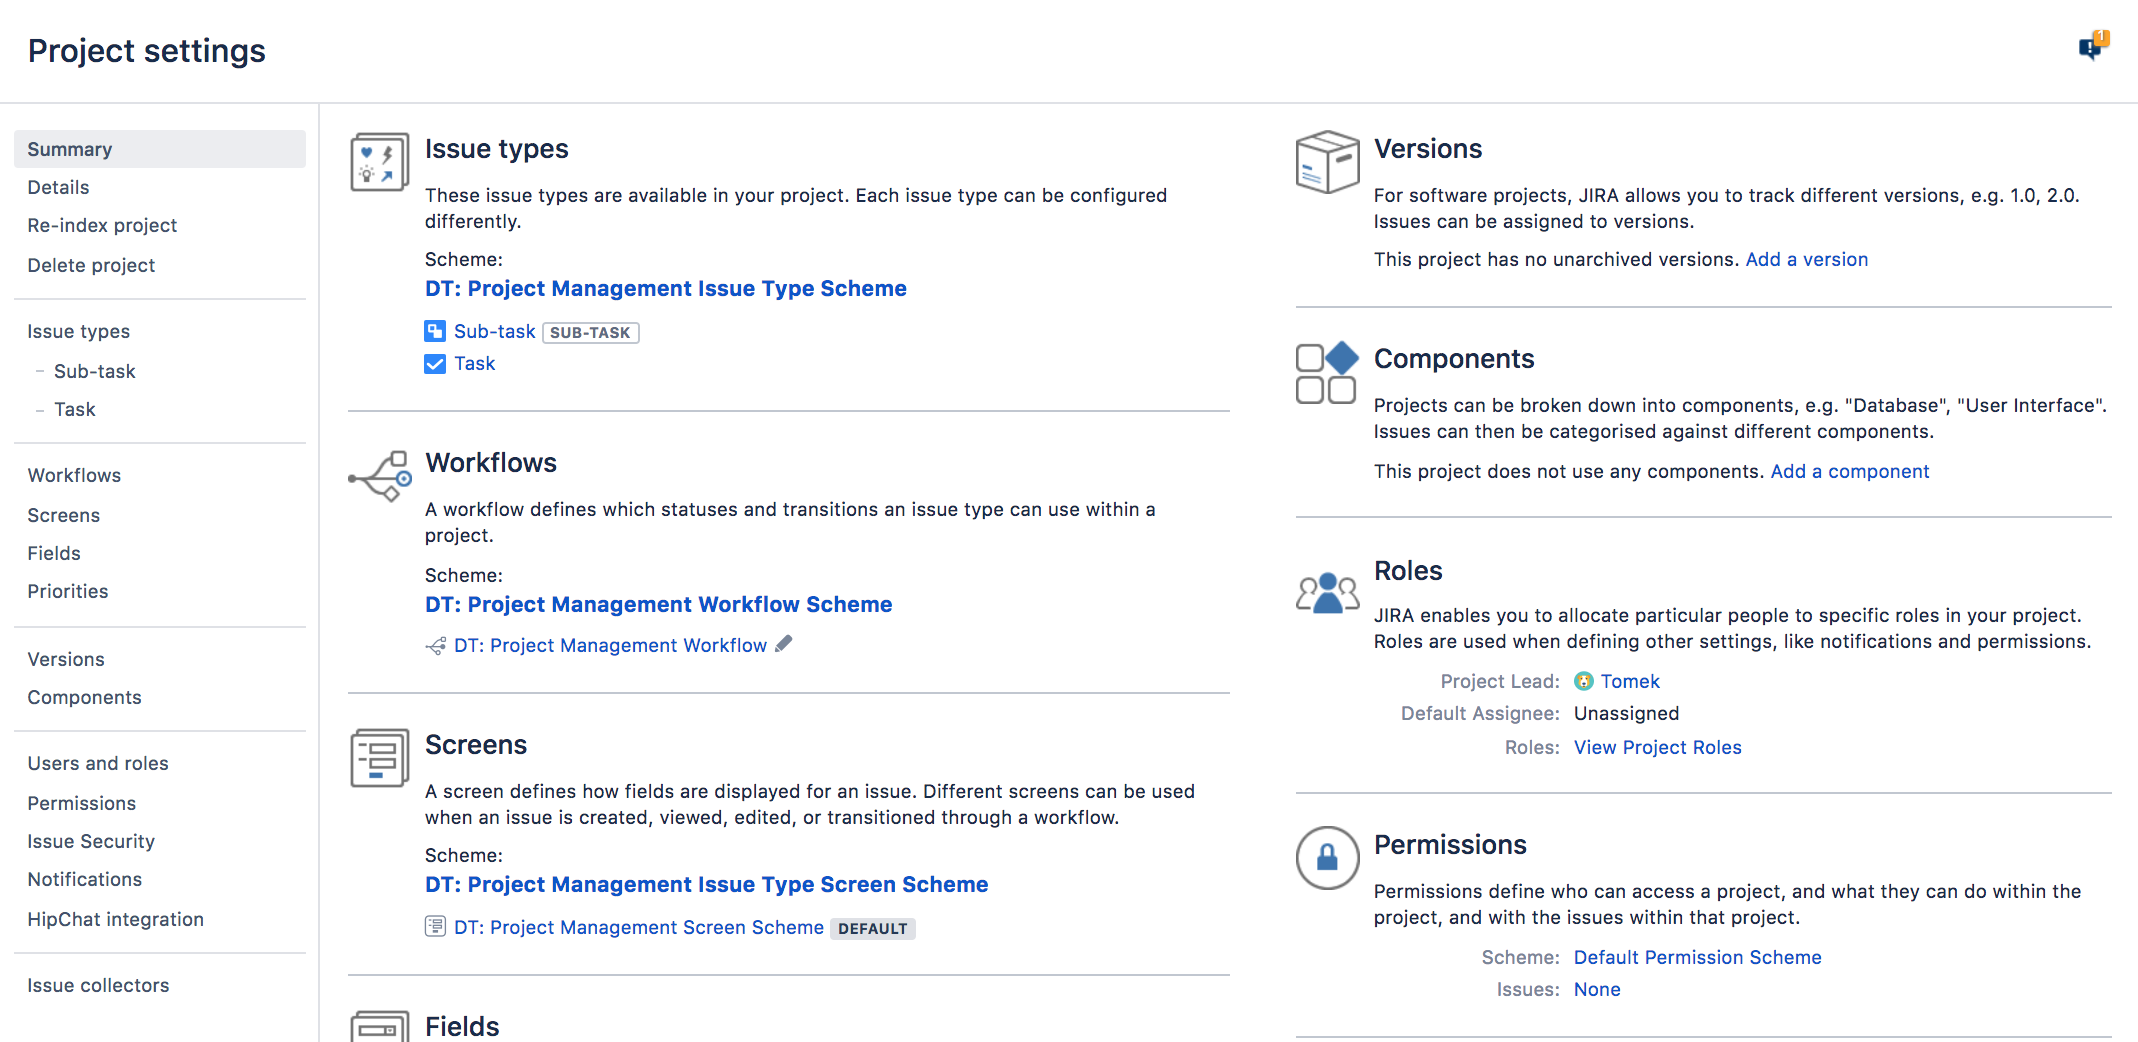
  2. Select Project settings () to open the Project Administration page:
     Project settings page

Customize your project 

Customizing your project will make it stand out, and make it easier for your teams to recognize if they're working on multiple projects. 

  1. On the Project Administration > Summary page, select Edit project
  2. Click Select image to change your project avatar.
  3. Select an image from those displayed, or upload an image specific to your team. 
  4. Note that you can also change the project name and description in this Edit Project dialog.
  5. Select Update when you have made all changes. 

Your changes will appear to all users who can access the project.


Success! You've customized your project avatar. Now, let's add a user to your project.

Accessing your projects

You can also access your projects by selecting > Projects. You will see a list of the projects you administer, and can select one you want to work on.

Next

Last modified on May 27, 2020

Was this helpful?

Yes
No
Provide feedback about this article
Powered by Confluence and Scroll Viewport.