How to use an SVG image as an avatar for an Issue Type in Jira
Platform Notice: Data Center - This article applies to Atlassian products on the Data Center platform.
Note that this knowledge base article was created for the Data Center version of the product. Data Center knowledge base articles for non-Data Center-specific features may also work for Server versions of the product, however they have not been tested. Support for Server* products ended on February 15th 2024. If you are running a Server product, you can visit the Atlassian Server end of support announcement to review your migration options.
*Except Fisheye and Crucible
Summary
Jira administrators can edit Issue Types and use their own custom avatar as an icon.
SVG images are not supported as Issue Type avatars and this is currently reported as a feature request in JRASERVER-43512 - Support for custom SVG avatars.
While this feature isn't implemented, this document describes a way for Jira administrators to use SVG images as Issue Type avatars.
The procedure relies on uploading a sample PNG file (which is supported) and then replacing this file with the actual SVG image.
When choosing the SVG image, keep in mind that Issue Type avatars are displayed in 16x16 pixels.
Since this isn't an out-of-the-box feature, make sure you trust the svg file source in order to prevent any security concerns, such as cross site scripting, as Jira doesn't have any code to validate the file.
This document is provided as-is
Jira is flexible enough to allow some customization, however Atlassian's Support Offerings do not cover assistance on this area. Consequently, Atlassian cannot guarantee providing any support for them.
If any assistance with customization is required, please check one of the following channels:
Solution
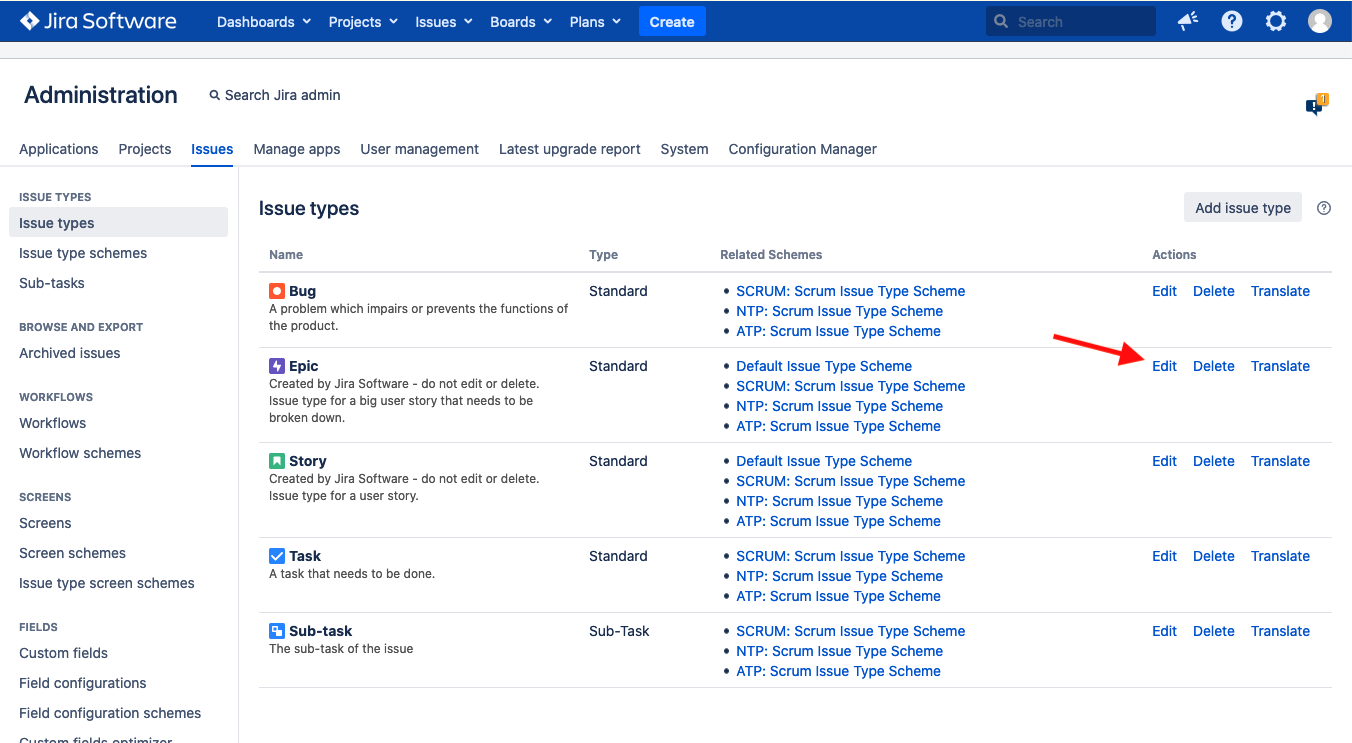
- Go to Cog icon > Issues > Issue types.
Click on the Edit button related to the issue type you would like to change the avatar.
- In this example we are changing the avatar of the Epic issue type.
- In this example we are changing the avatar of the Epic issue type.
- On the Edit Issue Type screen, click on select image.
- Click on Browse and choose the sample
pngimage from your computer.- Crop the image as you want and click on Confirm.
- Crop the image as you want and click on Confirm.
- Back on the Edit Issue Type screen, click on Update.
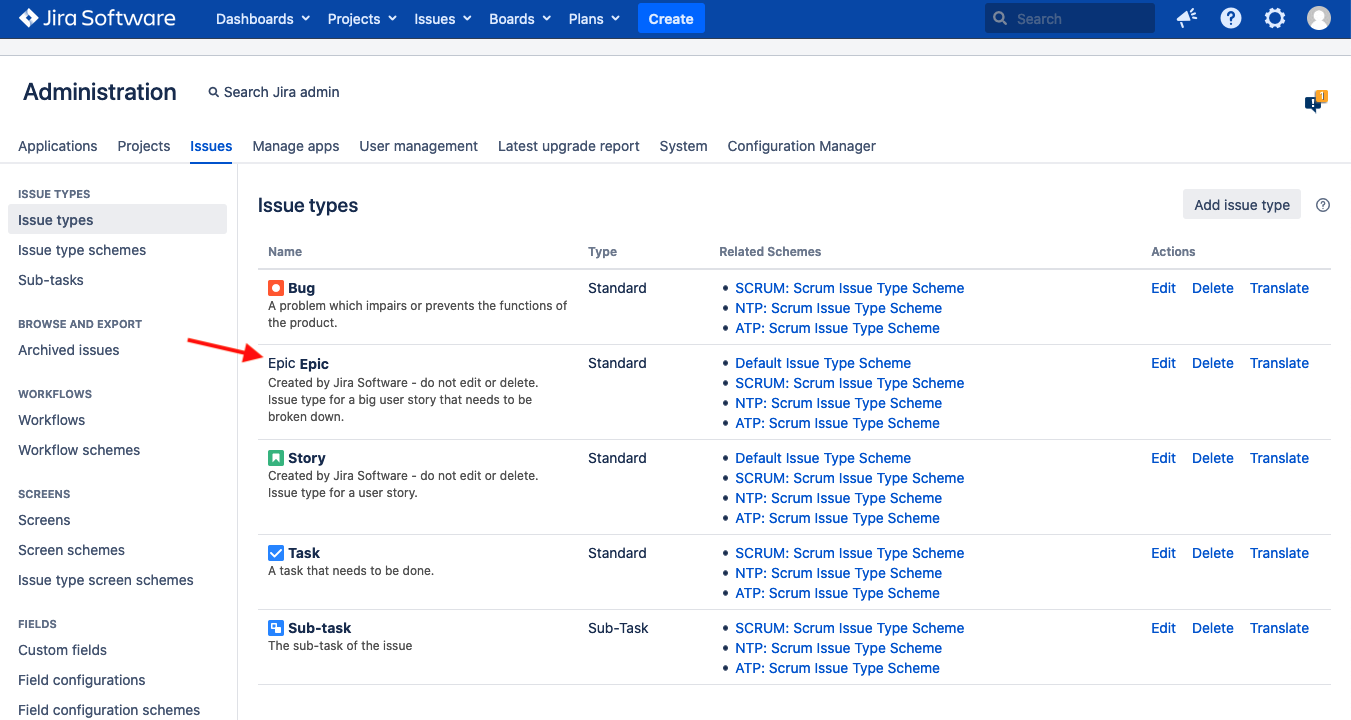
You will be sent back to the Issue types screen with the changed avatar for the Epic issue type.
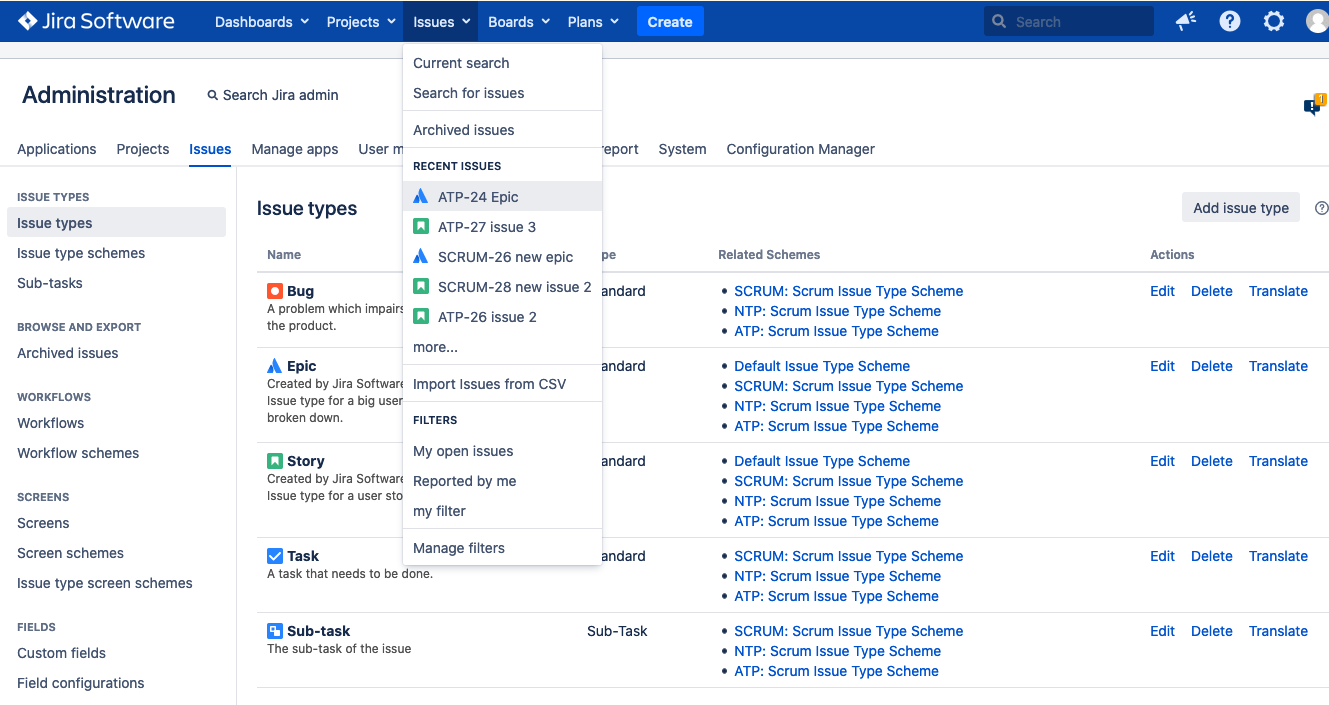
Right/Control click on the new avatar image and select view image.
This will show you the URL to the avatar similar to the below; save the avatar ID to use in the next steps.
<Jira Base URL>/secure/viewavatar?size=xsmall&avatarId=10601&avatarType=issuetype
Run the following SQL query on the Jira database to update the avatar type to
svg.update avatar set contenttype = 'image/svg+xml' where id = <avatarId>;- Access the terminal of the Jira server and upload the
svgfile to a temporary folder – let's say/tmp.- If running Jira Data Center with multiple nodes, you need to perform this only on one of the nodes of the cluster.
Run the following command to the
pngfiles generated by Jira with the actual targetsvgfile.
Jira parses the uploaded png file and generates multiple files with different sizes, placing them in<Jira local home>/data/avatarsin Server and in<Jira shared home>/data/avatarson Data Center.Jira Server
find <Jira local home>/data/avatars -name "<avatarId>*" -type f -print0 | xargs -0 -I % cp -v /tmp/<svg avatar file name> %Jira Data Center
find <Jira shared home>/data/avatars -name "<avatarId>*" -type f -print0 | xargs -0 -I % cp -v /tmp/<svg avatar file name> %Once this is done, you may get a broken image if accessing any Epic issue.
- This occurs because changes occurred on the backend and they weren't commited to the Jira cache.
Clear the Jira cache by choosing one of the options below. If you don't have ScriptRunner for Jira App, you will need a downtime.
With ScriptRunner
1. Go to the ScriptRunner administration page and access the Script Console screen.
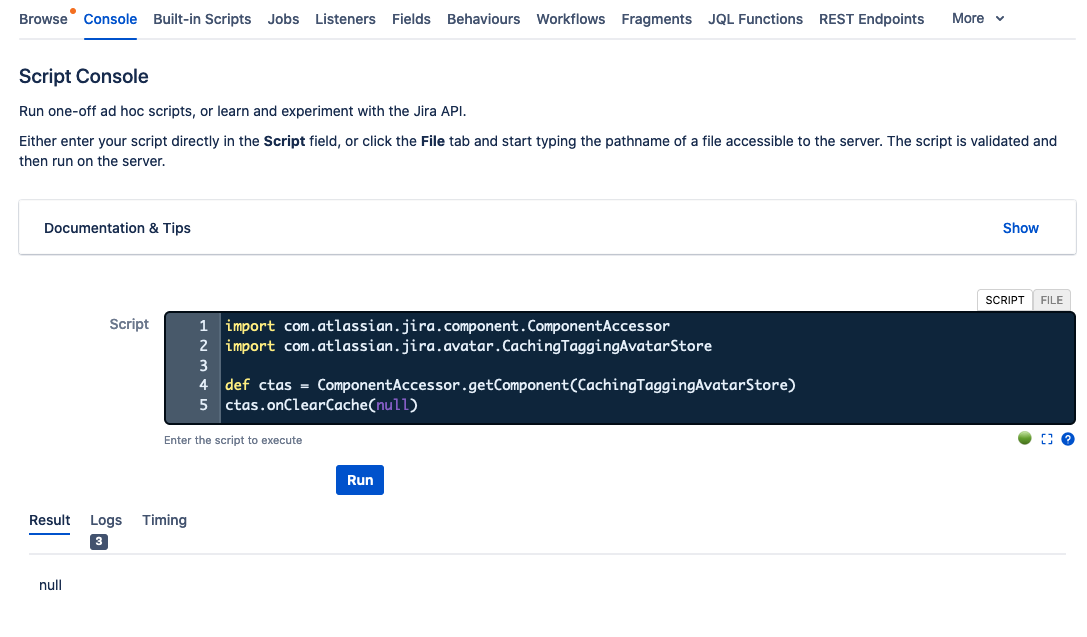
2. In the Script Console, add the following code.
import com.atlassian.jira.component.ComponentAccessor
import com.atlassian.jira.avatar.CachingTaggingAvatarStore

def ctas = ComponentAccessor.getComponent(CachingTaggingAvatarStore)
ctas.onClearCache(null)
3. Click on Run button to execute the script.
You may get a null result as shown below.Without ScriptRunner
1. Stop Jira following your standard procedure.
If running Jira Data Center you must stop all nodes.2. Start Jira following your standard procedure.
If running Jira Data Center, start each node at a time.Access any Epic issue and confirm the new icon was applied.
You may need to force refresh the page to bypass the local browser cache.


See Also
JRASERVER-43512 - Support for custom SVG avatars
JSDSERVER-5540 - Request type icon - SVG support
Missing issue type avatar from remote issue link in Jira
JIRA doesn't render Issue Type icon in Issue Navigator