Runbook - Site export for simulation testing
This page establishes processes for taking an export of your Jira data, enabling the debug mode, and sharing any error logs and the outcome result with Atlassian.
Prerequisites
Recommendation
We highly recommend performing XML backups in a Non-prod (staging) environment if you have data sync not older than 1 month. If you are doing this in production, consider non-peak hours to maximize the consistency and reliability of the backup.
This is because Jira may not warn or show an error for inconsistent backups caused due to database updates during backups. This may eventually result in unsuccessful backup attempts.
Media files (attachments, avatars, logos etc) will not be exported or used in this export process.
- For all the following procedures, you must be logged in as a user with Jira system administrator global permissions.
- The backup will be stored within the
exportsubdirectory of the Jira application (shared) home directory, make sure that Jira has the necessary file system permissions to read and write to this location. - Jira stores the zipped backup file in the application home directory on the disk. Make sure there is sufficient free disk space of around 300-500GB to avoid out of disk space.
- To troubleshoot any errors, enable debug mode as mentioned below in the page.
- [Optional] If there is a need of configuring the announcement banner, see https://confluence.atlassian.com/adminjiraserver/configuring-an-announcement-banner-938846985.html.
Backing up data
To take a backup, please follow the below steps:
In the upper-right corner of the screen, select Administration > System.
- Under Import and export (the left-side panel), select Backup system to open the Backup Jira data page.
In the File name field, enter the name of the backup file. Make sure that Jira has the necessary file system permissions to write to this location.
Select the Backup button and wait until your Jira data is backed up, which might take hours depending on DB size. Jira will save your XML backup as a zipped archive file.
When the backup is complete, you’ll see a message confirming that Jira has written its data to the file you specified.
Structure the export file
Once the backup is successfully completed, the zipped folder should have an output similar to the following:
JIRA-backup-<DATE>
├── activeobjects.xml
├── entities.xml
Share the outcome with Atlassian
After the successful export, we need following data, which you can add in the support ticket:
- How long the export process executed?
- What’s the size of the backup file (Zipped and UnZipped)?
- Execute below query in Jira Database, which will provide a sense of data distribution of Jira tables:
Error logs
If something goes wrong with the backup process, we'll need logs for troubleshooting. Follow the below steps to download the relevant logs:
- In the upper-right corner of the screen, select Administration > System.
- Go to Troubleshooting and Support > Create Support Zip > Customize Zip
- Select Jira Application logs, click on Save and then click on create zip
- Once the selected log file are ready it will show Download Zip option
- You can share the log files via Atlassian file service, see section Transfer files to Atlassian
Transfer log files to Atlassian
To transfer the error logs, our file service, transfer.atlassian.com, allows for the direct transmission of files to us through a web browser or via command line.
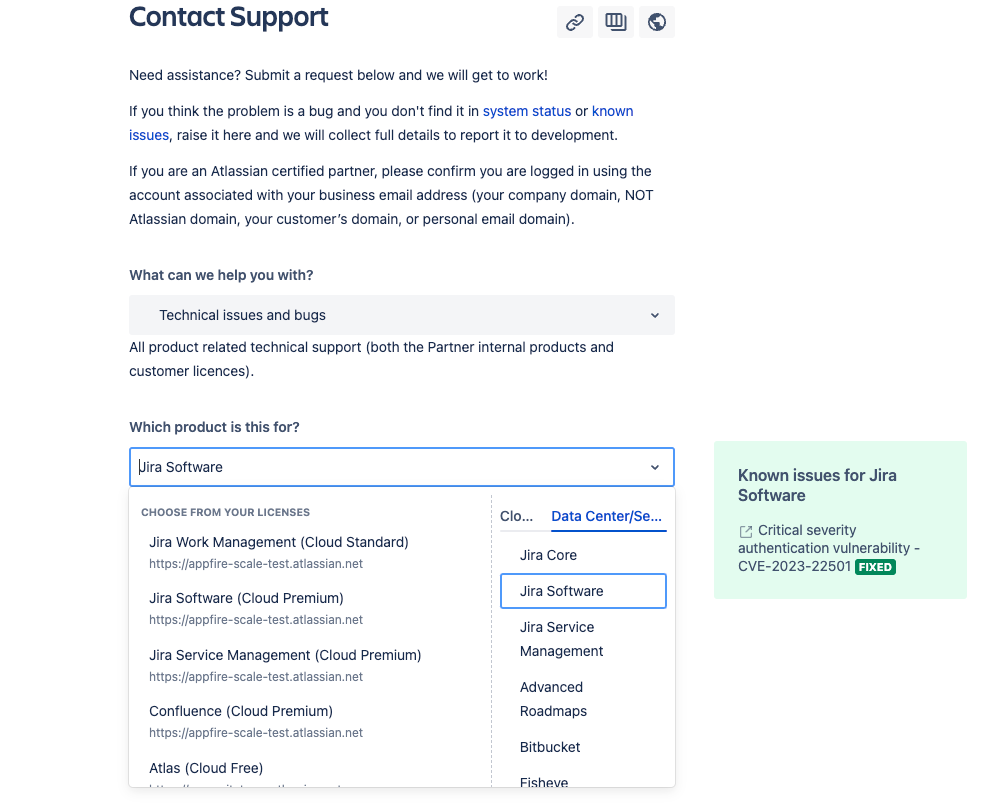
If you need to transfer a large file or files to Atlassian, you will need to first create a support request at support.atlassian.com. under the "Technical issues and bugs" category and title as "Jira Simulation testing" and Refer to How to Transfer Large Files to Atlassian for rest of this process.
Cleanup checklist
- Disable the debug as mentioned in as mentioned below:
- If we need to troubleshoot or assist further, we recommend you keep log files for ~2-3 weeks before deleting them.


