Form builder overview
Tutorial
Watch our form builder tutorial. You can change the language for the video by clicking on the Language icon in the upper right corner.
Form Builder Tabs
There are four tabs in the ProForma form builder:

Settings
This tab allows you to control the behavior of the form such as:
The language in which the UI and validation messages will be displayed
Whether or not the form is locked once submitted
Whether or not the form can be used to create Jira issues
Form automation rules.
Builder
The Builder tab is where you create your form templates. The other sections of this page refer to work functionality found in the build tab.
Preview
The Preview tab allows you to see how your form will look to the end user. You can also use the preview tab to test conditional logic and regex patterns.
Issue JSON
This tab allows you to see the JSON of the form.
Adding, Copying, Moving and Deleting Form Elements
There are multiple ways to add, copy, move and delete elements (formatting options, section or questions) on your forms:
Adding Elements
To Add a form element (formatting options, section or questions):
To add a form element, select the desired item from the toolbar. Or type a / followed by the first letters of the item you wish to insert.

Copying Elements
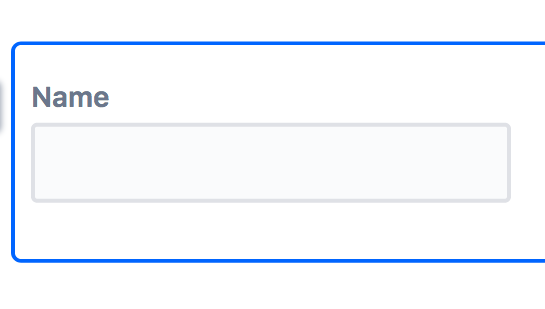
To copy a question, click on the question to see a blue outline. Then use keyboard short cuts to copy (Cmd/Ctrl C) and paste (Cmd/Ctrl+V) the question.
Use the Select All keyboard shortcut (Cmd/Ctrl A) to copy and paste entire forms. You can also copy and paste forms and form elements across Jira instances.
Moving Elements
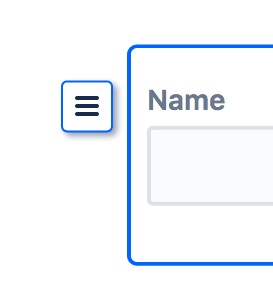
To move a form element, select the item to see a blue outline. Use the icon on the left to drag the item to its desired location.
Alternatively, you can relocate a question by cutting (Cmd/Ctrl X) and pasting ( Cmd/Ctrl V) it.
Deleting Elements
To delete an element, select the item to see a blue outline, then click on the garbage can icon. Alternatively, you can use the delete/backspace buttons on your keyboard.

Formatting Options
ProForma allows you to use a Confluence-like form builder to create beautiful forms are friendly and intuitive for your users.

You can insert a formatting by selecting a formatting option from the toolbar, or by using a slash command.
Rich Text Formatting
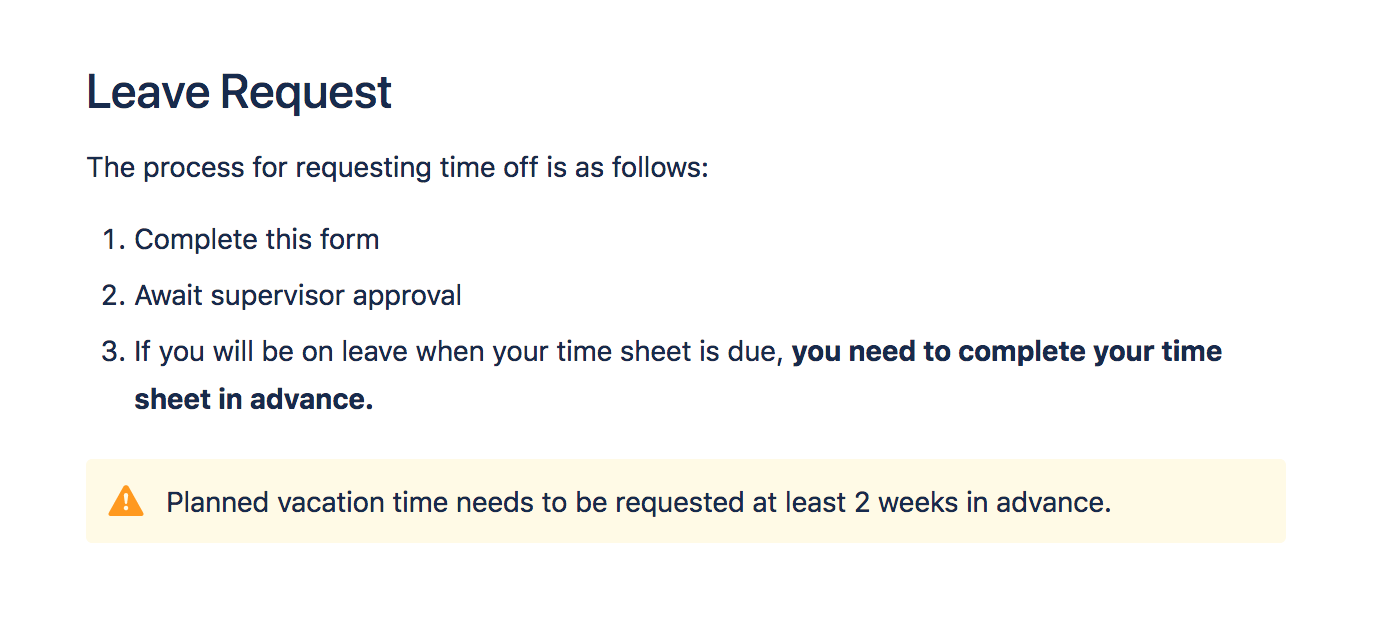
Use text formatting to make information on your forms clear to your users. Heading (H1-H6) make it easy to establish a hierarchy of information. Use bullets or numbered lists to layout instructions. Colored text is any easy way to draw the user’s attention to important information.
Links
Including links (to a knowledge base, policy, or an additional form) in your forms is a great way to provide the user with more information without cluttering your form.
Note that there is also a URL question type. If the Jira administrator has enabled the URL Questions on the configuration page, responses to URL fields will be rendered as clickable links when the form is in view mode.

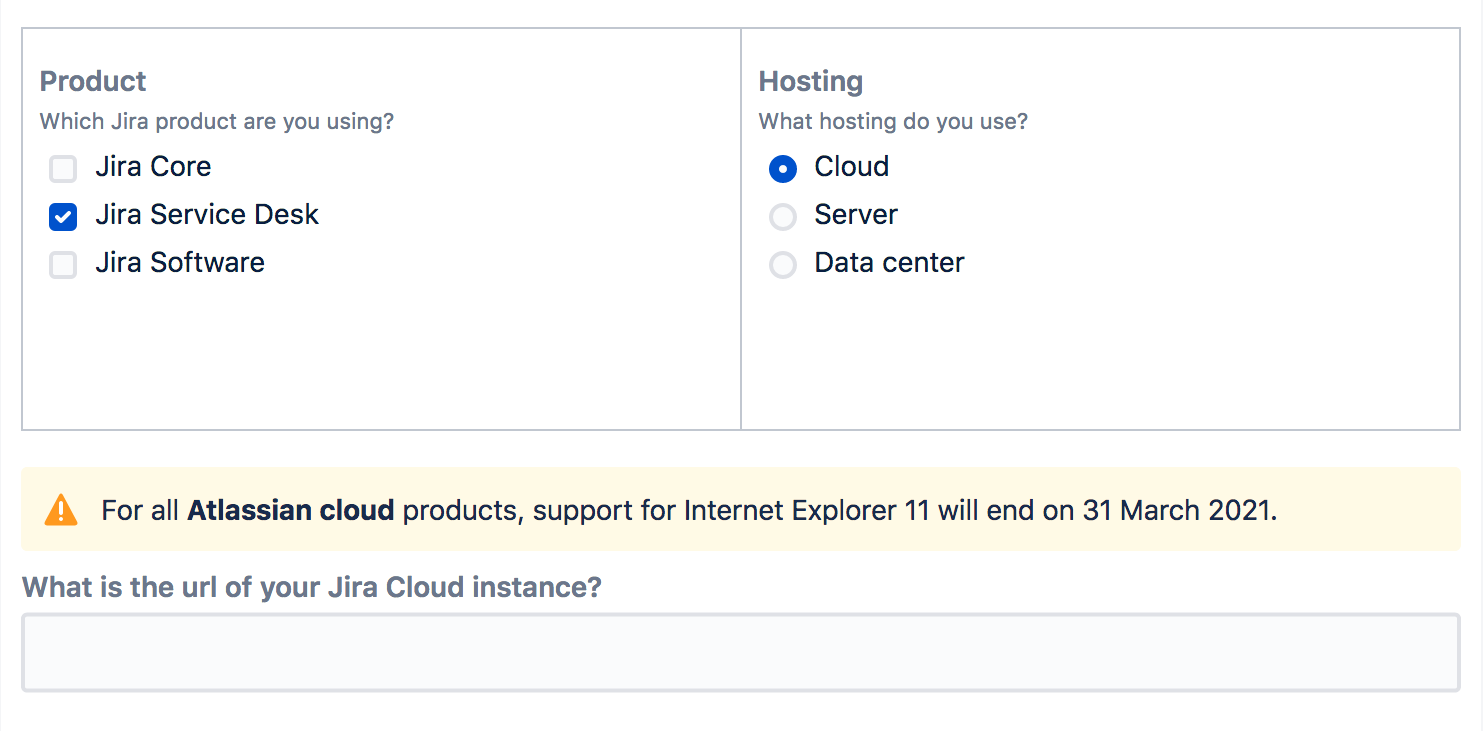
Tables and Column Layouts
Tables and columns allow you to save space on your forms and collect sets of data in an organized way.
Note that if each question in a table does not have its own label, then when a spreadsheet of the form is generated, questions in the table will be rendered in individual columns, without headings.

Quotes, Insert Panels, Dividers, Statuses
You can include additional items on your forms such as quotes, insert panels, dividing lines and statuses. Insert panels (Info, Note, Success, Warning, Error) are especially useful for calling user’s attention to important information.
Use the tool bar or a slash command to insert.
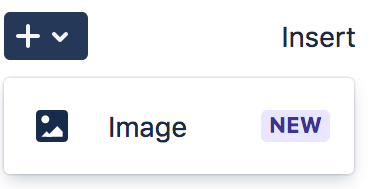
Images
Click on the + button to insert images into your forms.
Form Templates
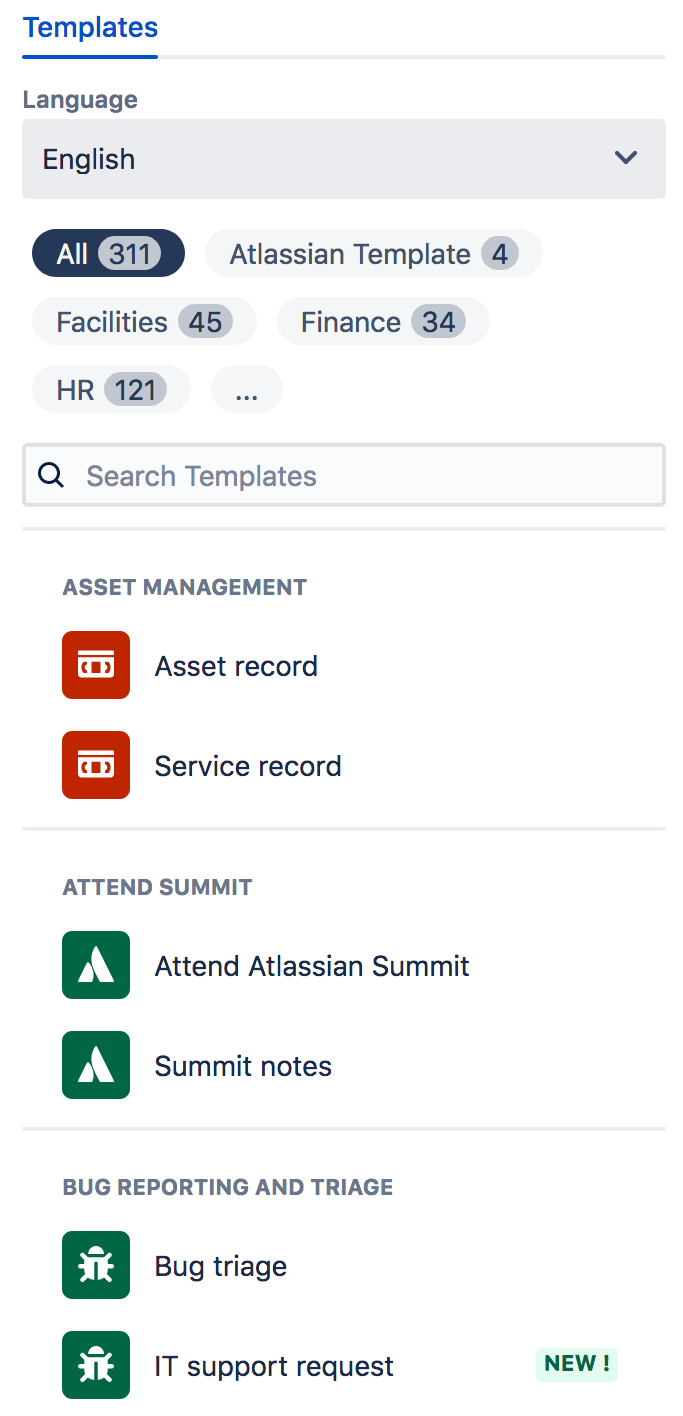
ProForma includes a library with hundreds of ready-to-use form templates that can be used as is, modified to meet your teams' practices or embedded in another form.
To use a template from the library, select the Insert Form option. A sidebar will open allowing you to browse the templates. You can narrow your search by selecting the relevant team or using the search bar to find a specific template or process.
Click on a template to preview it.
Click Insert Template. The template will be open in the form builder. Make any desired modifications and click Save.
Note that if you are embedding a template into an existing form, the template will be added at the bottom of the form. You can then drag and drop the form elements to the desired location.
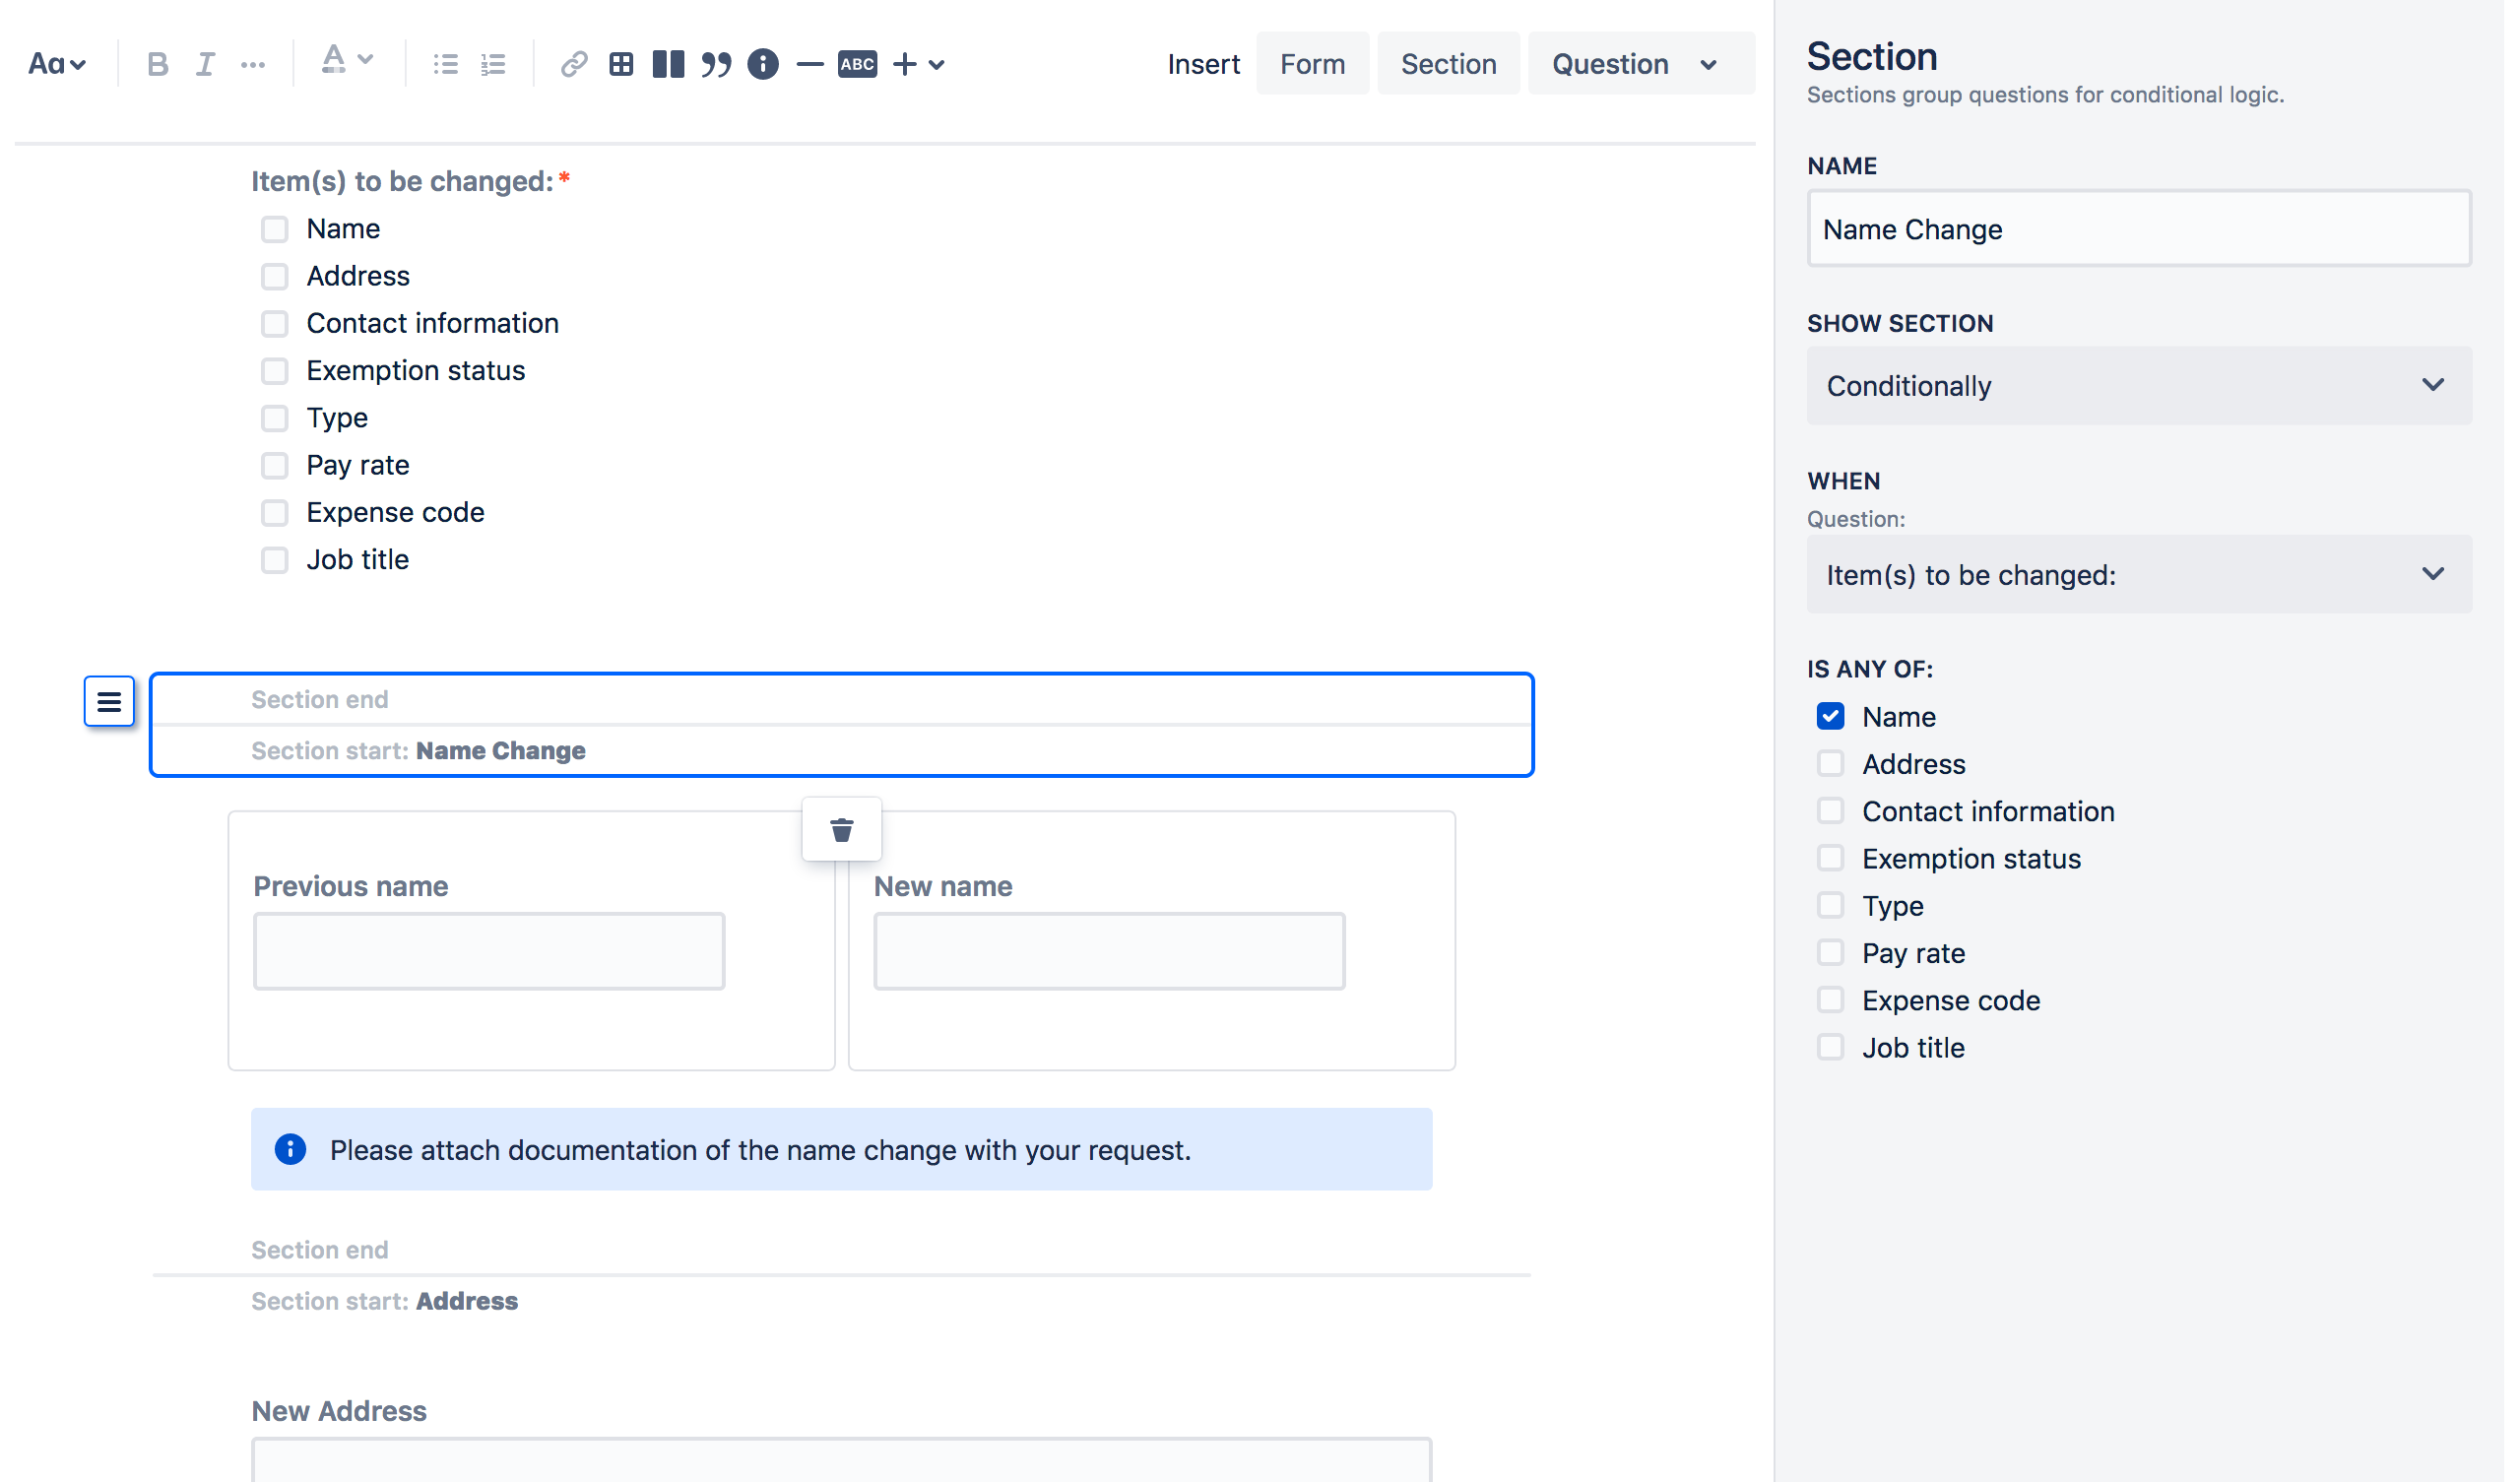
Form Sections
You can use headings to break your form into logical parts, making it easier for the user to understand . ProForma also allows you to insert sections that let you dynamically make certain parts of your form visible or hidden depending on a user’s response to a previous question. See this page for more information on including conditional logic in your forms.
Form Questions
ProForma allows you to add a variety of question types to your forms. Each question type has it’s own properties and validation options.
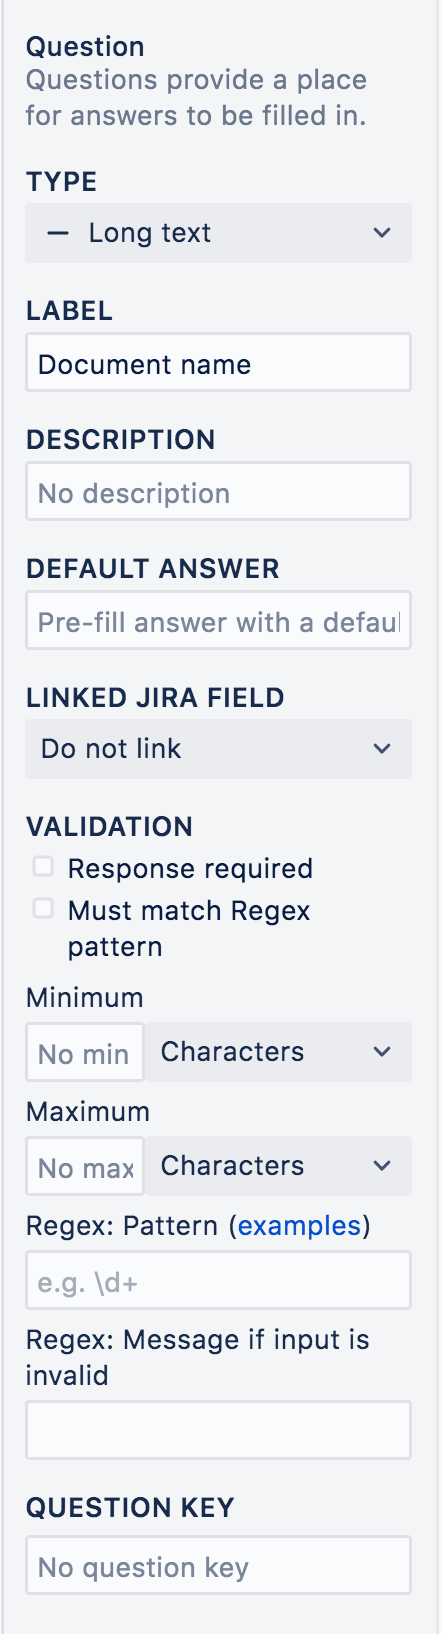
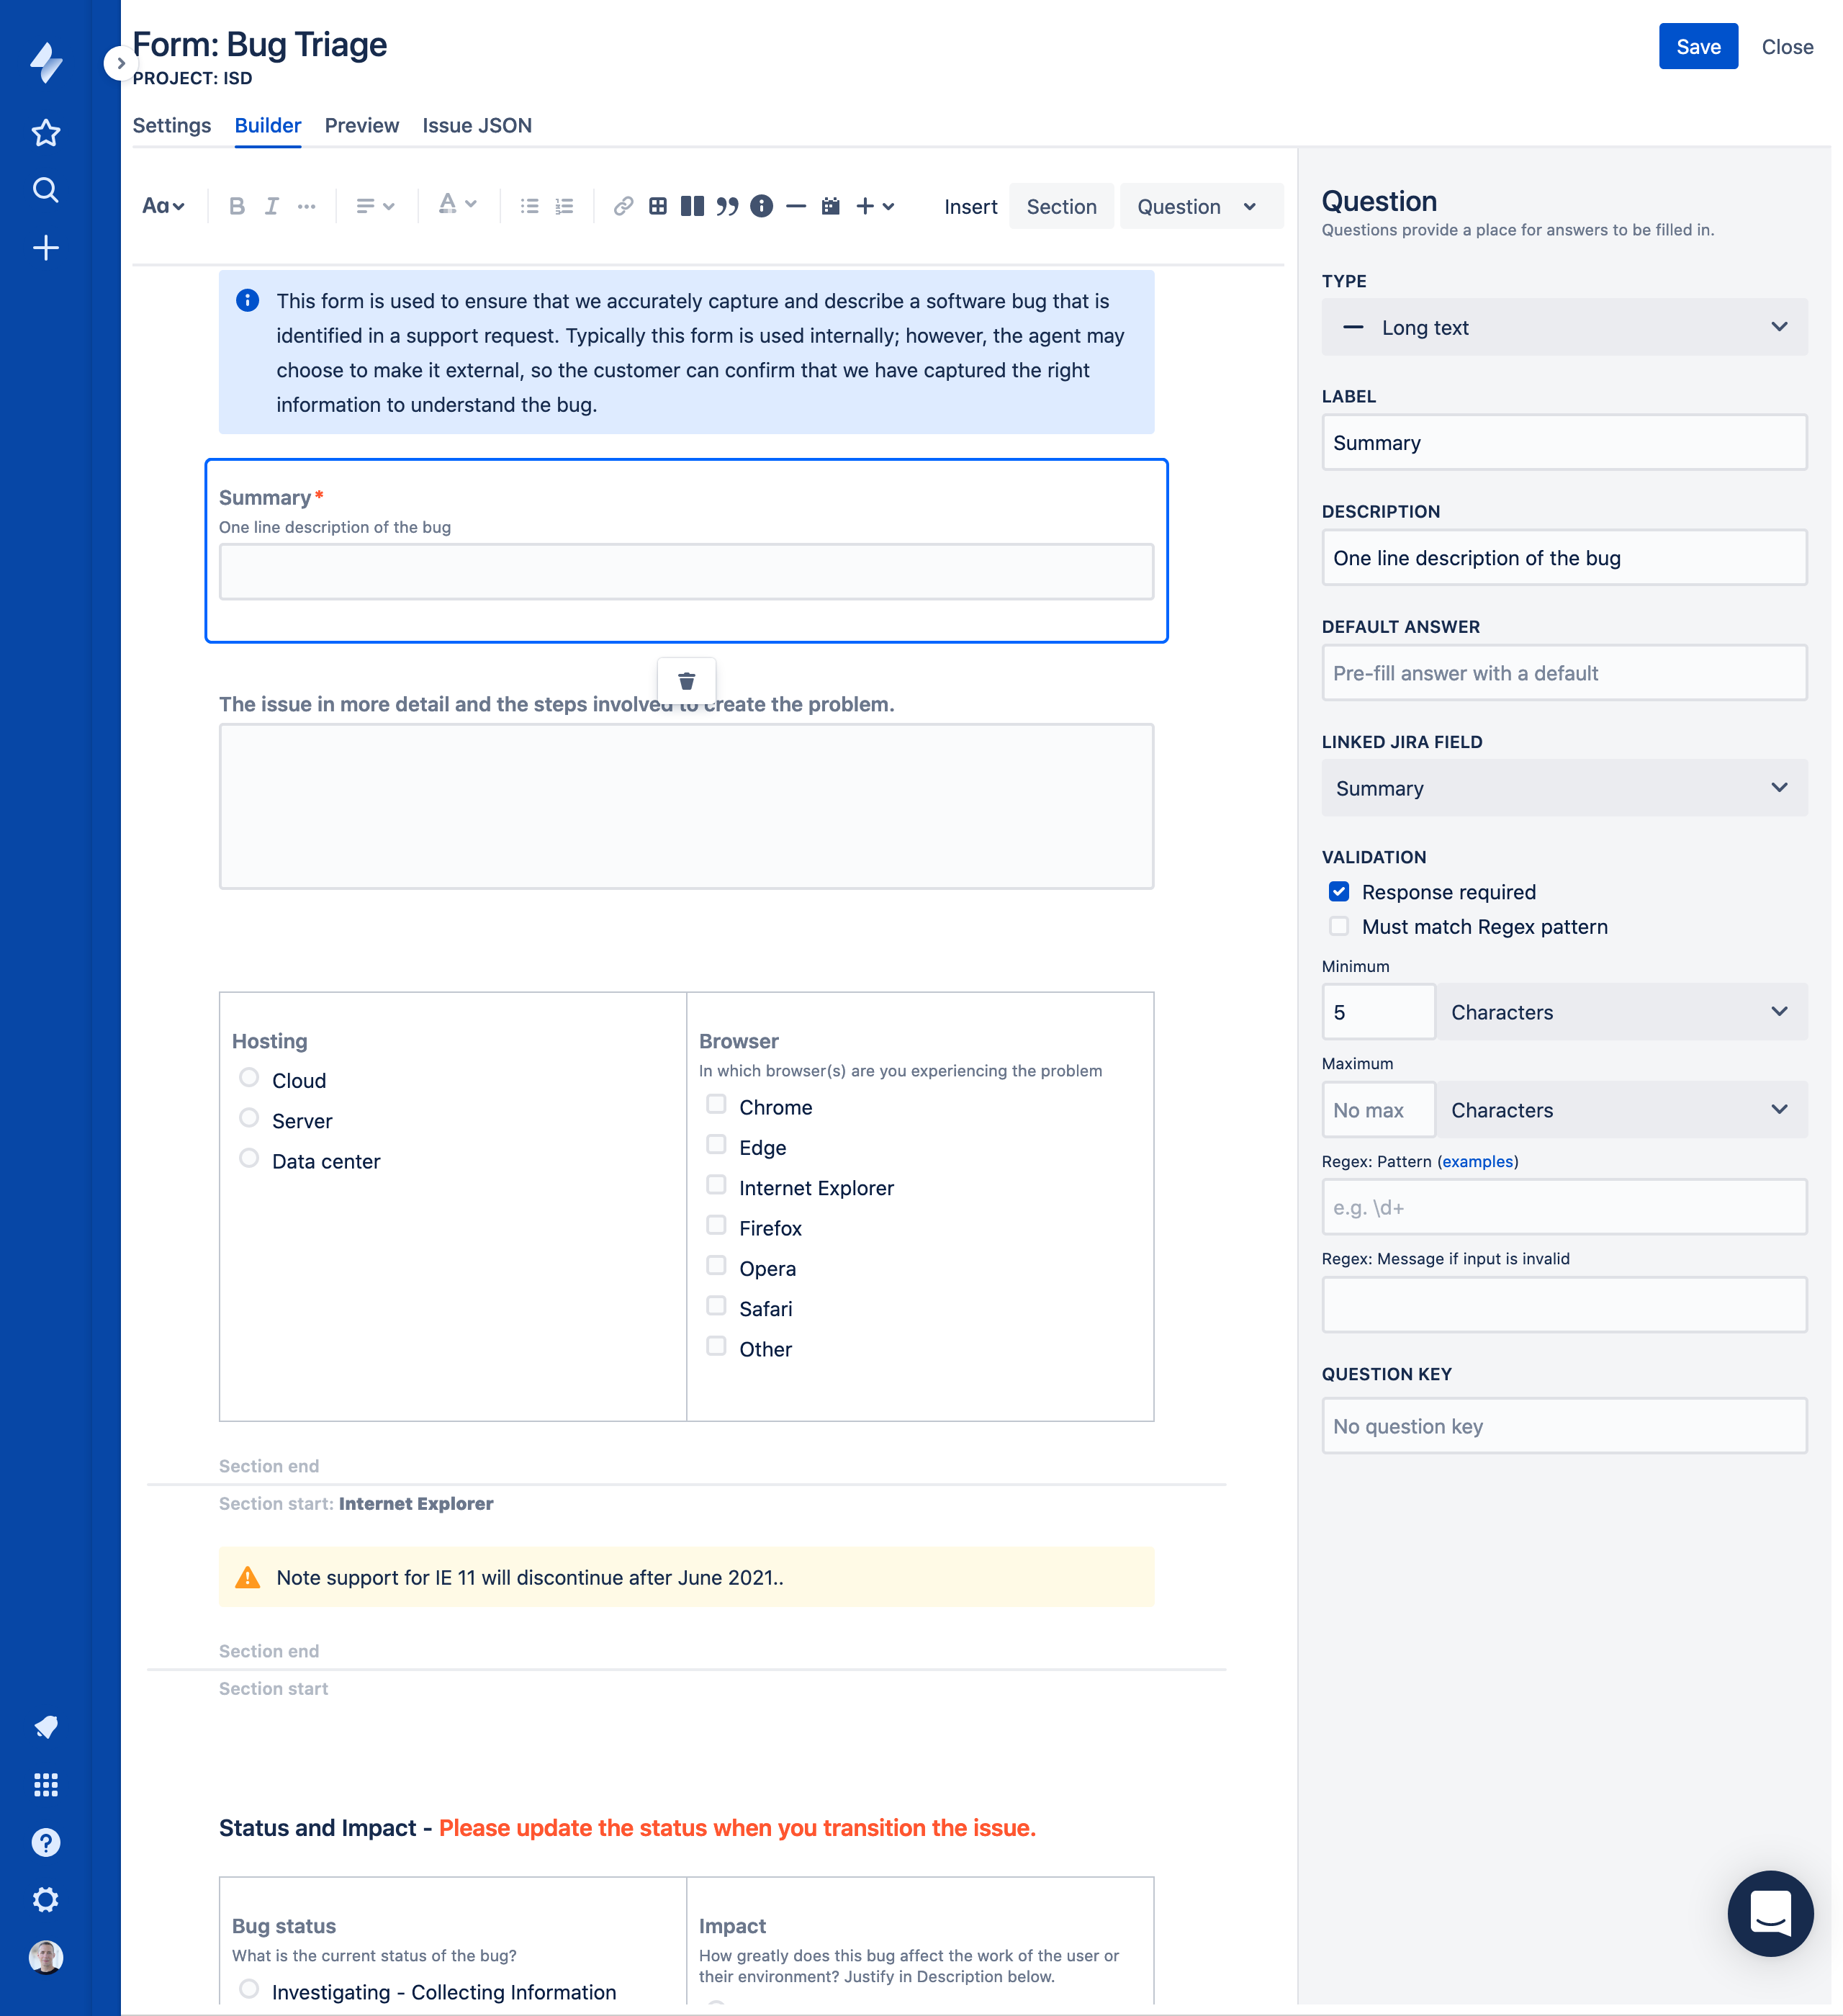
When you create/select a question in the form builder, a panel will appear on the right that will allow you to specify:
Label – The text of the question as it will appear to the user
Description – A place to provide the user with field-level supplementary information such as examples, recommended formatting or field level instructions
Default Values – A default value for the field, which can be overwritten by a value entered by the user
Linked Jira Field – A Jira Fields that can be linked to the ProForma field for easy querying/reporting, or to trigger automation
Validation Options – Validation options that let you build your business rules (spending limits, required choices, etc.) into the form by limiting what the user can enter
Question Key – The ADF form builder includes question keys which allow you to set an identifier for the question, making it easier to find the question in the JSON data structure
Choice questions have two additional properties:
Choices – The options a user will be able to choose from
Data Connections – A link to an external data source that can populate the choice list