Crowd SSO 2.0
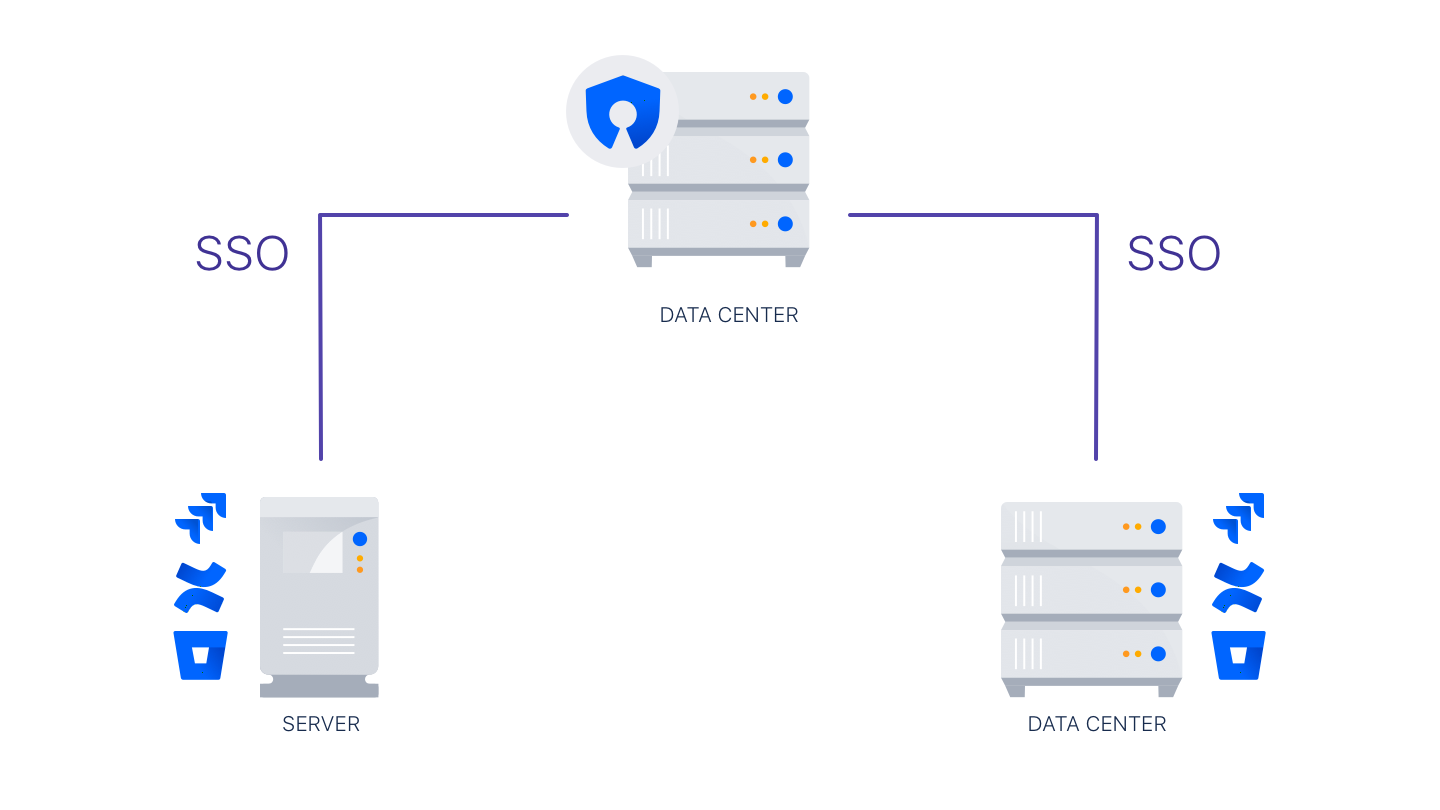
The SSO 2.0 functionality is available with Crowd Data Center
Once you configure SSO 2.0 in Crowd Data Center, you can use it to access Server and Data Center applications. If you are not a Crowd Data Center license holder, you can create your evaluation license for Crowd Data Center and take Crowd for a spin. You can get your free Crowd Data Center evaluation license from Atlassian license evaluation page.
Before you begin
- To enable SSO 2.0 for your application, you must perform configuration on the Crowd side and on the application side.
- Make sure you're using Crowd version 3.4 or later. You can download the latest version of Crowd here.
- You must upgrade the Crowd and SAML Single Sign-On 2.0 plugin for every application for which you want to use SSO 2.0. Go to Atlassian Marketplace.
- Only users existing in Crowd user directory can use SSO 2.0. Make sure that users from your application's individual user directories also exist in Crowd user directory. To avoid any potential conflicts, mapping of user directories on the application side and Crowd must be identical.
- To access their applications using SSO 2.0 users must have permission to access Crowd as well. It’s enough to give your users basic Crowd log in rights. For security reasons, we advise to check if your users don’t fall into the Crowd admin group.
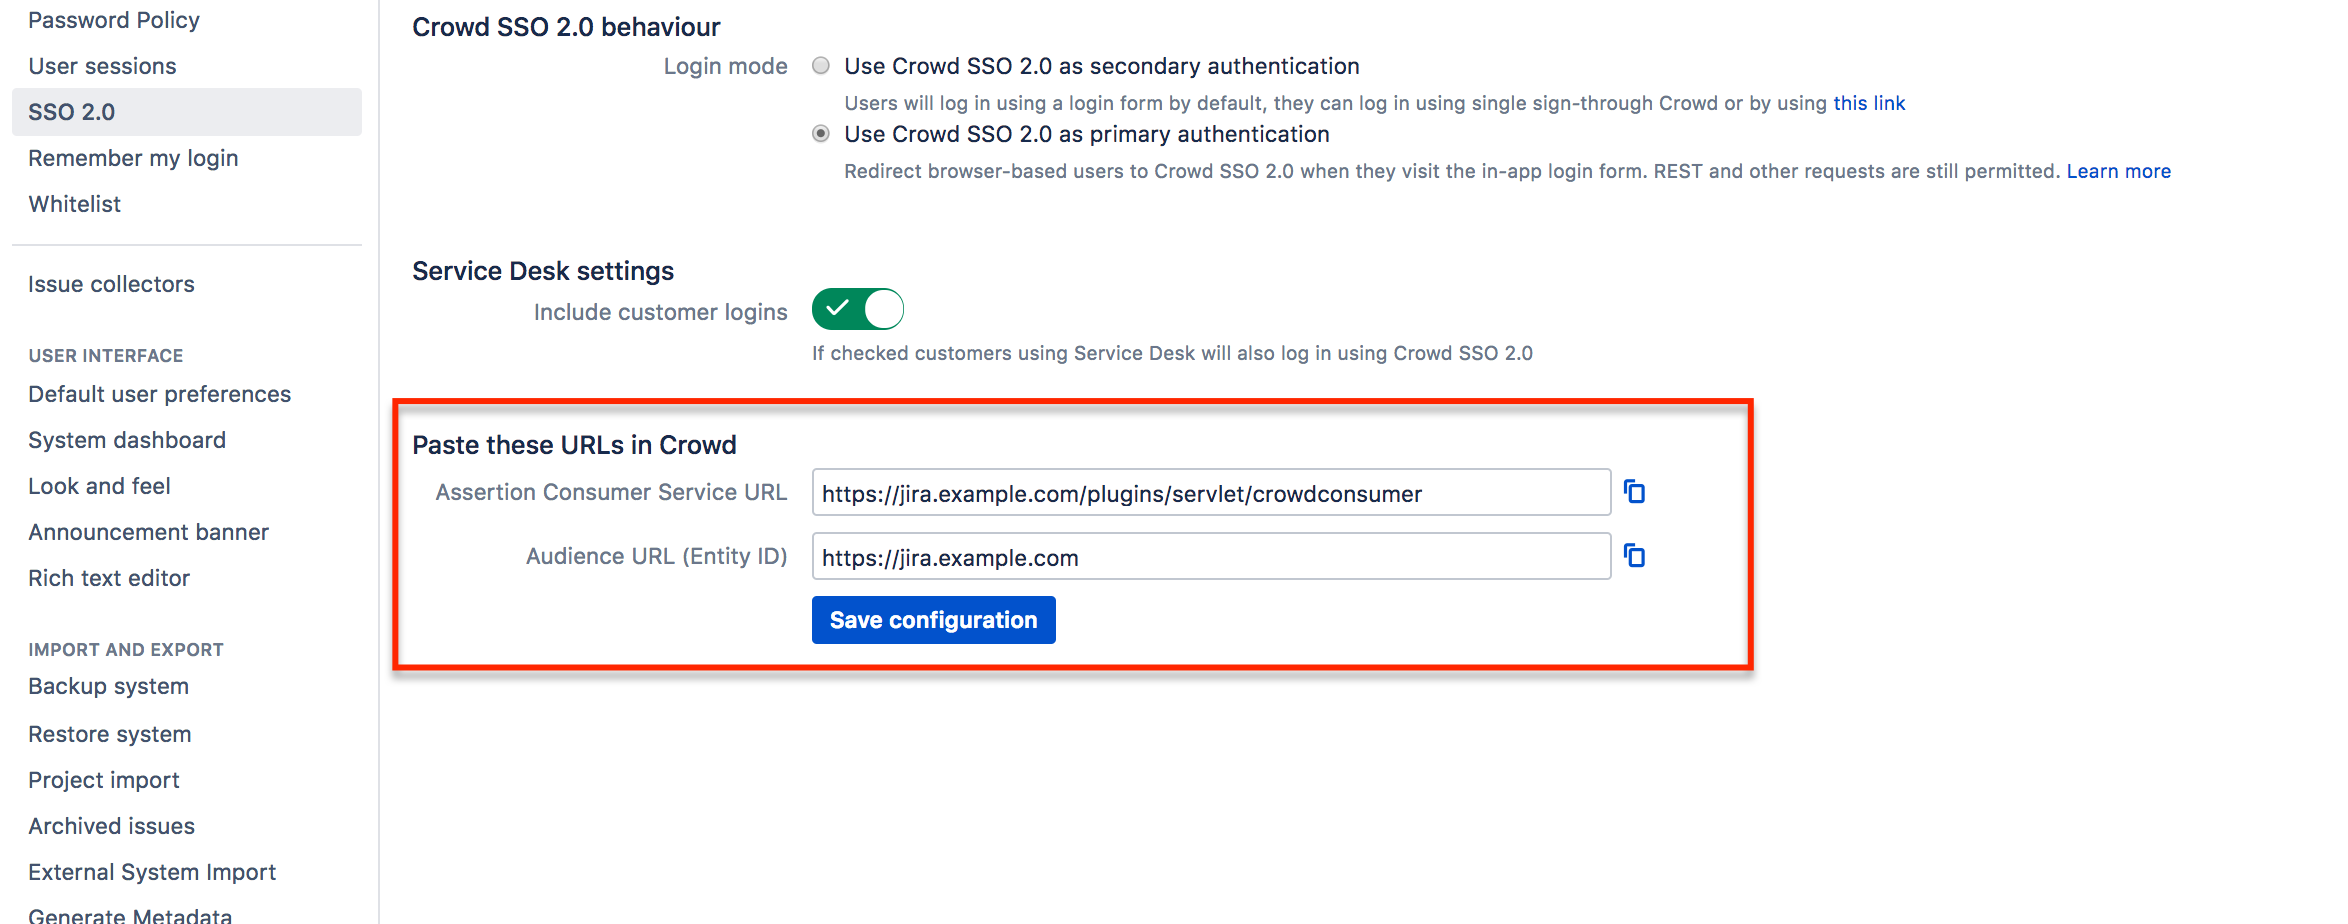
From the Crowd and SAML Single Sign-On 2.0 plugin configuration section in your application, copy the application details.
To enable SSO 2.0 in Crowd:
- In Crowd top navigation, click Applications.
Select the application you want to perform the SSO configuration for.
In the application settings, click the SSO tab.
Select the SSO Enabled checkbox.
Copy the Application Details from your Crowd and SAML Single Sign-On 2.0 configuration section in your application.
- From the Crowd SSO tab, copy the following SSO information:
- SSO issuer
- IdP SSO URL
- Certificate
Paste the copied SSO information to your SSO 2.0 plugin for your application.
Crowd's certificate is by default valid for 5 years. After that time, you'll have to regenerate the certificate and manually copy it over to individual applications for which you want to use SSO 2.0. In case of a security breach, for safety reasons we suggest that you regenerate the certificate and copy it to your applications immediately. For information on how to reset the certificate, see Crowd REST API Reference.
Remember that a regenerated certificate needs to be again provided in all application you want to use SSO with.
- Click Save.
Next steps
- To access their applications using SSO 2.0 users must also have the permission to access Crowd. It’s enough to give your users basic Crowd login rights. We advice taking extra care when copying permissions from your application to Crowd so that the group does unauthorized users don't get admin permissions.
You can test SSO 2.0 before enabling it for all users.


