Defining a screen
As a Jira administrator, you can use screens to group all available Jira application fields and control which fields are displayed to your team at different stages of your workflow (like when creating, editing, or resolving an issue).
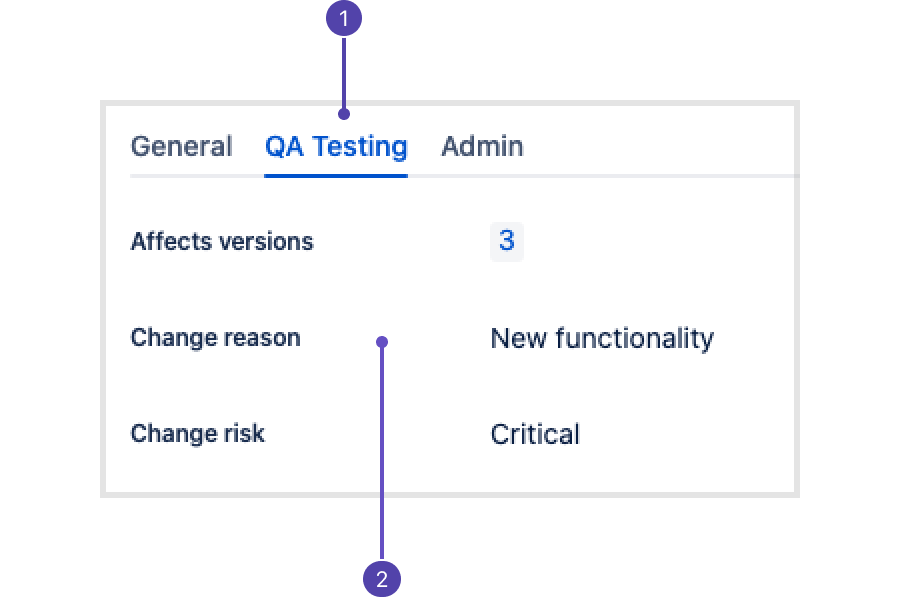
To configure the layout of the new Jira issue view—which fields appear and the order they appear in—open an issue and choose Configure at the bottom-right. To find out more about configuring the issue layout, check out Configure field layout in the work item.
In order for your users to see the right fields at the right time, you'll want to review your field configurations and project permissions to ensure that:
- The correct fields are present on screens associated with each issue operation.
- Relevant fields are not hidden as part of the project's field configuration scheme.
- Users have permission to edit relevant fields (e.g. the Due Date field can only be edited by users with the Schedule Issues project permission).
This page discusses how to configure the look and feel of screens in your project - how fields are presented in each screen, their order, if they appear on a tab, and so on. But, the look and feel of the fields themselves - what options are available, their default values, and how they appear in certain contexts - are configured separately. To change the look and feel of individual fields, see issue custom fields.
Jira applications ship with the Default, Resolve Issue, and Workflow Screens:
- The Default Screen is used for the default issue operations for creating, editing or viewing an issue.
- The Resolve Issue Screen is used for the transition view for the default Close Issue and Resolve Issue transitions, originating from the Open, In Progress and Reopened steps in Jira's default workflow.
- The Workflow Screen is used for the transition view for the default Reopen Issue transitions, originating from the Resolved and Closed steps and Close Issue transition, originating from the Resolved step in Jira's default workflow. The Workflow Screen defines a smaller set of fields than the Resolve Issue Screen.
Adding a screen
- Select
 > Issues.
 - Click Screens > Add screen.
- Add a name and description that describes when this screen should be used.
- Click Add.
Editing a screen's details
- Select > Issues.
- Click Screens.
- Next to the relevant screen, click Edit to update the name or description.
Copying a screen
- Select > Issues.
- Click Screens.
- Next to the relevant screen, click Copy to enter a new screen name and description.
Deleting a screen
Please note that screens associated with a screen scheme or workflow transition cannot be deleted.
- Select > Issues.
- Click Screens.
- Next to the relevant screen, click Delete.
Configuring a screen's tabs and fields
You can configure the fields that display on a particular screen by adding/removing fields, as well as reordering them. Tabs can also be used to help group related fields. Tabs are useful for organizing complex screens, as you can place less used fields onto separate tabs. You can also add, remove and reorder tabs, as well as rename them.
- Select > Issues.
- Click Screens.
Next to the relevant field, click Configure to make the following changes:
What do you want to do? Steps Add a tab Click Add Tab. Enter the name of the new tab in the dialog that appears and clickAdd. Move a tab Hover over the dotted part of the tab (next to the tab name) and drag the tab to the desired position. Rename a tab 1. Hover over the tab name and click the pencil icon.
2. Enter the new name and click OK.Delete a tab Hover over the tab name and click the X. Add a field 1. Click the tab that you want to add the field to.
2. Type the name of the field in the drop-down displayed at the bottom of the current fields. Field suggestions will appear as you type.
3. Click Add Field to add it to the current tab.Move a field Hover over the dotted part of the field (next to the field name) and drag the field to the desired position.
Move a field to a different tab by dragging it to the name of the tab and dropping it.Delete a field Hover over the field and click Delete that appears.
Once you have tabs configured, they'll appear in the description section on the left side of an issue like this:
- Field tab name
- Fields in the tab
Tips for configuring screens in the old issue view
Fields in the new issue view will always appear in the tab you configure them to appear in. In the old issue view, there are a few exceptions to this:
- Date fields on View Issue screen — Fields of type 'Date' will always be displayed in the 'Dates' area of the default 'View Issue' screen, regardless of how you reorder them. This applies even if the dates are custom fields.
- System fields on View Issue screen — System fields on the default 'View Issue' screen (e.g. Summary, Security Level, Issue Type, etc.) are fixed. This means that they will always appear in the same place on the 'View Issue' screen, even if you configure the Screen to move them onto a separate tab. Custom fields of related to Dates and People will also appear in their fixed section of the view issue screen. If none of the fields on a tab contain data then the tab is not shown. To make a tab show up, make sure it has a custom field with a type such as Text or Select and that the field has a value.
- Note: this information only applies to the screen associated with the 'View Issue' operation in a screen scheme.
Time tracking — You can add the ability to log work and/or specify/modify time estimates to a screen by adding the special Log work and/or Time Tracking fields respectively.
If these fields cannot be found in the Add Field selection box and they haven't already been added to the screen, check whether Jira's Time Tracking feature has been enabled. These fields won't be available to add to any screen if Time Tracking is disabled.
If any screens have the Log time or Time Tracking fields and Jira's Time Tracking feature is subsequently deactivated, those screens will retain these fields until you specifically remove them. However, the fields won't be visible to the user until Time Tracking is reactivated.
Renaming standard Jira fields — You can't rename the standard Jira fields (like Priority and Summary).
Activating a screen
There are two ways to make a screen available to other users:
- Associate the screen with an issue operation (e.g. "Create Issue") within a screen scheme. See Associating screens with an issue operation to learn more.
- Associate the screen with a workflow transition (e.g. "Start progress"). See Working with workflows to learn more.