Adding approvers from Assets to requests in Jira
Jira Service Management allows you to require approvals for a workflow step. This means that a request can’t move from one status to another until it’s approved by the right people. In Assets, the right people are the owners of your assets or groups responsible for their maintenance. You can add them as approvers when a request that affects an asset they own or have relations to is raised. The approvers will change dynamically based on the assets selected in your requests.
Before you begin
To add approvers from Assets, you’ll need the following items:
Attribute of type User or Group added to an object type. If you select groups, keep them rather small as bigger groups will affect performance.
One of the Assets object custom fields mapped to your objects in Assets. Supported types are:
- Assets objects
Assets referenced object (single)
Assets referenced object (multiple)
- Assets object (single) (deprecated)
- Assets object (multiple) (deprecated)
- The Assets custom field must be assigned to the same object schema across all context configurations.
If you don’t have these attributes or fields already, follow these steps:
When you add the User/Group attribute to your object type, you can then fill it in for the underlying objects by choosing a specific user or group. These people will have relations to your objects and can be assigned as approvers. For more information on attributes, see Adding attributes to object types.
To add an attribute to your object type:
In Assets, select an object type, and switch to the Attributes tab.

- Add an attribute of the User or Group type. In the following example, we added a User attribute – we’ll assign a user to this object in the next step.
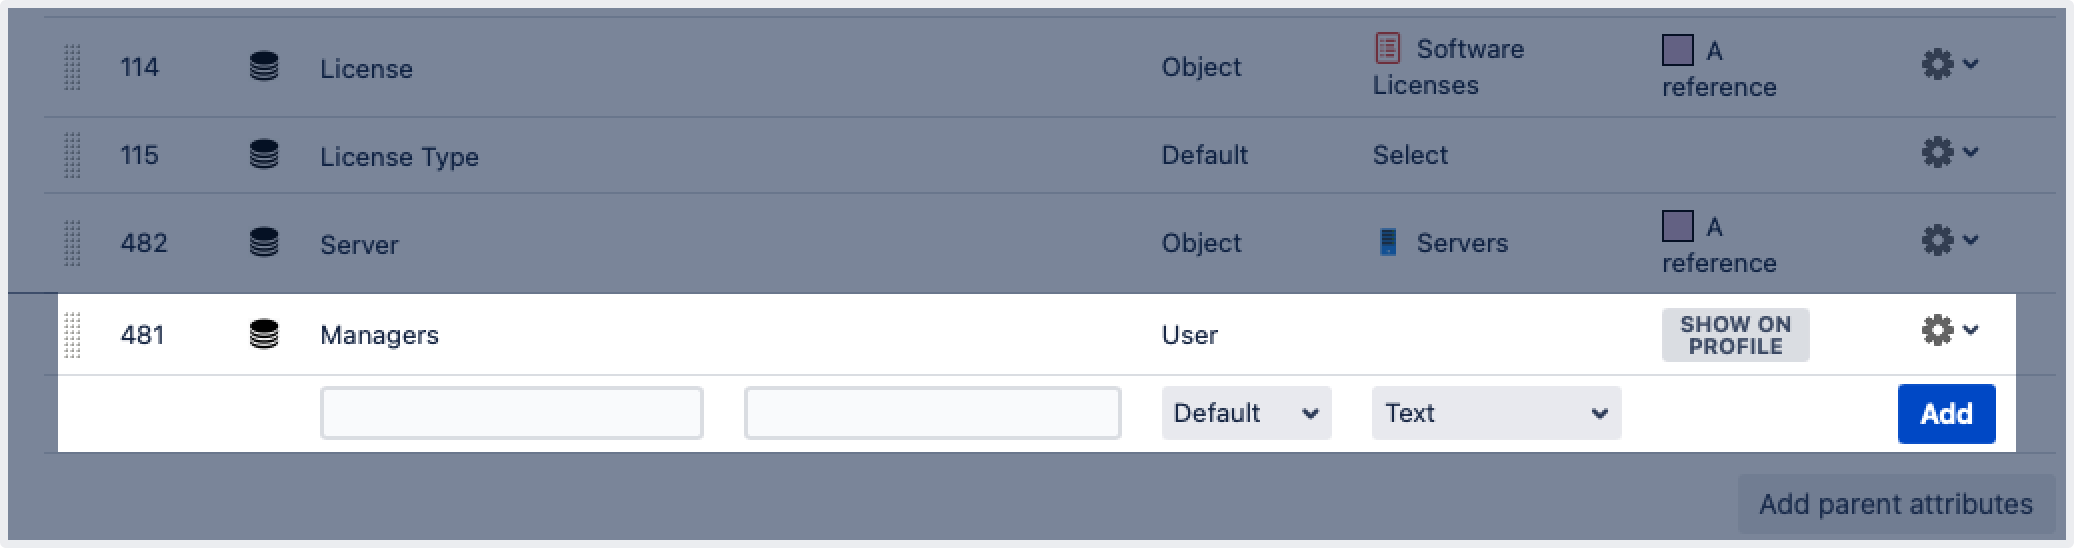
You can configure extra details for each of your attributes by selecting the cog icon on the right and then selecting Configure. One of the options is cardinality – it will let you specify how many users can be selected in this field.
Switch to the Objects tab, edit an object, and assign a user or group to the attribute you added.
If you select groups, keep them rather small as bigger groups will affect performance – we need to search through every user in the group.

An Assets object field works like a link between Assets and your projects in Jira. The field is configured differently than Jira custom fields, but when it comes to adding it to Jira screens, it behaves like a regular custom field. You will select this field, together with an attribute, when creating an approval step. For more info on the Assets objects field, see Default Assets custom field.
To create an Assets object field:
In Jira, go to Administration > Issues > Custom fields, and create a new custom field.
Select one of the Assets object fields. The object fields marked as legacy are also supported.
Select the name, applicable projects and issue types.
Associate the custom field with the screens that are used by the workflow you’re planning to add the approval to. Typically, these would be the Create and Edit screens related to the issue type used by your workflow.
To link the Assets object field to your projects and objects:
On the Custom field page, find the custom field, and select the more options menu … > Configure.
Select Edit Assets configuration. You’ll now see all possible configurations related to this field.
To use the field for approvals, select the object schema in which you store your assets. Selecting the object schema is enough to use the field for approvals. You can, however, change any of the other settings. For details on how to configure an Assets custom field, see Adding Assets custom fields to screens in Jira.

Adding, configuring, and viewing your approvers
With the attributes and the custom field ready, you can now configure the approval step and add approvers from Assets to your request.
1. Add the approval step to your workflow
To add the approval step to your workflow:
Edit the workflow to which you want to add the approval.
Select a status, and select Add approval.
Select Assets object field and select your custom field. We’ll check this field for any valid attributes, that is the ones that are of the User or Group types.

Select the attribute that is associated with the users or groups that you want to become your approvers.
Select how many approvals are required and which transition your request should use when it’s approved or declined.
Select Create to add the approval.
2. Enable the Assets object/s field on the customer portal
Approvers change based on the object selected in your request, but someone needs to actually select an object. In this step, you’ll let customers select objects on the customer portal. If you skip it, your agents can still select objects in the agent view.
To enable the custom field on the customer portal:
In your project, go to Project settings > Request types.
Select the relevant request type.
If your field isn’t in Visible fields already, select Add a field, and add it.
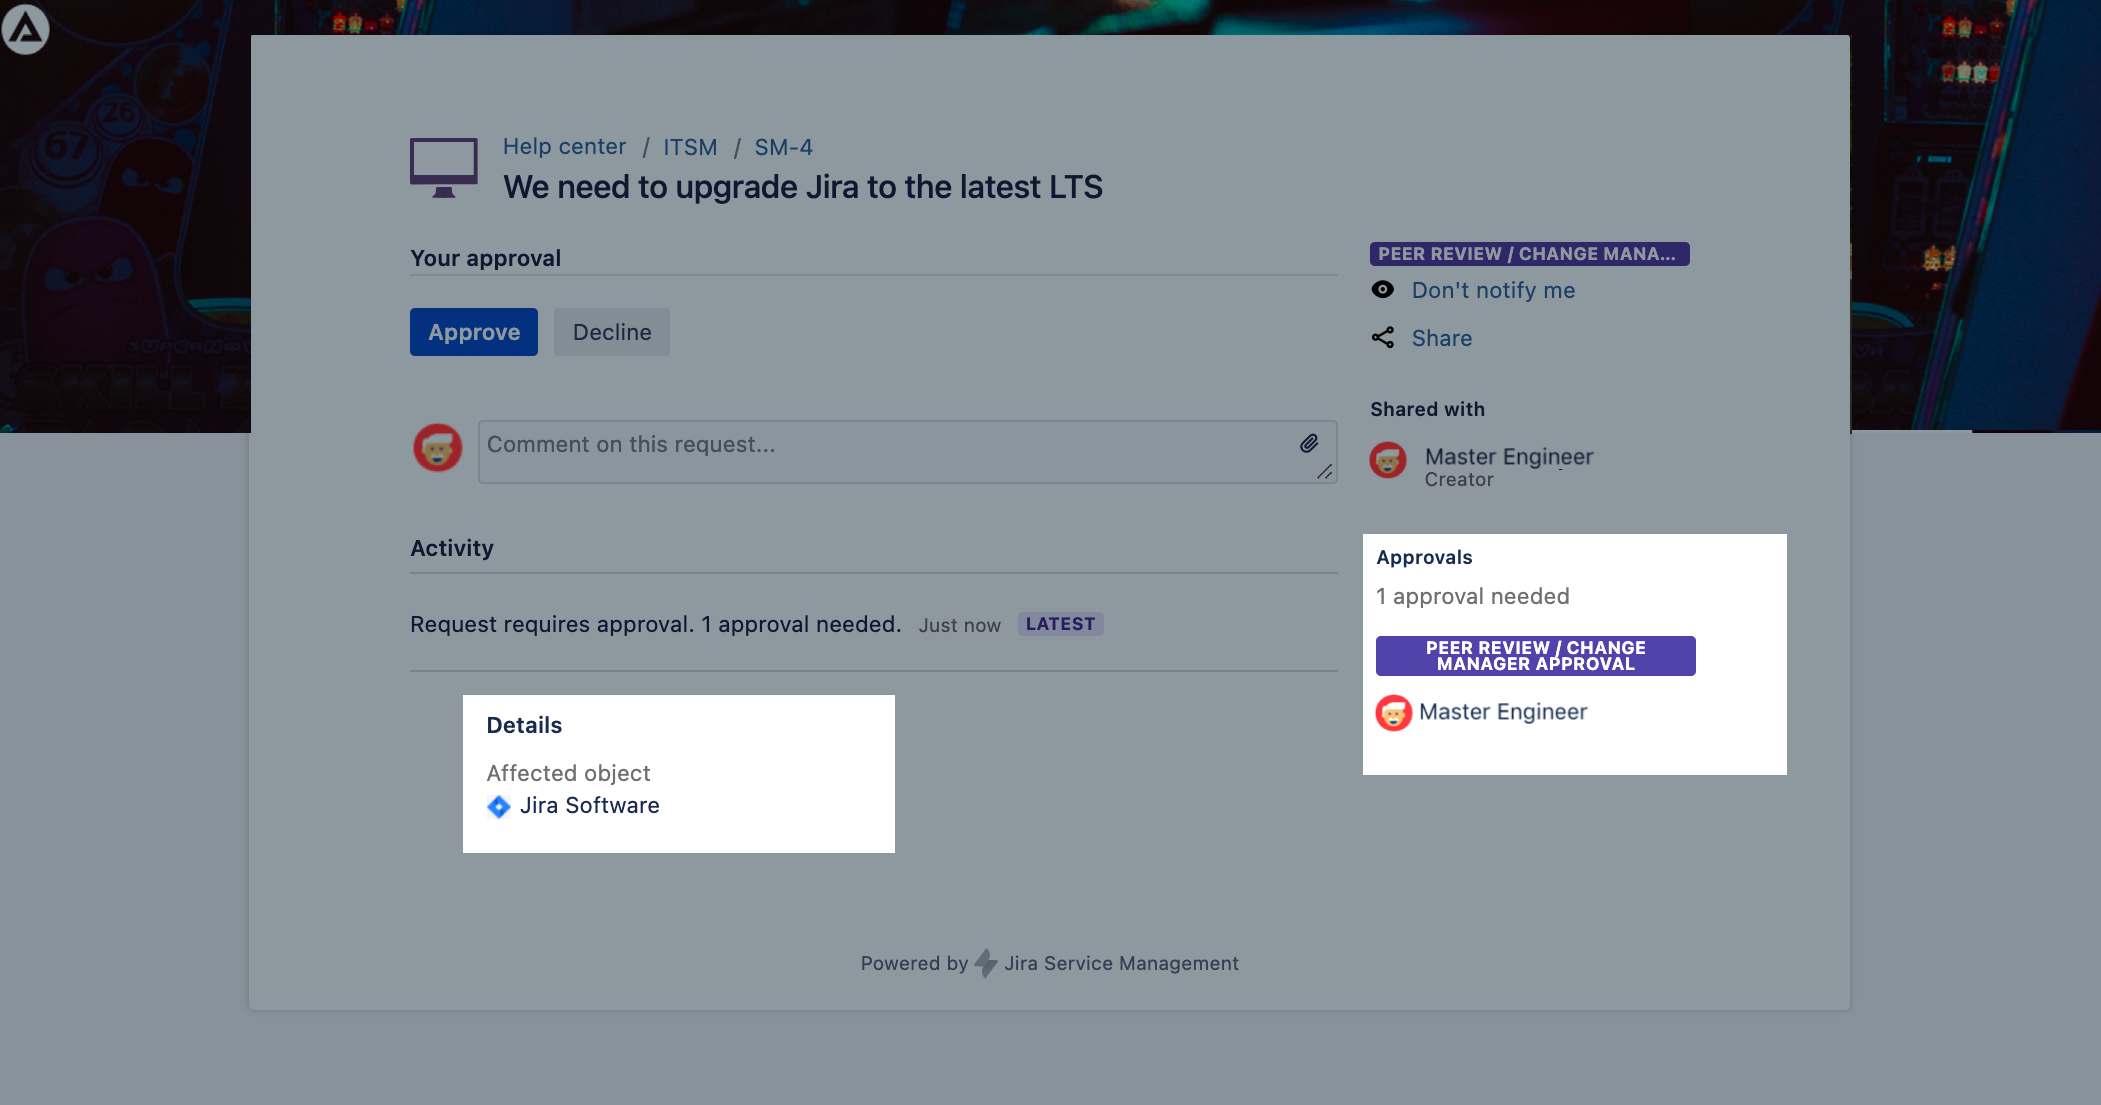
3. Raise a request and view approvers
When you raise a request and select an object in it, approvers will be added automatically when the request reaches your approval step.
To raise a request:
Open your customer portal and raise a request.
The Assets objects field should let you select one of your objects from Assets.

To view approvers for the request:
Transition the request to the workflow status with your approval step.
Approvers related to the selected object should be added automatically. They will also receive an email notification asking them to approve or decline this request.